
Hello Friends!
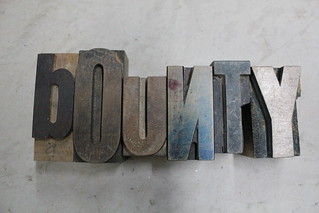
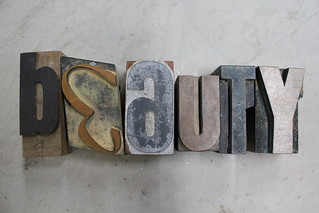
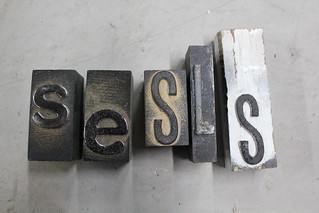
Not long ago I posted these two photos featuring a little project I did using an old typewriter and letterpress stamps.
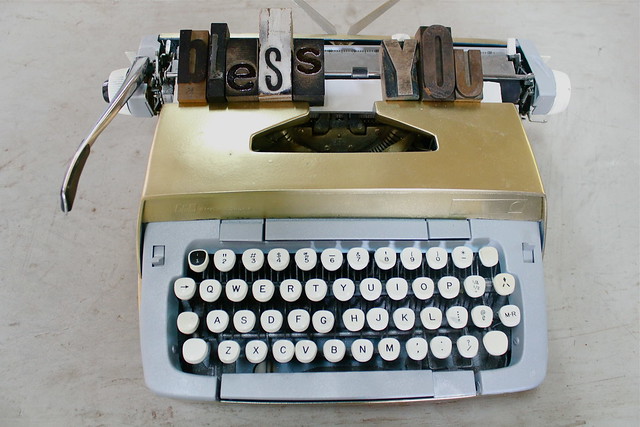
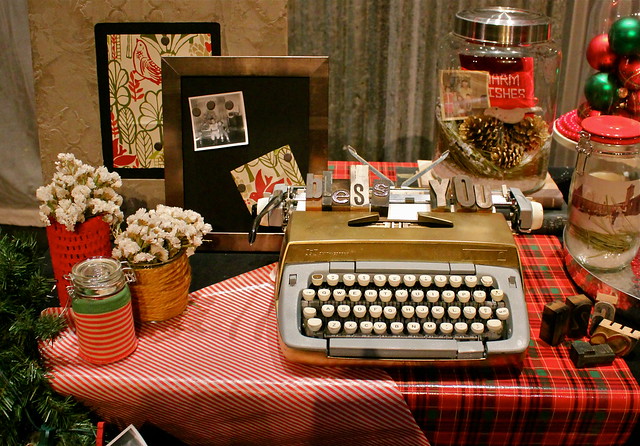
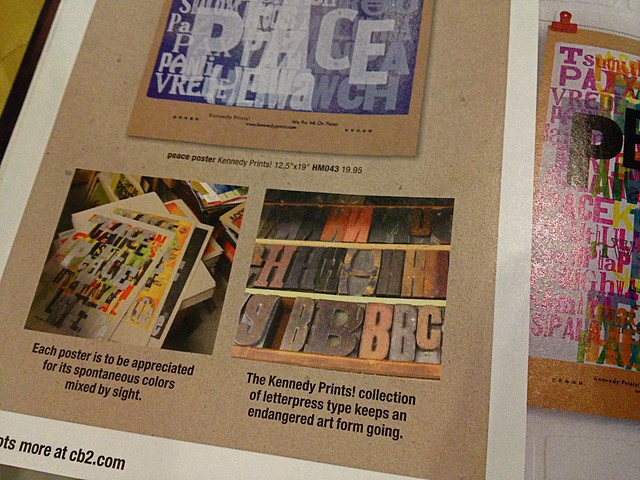
I wanted a way to creatively display different messages. I thought about actually typing something out or displaying a special letter in the type writer. I like those ideas, but in the end I decided that I wanted to use some letterpress stamps that I had recently bought at a flea market. They are just like the ones featured in this magazine below.
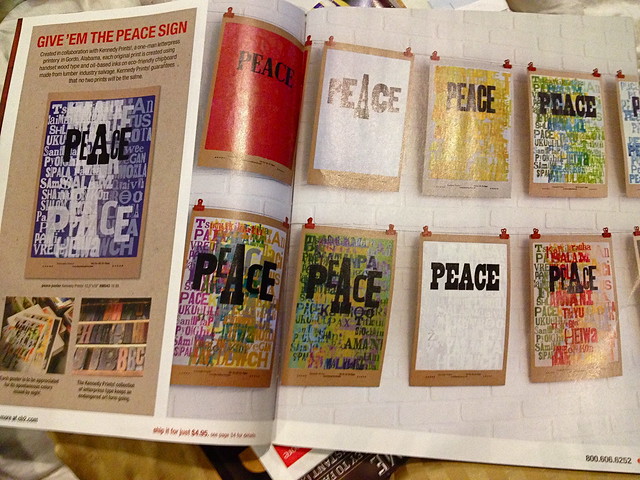
This is the CB2 magazine that I was flipping through about a week after I had finished my project. It seems the CB2 folks are also into messages using stamps! 🙂
Anyway, the idea was to display the actual stamps on the typewriter to convey different messages. The only problem was that due to the nature of a stamp, some letters are backwards when they are being presented (see the “N” in “bounty” below). I could rectify this issue in some cases. For example, a “6” stamp actually resembles an “a.”
However, I still wanted things to be a little more clear, so I began to think about how I could possibly make my own display stamps that would have properly oriented letters. Here’s what I did! PS- It’s super easy!
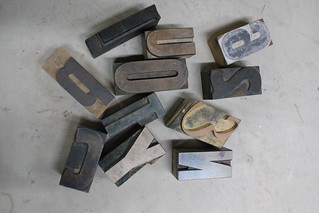
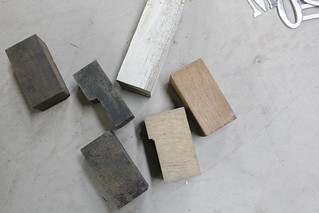
I had a number of the stamps already, so I had the thought to simply flip them over to reveal a clean slate. I also opted to cut a few brand new blocks from scrap pieces of wood we had laying around the shop. I used a chop saw, but you can use hack saw if you don’t have access to power tools. Making the blocks different sizes will allow the pieces to feel more authentic.
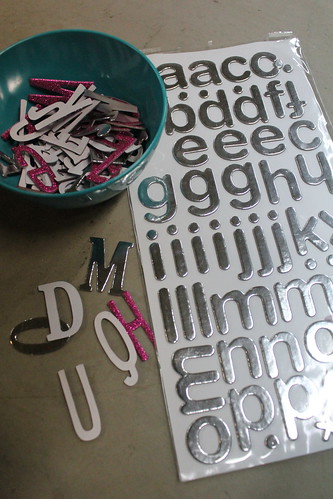
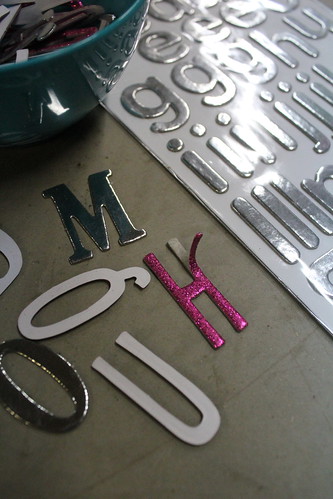
Once your blocks are cut, you will need to make your letters. I’m not much of a whittler, so I opted to use “chip board” letters. These thin cardboard letters come in all sorts of fonts and sizes at your local craft store. As you can see below, some of my letters were glittery. Although I have been loving glitter lately, I didn’t feel like it was right for this project. 🙂 Luckily, the top glittery layer peeled right off (see below).
Next, I simply used hot glue to put my letters in place on the wood blocks.
Last, I pressed the pieces onto a stamp pad to make them look as if they had really been used. Here’s how my DIY letterpress stamps turned out.
I feel like they mix in really well with the other authentic stamps and you would probably never know the difference except for the fact that they’re not backwards. 🙂
I can’t wait to come up with all sorts of sayings! PS- My typewriter used to be bright blue and white. I taped off the different areas and opted for a gold and gray palette. I feel like the new colors help it to look less office-y and more like decor. 🙂
See you back here tomorrow!
How clever! turned out great!
What an ingenious idea. Good job…love it…pinning! 🙂
This comment has been removed by a blog administrator.
Thanks Kim!
Well thanks Andie! And thanks for pinning! 🙂
1. this is such a great idea.
2. I am impressed with the time you took to create each letter!
3. I want a type writer to display now!!
I have a bunch of old letter stamps I bought at a garage sale- I hadn’t thought of making my own and using them as a display. Great idea!