
Hey Friends! I am super excited to finally share a completed project today! It’s only been a week since I revealed our hidden shelf project, but it feels like forever to me!
Our next huge project to take on at our place is actually building the lofted area where our master bedroom will be. I am super excited about this! However, we have some other things to take care of before we get to that, so I’ve been trying to knock out some smaller projects to make the rest of the space feel a little more finished. One of those projects is the coffee table. You’re probably thinking, “you’ve redone that a few times already.” And you’re right, I have. But there is a specific look I am going for in the living room and this latest makeover is right in line with where I am wanting to take this design.
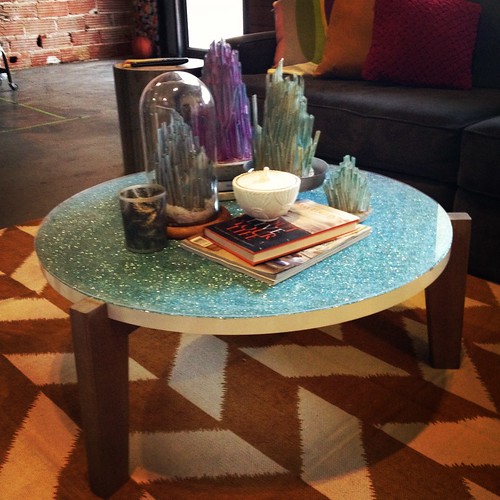
I wanted to bring more gold tones into the space and I thought a metal top coffee table was a great way to do it! What do you think!?

So, are you ready for the DIY instructions?
Step #1- Go to Spectrum Paint and pick up some of this stuff!
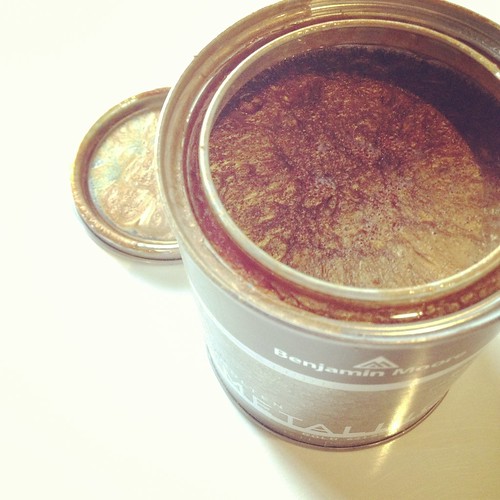
Yes, that “metal” table top is actually paint! Can you believe it!?
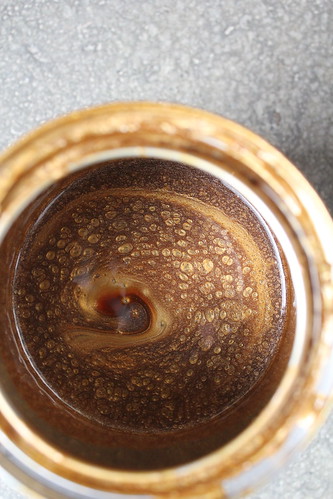
A few weeks ago, I went to an open house at Spectrum Paint and got to talk to my friend, Gentry! She’s awesome and while I was there, she hooked me up with a whole bunch of different resources and even a cool new product that Benjamin Moore is making! This new paint is The Molten Metallic line and it is gorgeous! As soon as I opened the can I was taken with the beauty of the paint!
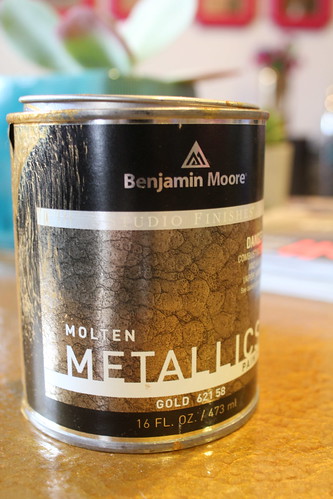
Of course, with Gentry being a friend and my paint provider, she knows about my love for all things gold! So, although I could have gone home with a silver, copper, bronze, gun smoke, or charcoal color- I took my favorite heavenly hue!
So, let’s get to the project. Here’s how the table looked before. . . . . .
To prepare the coffee table for the paint, I scuffed it up just a bit with some 150 grit sandpaper. Literally I sanded for a few minutes, so not much prep at all. After wiping off the dust, I used a brush to paint on the mixture. Don’t get scared when it looks like a hot mess after your first coat! It gets better, I promise! 🙂
After first coat. . .
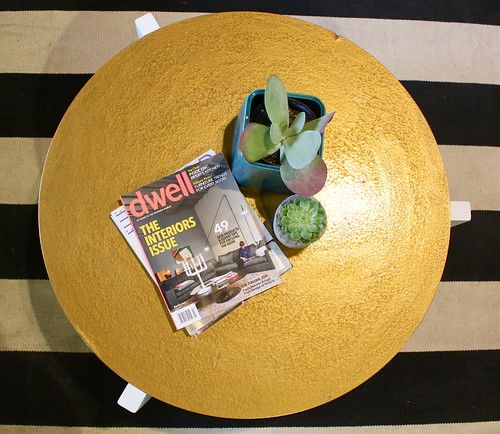
It took me 2 coats, plus a few spot touch-ups to completely cover the table. And now it looks like this. . .
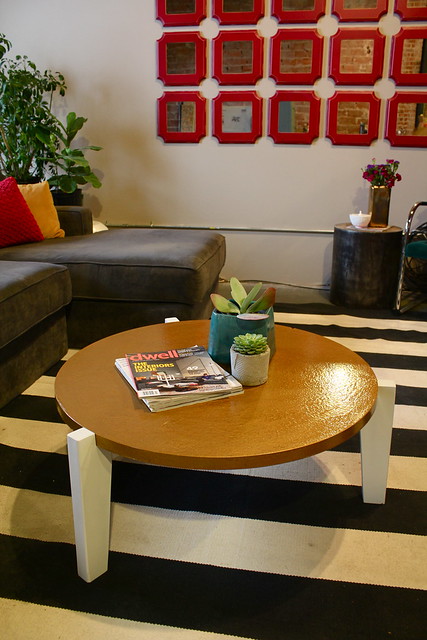
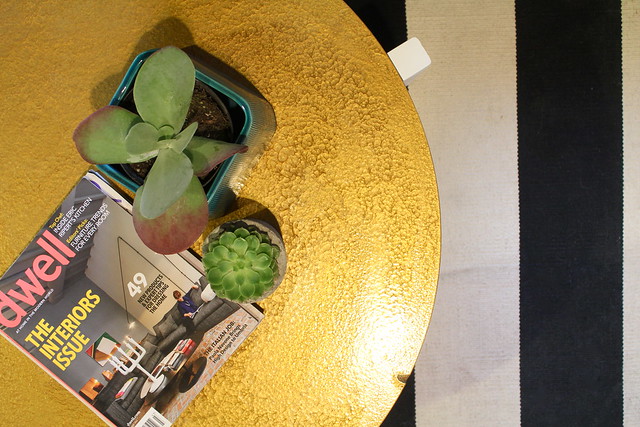
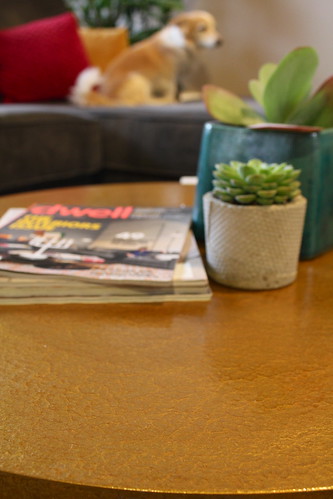
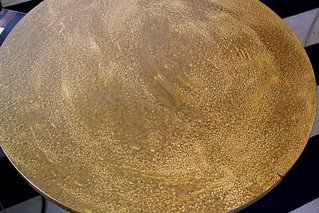
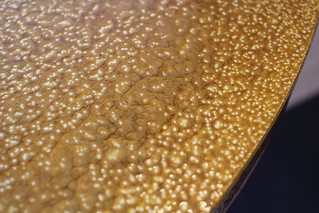
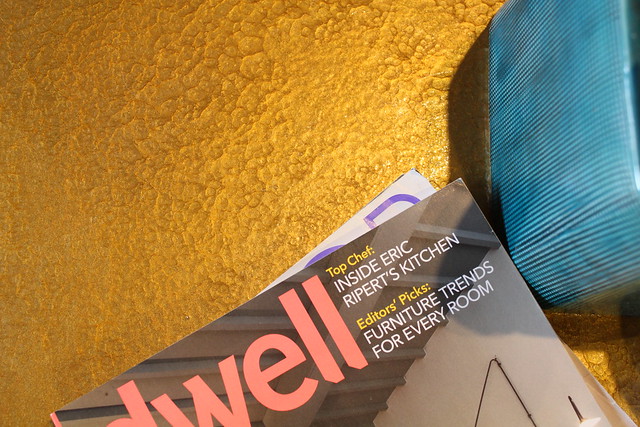
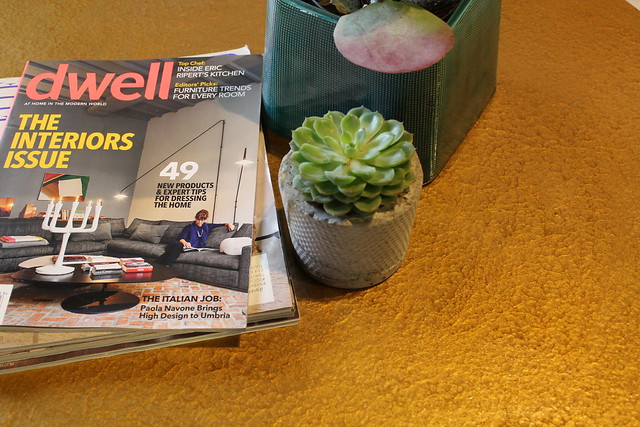
I absolutely love the final look! As you can tell from these photos below, the paint creates a hammered metal look. Seriously, even in person the piece looks like real metal!
I know some of you might be thinking that you could just use the hammered metal spray paint from the hardware stores. And you could, but I promise you, the end result is not nearly as beautiful or durable. This paint has the sheen of real metal and also has a super hard finish. The best way I can describe it- it feels the same as when you get your finger nails shellacked. It’s a durable finish that is wipeable. It’s almost like there is a coat of epoxy over the top.
So, there you have it! A beautiful golden “metal” table top! You can get your favorite metallic color at any Spectrum Paint. Find a location near you by clicking here!
‘Til tomorrow! 🙂
Did you have to use any kind of sealant on the top? Or just the paint?
That gold is rich, bright and gorgeous!
I’ve used the hammered finish (spray and quart paint) from the hardware store before and though it did produce a good hammered / “molten” effect it never had the sheen or richness that you got with this finish. Was there a strong smell to the paint? Is it oil based? Just trying to figure out if I can use it inside or if I need to wait until its decent painting weather in my garage!
What is the artwork on the red plaques on the wall? Looks great and simple/inexpensive knowing your style
gorgeous! it is truly hard to believe it’s paint. does it come in other finishes?
could you paint a laminate counter with this paint? would it be strong enough?