Happy Friday Friends! I have always loved a good feature wall. I’ve created many throughout my design career. Some have been intricate and time consuming, while others were simple and fast…..but all were sure to grab your attention!
I’ve used tape to create a bold, graphic look before in this post. And today I’m showing off another do-it-yourself feature wall using washi tape!
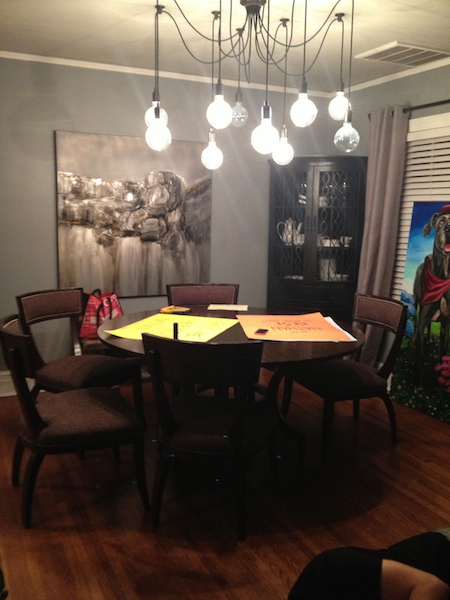
Here’s the before and after….
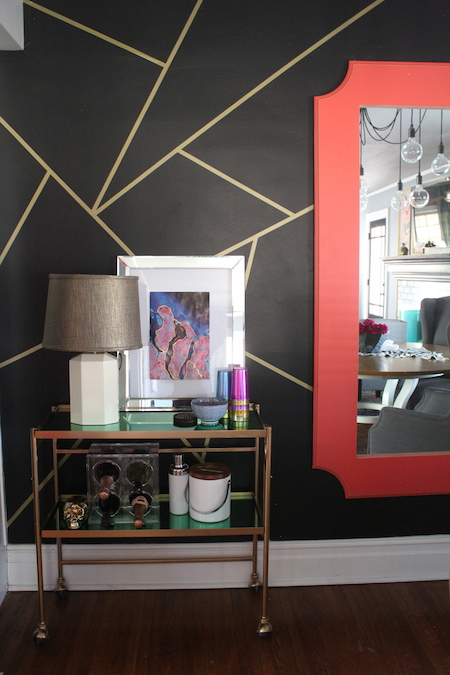
BEFORE
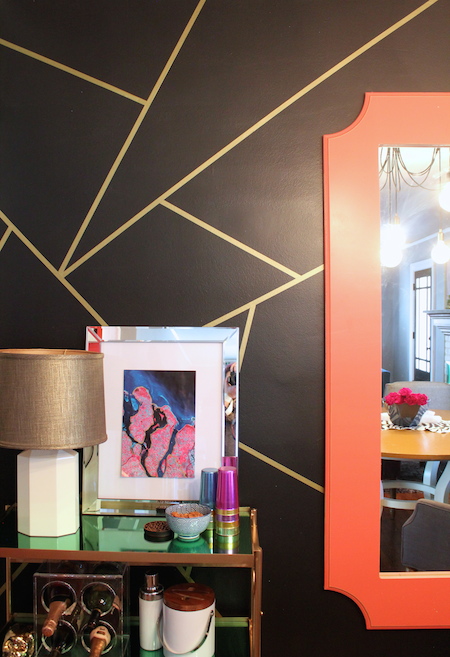
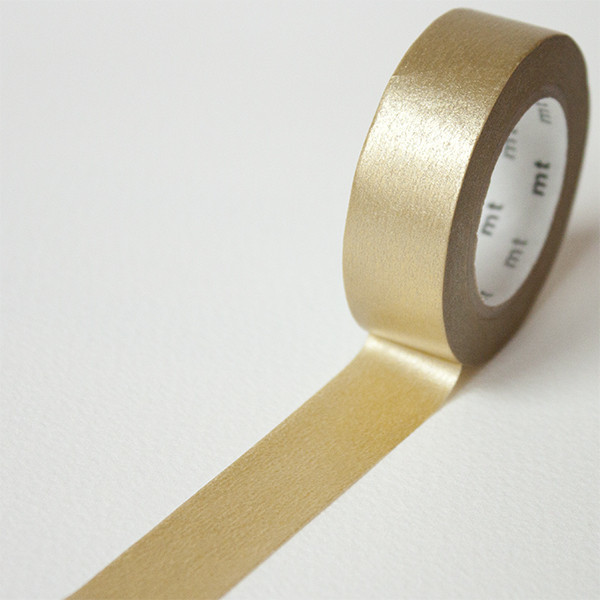
I love the contrast between black and gold, as well its dramatic effect. So the far wall got a coat of beautiful, sophisticated black. And then, I used some gold washi tape to finish out the look…..
AFTER
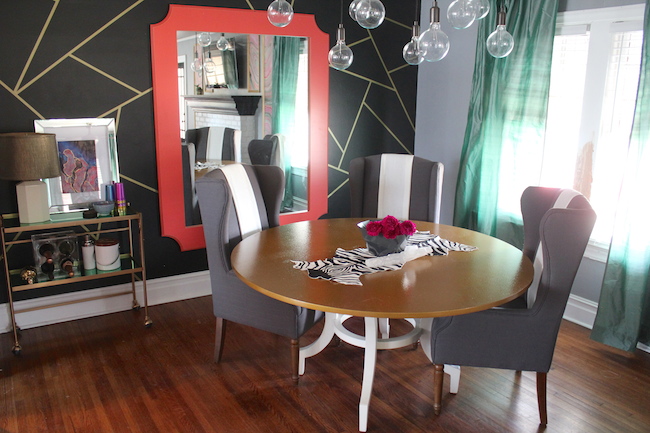
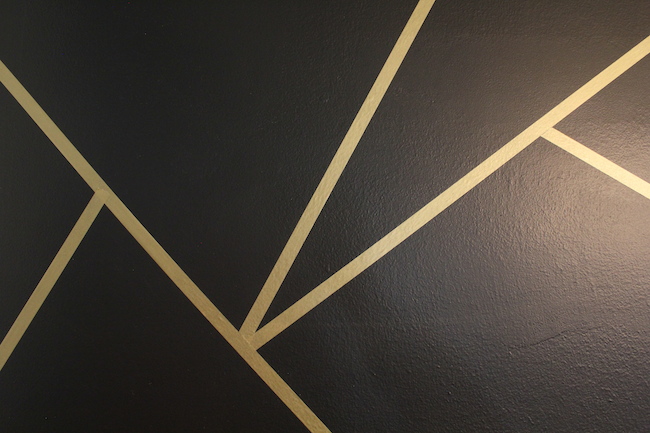
For my previous tape wall, I created a template to ensure the pattern was perfectly spaced. This particular wall however called for randomness. And for that reason this project took about 20 minutes to complete!
Before the glorious days of decorative tape, we had to paint patterns onto walls. Lucky for us, there are so many tapes to choose from! There is literally something for everyone and every style! I love the options from Cute Tape!
Here’s what I love about using decorative tapes for feature walls:
1. They create crisp, clean lines- no bleeding can possibly occur.
2. Tape is so much faster than paint!
3. If you change your mind- tape walls are very easily removed and recreated!

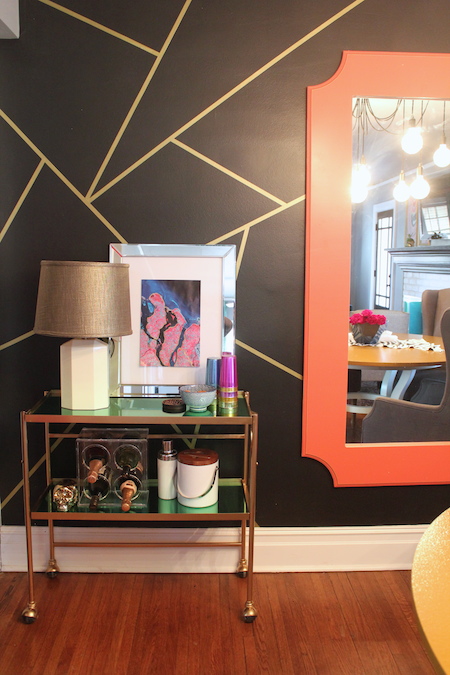
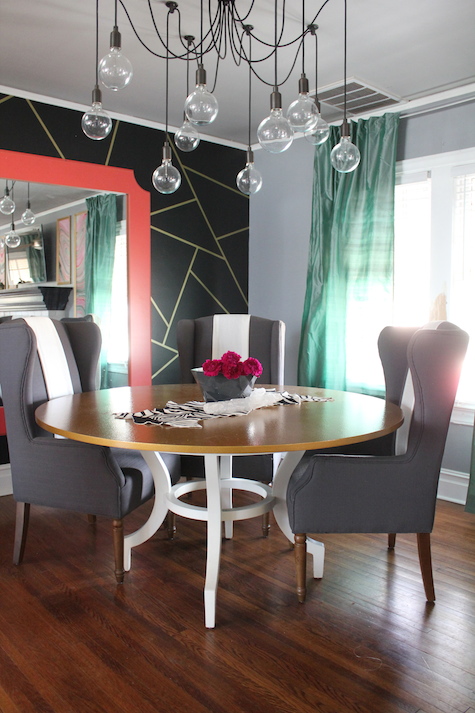
What do you think? Do you love this striking makeover as much as I do? There will definitely be more washi tape walls in my future! 🙂 Have a lovely weekend friends!
Love it! The Coral mirror adds a nice punch of color.
Have you posted a how to for the stripes? Thanks