
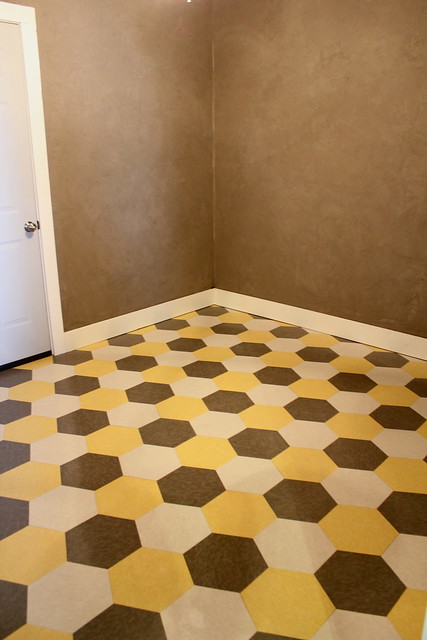
UPDATE- We just got our flooring laid in the bedroom! Here’s the updated look!
Hey Friends! We have had lots of readers asking where to find ARDEX products. The first place you should check is the ARDEX Preferred Partners Site. You will be able to search for distributors and contractors in your area. If you can’t find one near you, you can contact our local Tulsa distributor. We have talked with them and they are willing to ship ARDEX directly to you!! 🙂 Here is their info-
3751 South 73rd East Avenue
Tulsa OK 74145
Phone: 918-301-4737
Ok, on to the post! As most of you know, I worked at Anthropologie as the display coordinator (that means I made and installed all the window displays & the displays inside the store) about a year ago. Although it wasn’t the dream job that I had hoped it would be, I still visit Anthros all over for creative inspiration! I also get their monthly catalog. As a matter of fact, this photo (below) from the July catalog caught my eye.
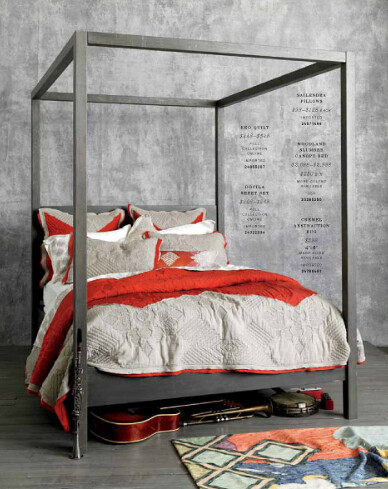
I love the wall treatment in this picture and it is exactly the look I wanted to create for our guest bedroom. Even before I saw the Anthro photo, I knew that I would be using ARDEX to achieve a very similar feel! As a matter of fact, we covered a wall in our previous home with ARDEX and loved the way it turned out! Here is that wall. . .
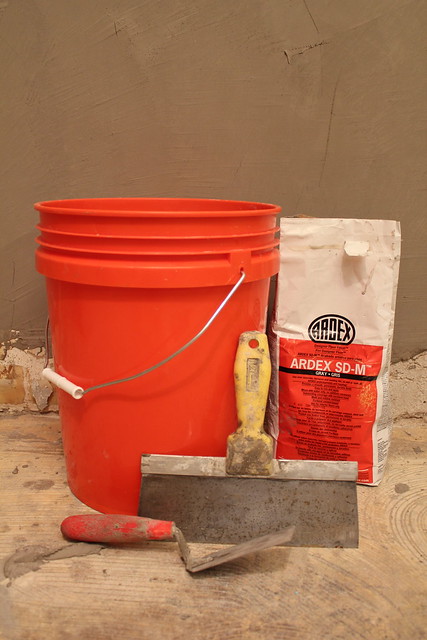
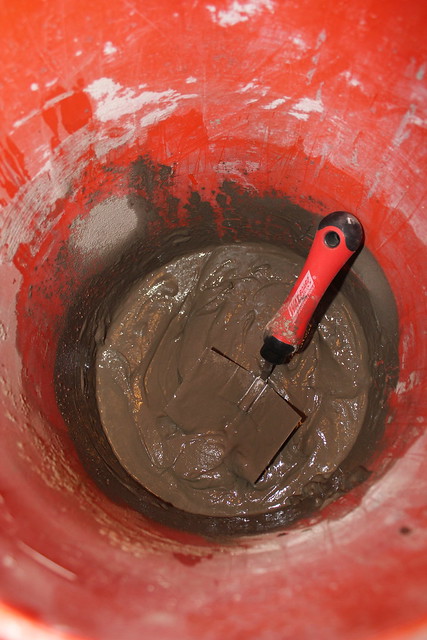
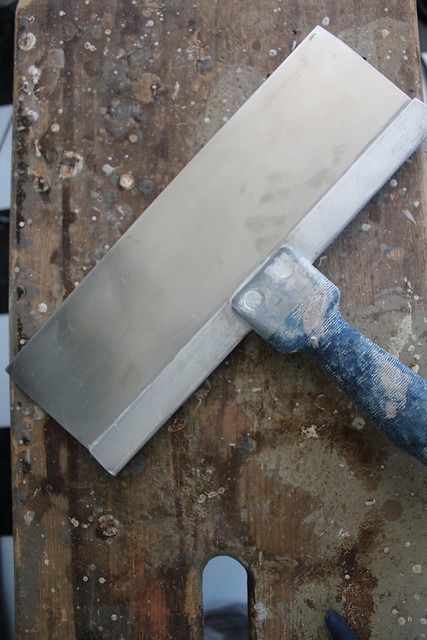
Anyway, after our first ARDEX concrete wall held up perfectly, we had no fears when it came to giving the product another go in our new living space! So, I took the same steps as I did last time. . .
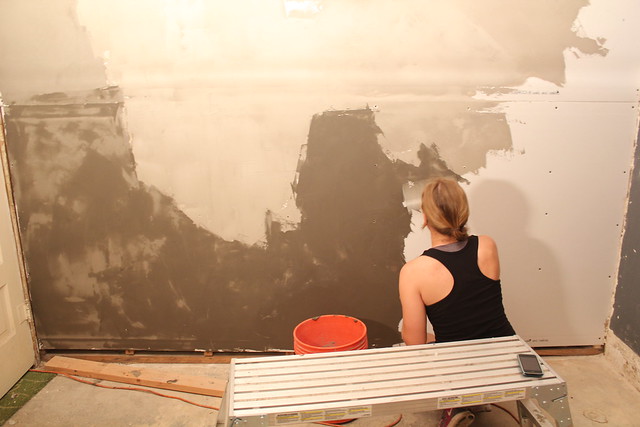
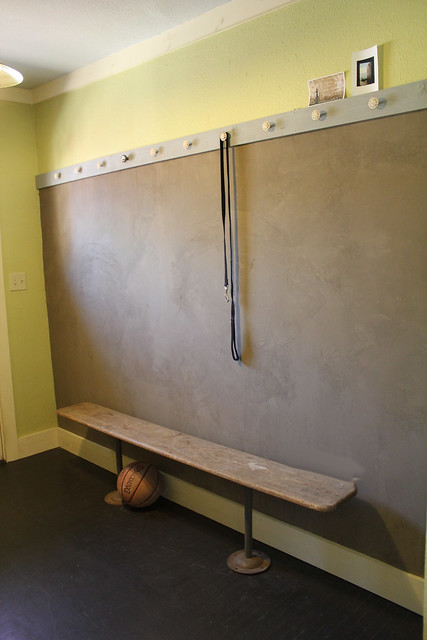
So, here was our room before. . .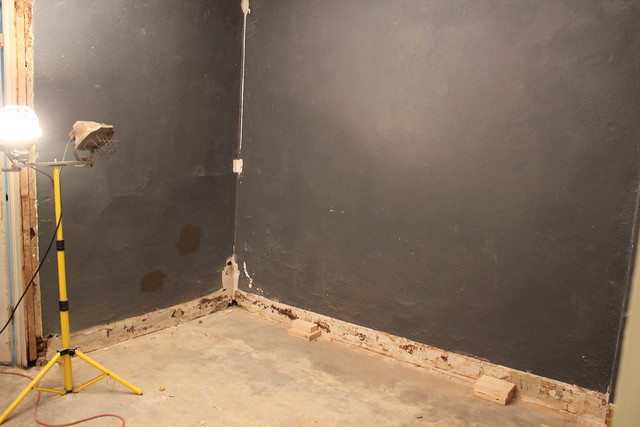
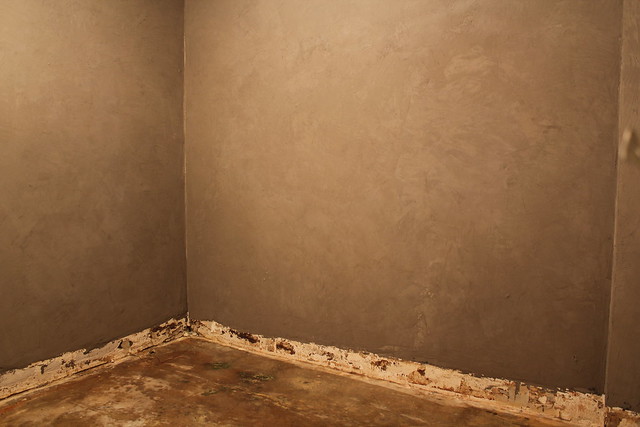
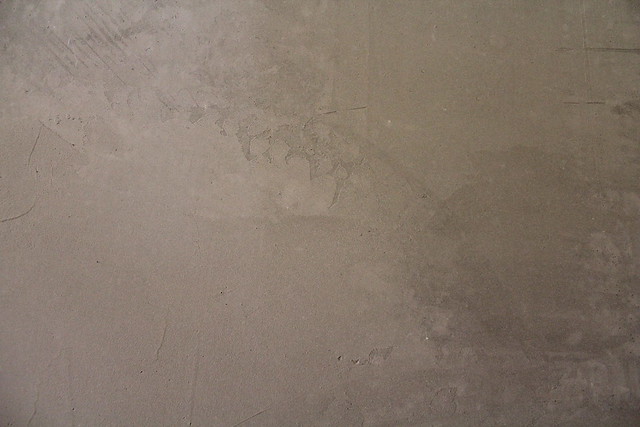
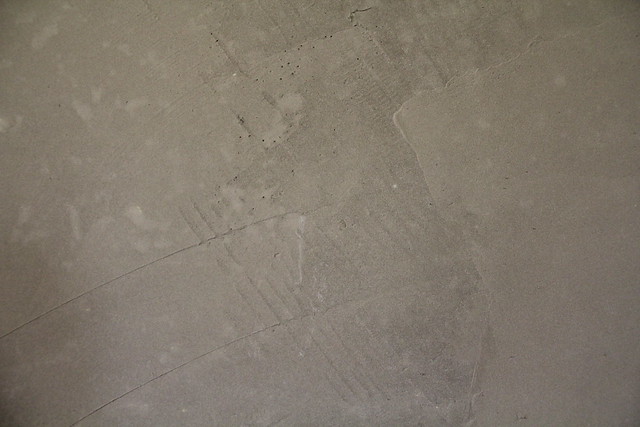
I love the texture that the troweled concrete gives! It’s so pretty to me! I could have chose to go with a flat paint finish in this room, but I am thrilled that this technique gives us some subtle variations. 🙂
Next up in this room is installing the flooring! Stay tuned for that! 🙂
Love it, Kara! Can’t wait to see the rest of the space come together.
Would this be a good product for bathrooms? Would it hold up in a shower? I love the look and think it would be a good alternative to tile if it worked in wet environments (no grout!)
cool look! can you do this on an existing textured and painted wall or does it need to be applied to a clean sheet of dry wall?
That looks awesome, Kara! Me and my DIY husband may do this when we are out of a rental and back in house mode. We love the industrial/minimalist look and this is right up our alley!