
Hey Friends! Today I am so very happy to have Tim contribute his first post ever! Two things you need to know about Tim before you get started reading:
1. He loves details and you will be able to tell in his writing.
2. He is very funny and sarcastic. Sometimes sarcasm is hard to pick up in the written word, so just know if anything sounds pompous, cocky, or just plain wrong- it’s probably his wonderful sense of humor kicking in! 🙂
I am excited to be making my posting debut. Kara has been “encouraging” me to try a few posts and if you follow Kara Paslay Designs on Facebook you would already know that Kara will be taking on some new responsibilities. Kara was offered and accepted the Display Coordinator position at ANTHROPOLIGIE! Needless to say you will be seeing a little more of me around these parts. Now, on to the stain.
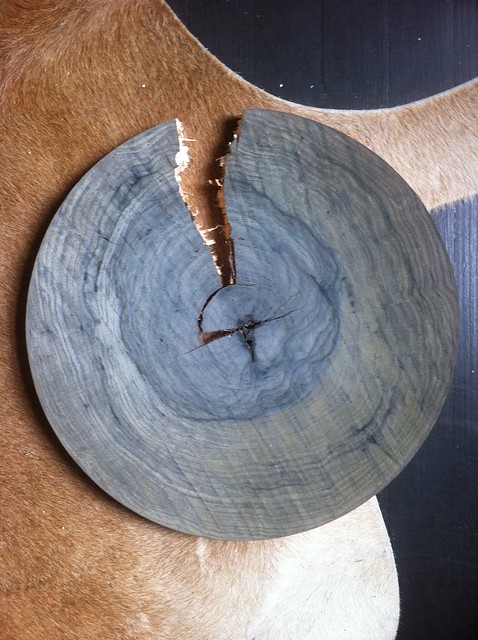
It all started when I was checking out this piece by Samuel Moyer.
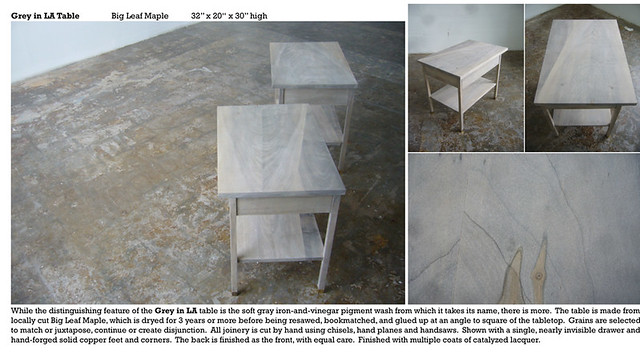
The grey color immediately caught my eye. I have never seen a stain that color. It almost looks like marble or soapstone. I noticed in the description he says he used a iron and vinegar pigment. This was one of the few times I regretted erasing almost everything I learned from my Chemistry degree, but never fear Google is here. With a little research I tracked down some concoctions and started experimenting.
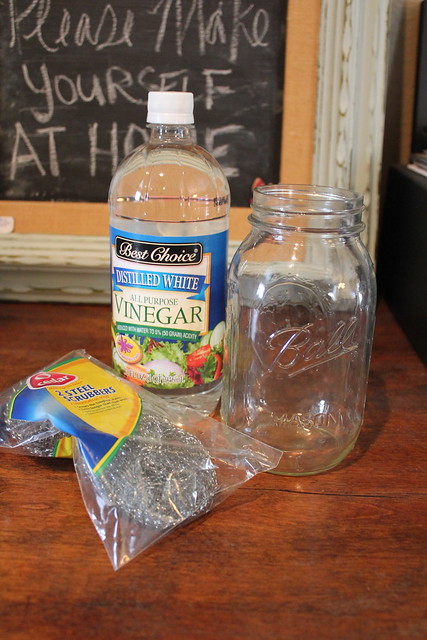
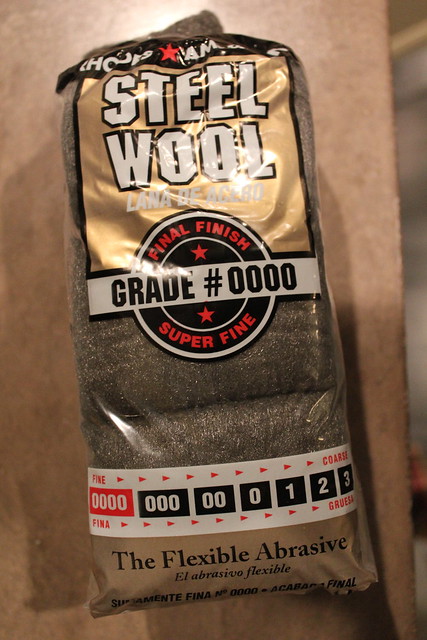
Here are my supplies: A Glass Jar, Distilled White Vinegar, and a steel scrubber.
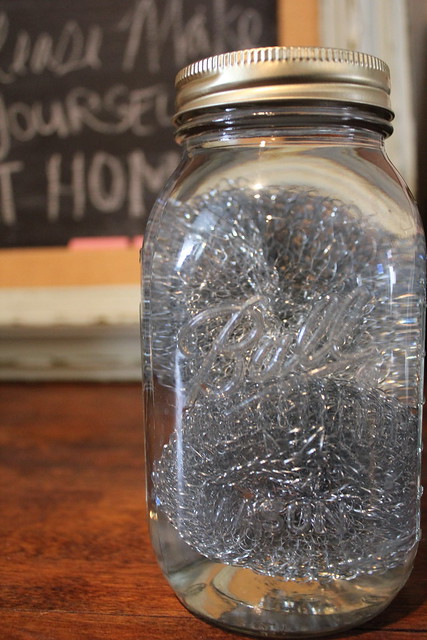
I placed the Vinegar and steel in the jar and waited for 24 hours.
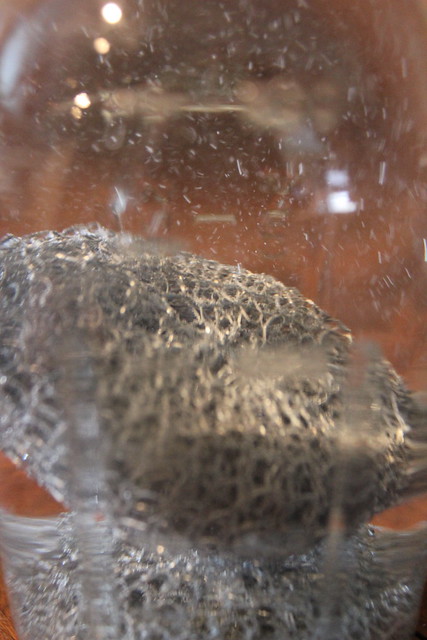
Almost immediately you could see something was happening.
I didn’t see any color change, so I left it in for almost 48 hours, but still didn’t see anything noticeably different. I thought for sure my scrubber wasn’t actually steel, so I removed the scrubbers and set the jar aside.
I had started this exploration during Snowmageddon and the scrubber was the only thing I could find within walking distance of the house, but after the snow had melted I got some Steel Wool.
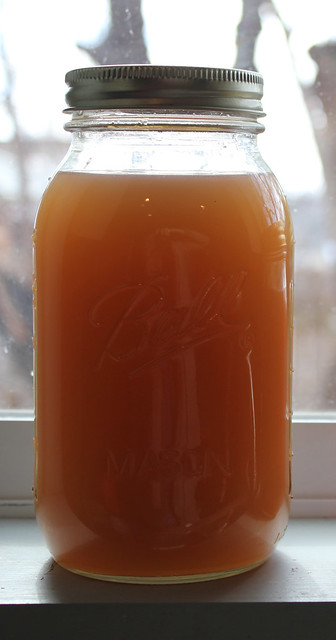
While I was out there was an interesting development in the first jar. What had been pretty much clear was now…
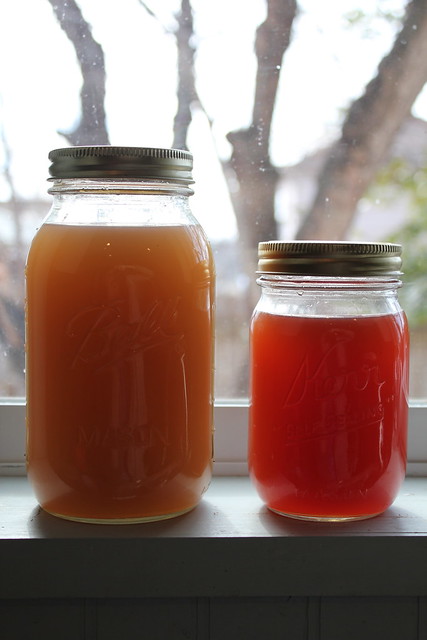
So the second time around I followed directions exactly and removed the steel wool right at 24 hours. Just as before the solution was mostly clear, but with a little time I ended up with these. The steel wool was in the smaller jar.
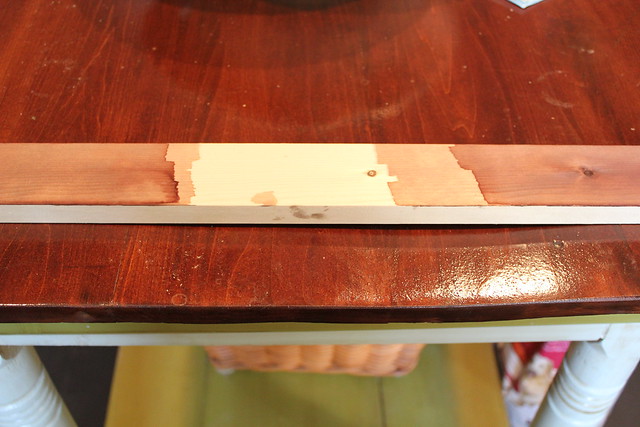
I couldn’t wait to try it out. Since I only work with the finest materials in my furniture business I only had a piece of pine laying around.
(Note: the stain will go on clear and start to darken within a few minutes and continue darkening for about 15 minutes or so).
You can see there wasn’t any noticeable difference between the two, but neither one looked anything like the inspiration piece. To me this is was just another confirmation that I was not made to be a chemist, so I gave up and moved on to the next project.
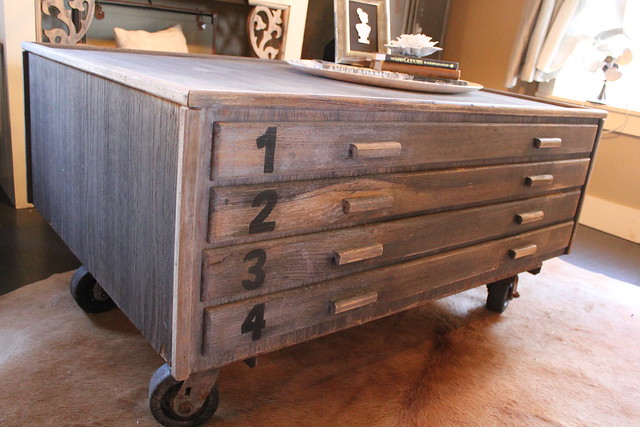
But as fortune would have it, Kara got into one of her, “I need to finish this project and I don’t care what has to happen, it is getting done TODAY!” moods and this was the only “stain” on hand. That project was yesterday’s flat file.
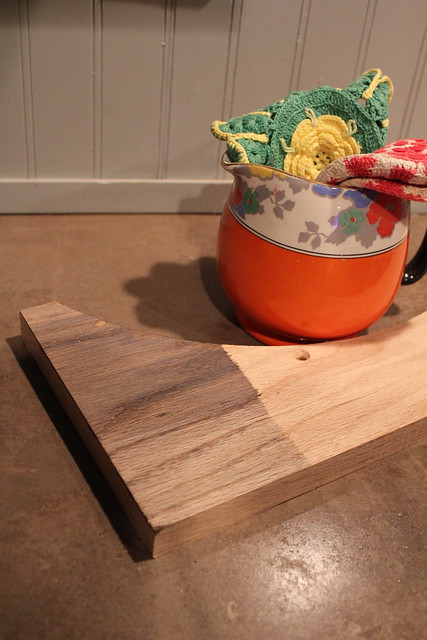
The color looks totally different than it did on the pine. So we started testing more. Here it is on white ash.
Here it is on some oak.
In person, that lightest area is a very light gray. It is getting pretty close to looking like the original photo. Mr. Moyer’s piece was constructed from maple so I have a sneaky suspicion that when I finally get around to trying it on some maple we will be very pleased with our efforts.
You should always test any stain on a sample piece, but with this one it is absolutely essential.
Well there it is, a homemade, cheap, eco-friendly?, beautiful stain. After doing some more thinking, any piece of steel should work for your solution. Kara and I can’t wait to try using some old nails and steel scraps that we have. Give it a shot and send us the pictures. We weren’t crazy about this stain on the pine, but on the oak and the ash- we love it! What do you guys think?
This is just crazy. I love how it came out grey. Beautiful….
off to find some scrap steel!
This is just crazy. I love how it came out grey. Beautiful….
off to find some scrap steel!
wow! ingenious! Thanks for sharing!
oooh that’s so cool! Awesome — I wouldn’t think to make my own. Also, congrats to KARA! Awesome!!
Very cool, Tim. and… Congratulations, Kara!!
I have been looking for this color of stain. PERFECT!! Thank you!!
Cool stain technique Tim! And congrats on the Anthropologie job Kara!
wow, great job figuring that out! i love the gray stain, will definitely have to try it out on non-pine pieces. thanks! and congrats, kara, what a fun opportunity!
Stain scares me and so does chemistry, lol, but this I could do!! Congrats Kara, how cool!
Oh! I like this idea, I could have used this post a few days ago when I was looking for the right stain for my new-but-wanna-be-old crates. Shame on me for letting my blog reading get backed up 😉
This is gorgeous! Do you mind sharing what kind of wood you used for the flat file? Thanks!
Hey Julie,
I did not build the flat file, so I am not positive what type of wood it is, but I think it is oak.
Thank you, I just found you via Pinterest Whole Foods We’re Used to Reusing page and after being rerouted from your previous site, found you here! Love the stain recipe and all else on your site I’ve seen so far!
This comment has been removed by a blog administrator.
So I’ve messed with this idea as well and basically what happens – from my understanding – is the vinegar/rust is reacting with the tannin’s in the wood. So the way it reacts depends on how much there is in the wood – naturally or added. So to make this work darker, you can actually brush with tannin and cause it to go almost black, or leave and have it react however it will… just some added information
you can buy tannin, or I’ve heard wiping it with brewed tea which has natural tannin works as well… the stronger the Tea the better.
Thanks for sharing. I loved the look we were able to achieve with our batch, but it wasn’t really practical to use on much because it varied so much species to species. I am glad to hear there is a a way to tweak it if need be. I would love to see some pictures if you end up experimenting. Thanks again for the info.
Tim
I actually tried this and used it to re-stain my kitchen table! I actually really like how the color turned out.
click here to see before/after photo 🙂
It looks great Jen! Thanks for sharing! We’ll be posting your photos on our facebook page soon!
Thanks for sharing such a great idea. I am so doing it.
I found your site googling for ways to make my own stain. I read elsewhere that pennies in vinegar will make a nice bluish green stain (patina color I assume?) I have some of that in a jar now anxiously waiting to see what happens. I also read that iron nails make a nice color. I wonder if any metal will work and make something different? I also wonder if any metals shouldn’t be added to vinegar. My husband would probably notice if I blew the kitchen up. I also read that we can use walnut and black walnut husks. Supposedly the black walnut makes a nice dark greyish color. I’ll have to wait til fall to try that one but I’m hopeful! I’ll come back by for a visit and let you know how the pennies worked out =)
All these ideas are great. I really like the penny idea. Kara has been on a copper kick lately. I would love to see how it looks on the wood. Come back around and let us know how all these turn out. Send some pics or post them to our facebook wall. Thanks for the ideas!
https://www.facebook.com/pages/KARA-PASLAY-DESIGNS/115750268463922?ref=ts
Ah! I used the same exact steel wool and all purpose distilled white vinegar in a mason jar and it has been sitting there for over 24 hours and nothing happened! Help?
That is exactly how it went for us (reread our post), we went ahead and left it in for 48 hours and then pulled the steel wool. That is when we got the color change in the mixture, but even the clear liquid will change the color of the wood. It takes a little time once it is applied to the wood, but don’t worry you should be in good shape.
AaAaAhhhh, gotcha! I should have read more carefully. Thanks for taking the time to respond! I am really excited!
We are glad you are taking it on, can’t wait to see how it turns out. Be sure to experiment with different kinds of wood. They give very different looks!