
A few weeks ago I posted about my painted glass table top for a fun series entitled “Craft Wars.” Well, in case you didn’t get over to check it out, I am posting the project here today. I am also adding some great tips and tricks so you can make this idea work for you!
So, before I show you the steps, let me tell you why I love this idea!
1. First off- It’s affordable!! You can choose to go with a glass or plexiglass table top. Any local glass shop can cut a piece of glass to your exact table top dimensions. Square or rectangle tops will be a little cheaper than a circular top. I chose to cut my own piece of plexiglass because I was on a tight timeline and I could save a little bit of money by buying the plexi from Home Depot and cutting it myself. My top cost $30 plus paint I already had.
2. It’s easily changed. If you’re anything like me, you love to create and change things up often! By cutting a piece of glass to size and painting on the underside of it instead of your furniture, you can easily remove one creation in favor of creating another in a matter of minutes. Plus, your nice furniture will stay pristine! This is a great idea if you have antiques you don’t want to devalue, but still want to add a little of your own personality to! To remove the paint from the glass (or plexiglass), simply use paint thinner and paper towels. On glass you can also use a razor blade to remove the paint. Do not use a razor blade on plexiglass.
3. This project is totally customizable. I chose to paint a graphic pattern, but you could choose to paint something that better suits you! With it being so easy to change, you could create tops to sport designs for different seasons, celebrations, and/or holidays! And if you don’t like it. . remove it and start over- no harm done!
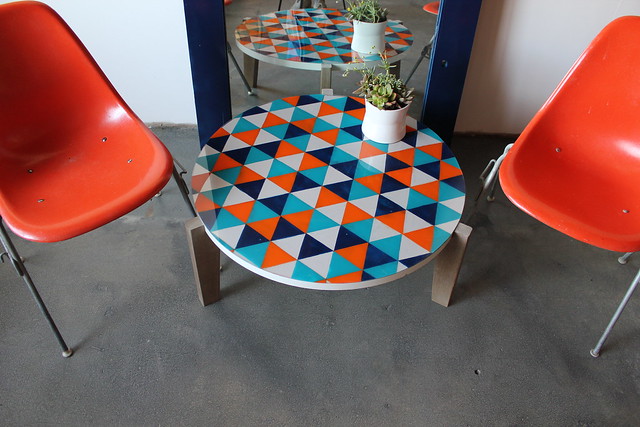
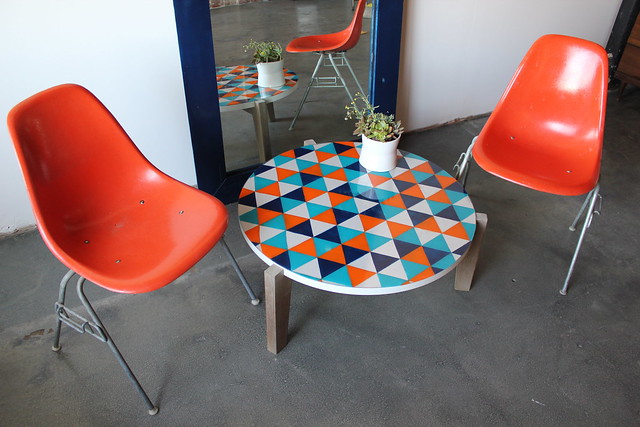
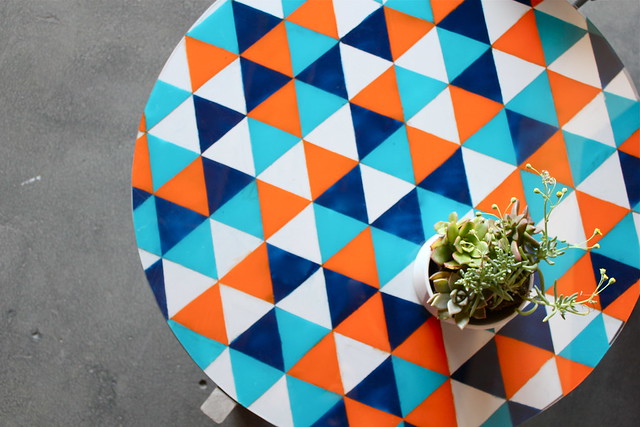
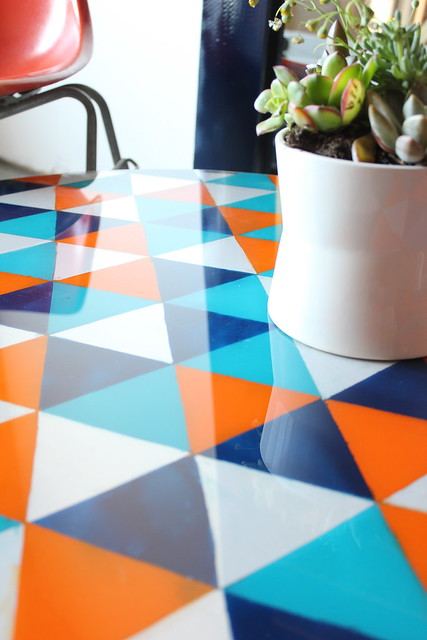
We’ve talked about orange quite a bit the last few days. I love orange, but by itself it can be a little overwelming. As we’ve said, pairing the hue with a couple of other complimentary colors will make sure the piece or pattern has staying power! For this project I chose to go with an orange, teal, navy, and white color palette.
Ok, so here’s how you take this project from start to finish.
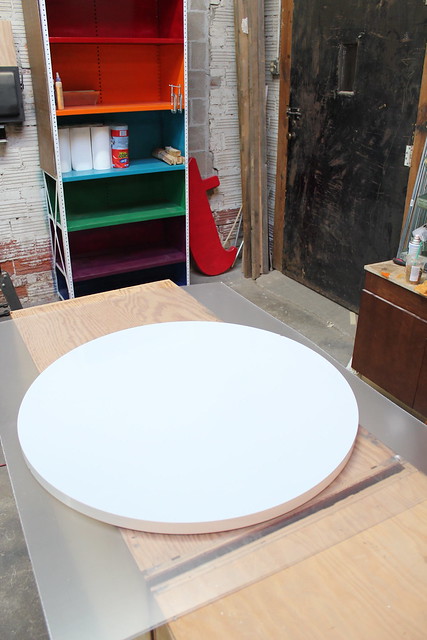
1. Buy a piece of glass cut to the size of your table top from a local glass shop or buy and cut a piece of plexiglass yourself. (I got my plexi at Home Depot.)
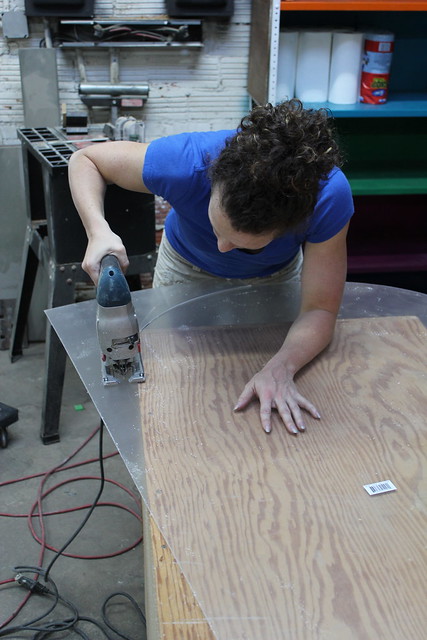
2. If you choose to use Plexigass- cut it with a jigsaw blade that is designated to cut metal. (The smaller “teeth” will allow you to cut through the piece. Keep the edge very well supported to prevent cracking.
3. Choose a pattern to paint onto your glass. The options are endless and can be super easy or more complicated. I chose to go with something a little more complicated.
To do what I did follow these instructions:
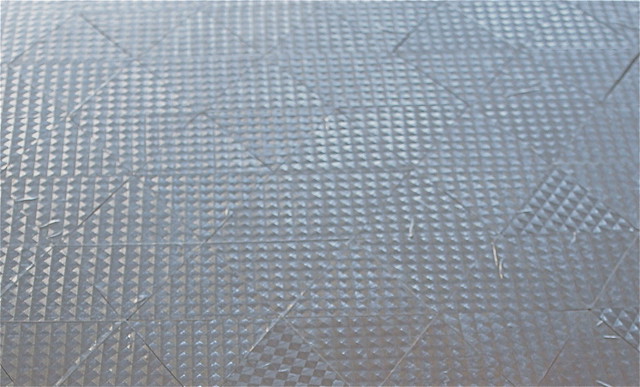
4. Cut contact paper into triangles and cover your glass piece with them. (This process will take a little bit of time).
5. Remove some triangles throughout the piece to paint on your first color layer. Use painter’s tape in spots where the triangles didn’t line up perfectly.
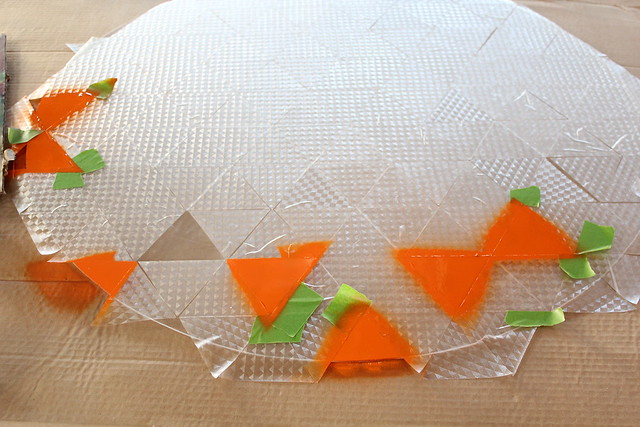
You can also use a guard (cut out of cardboard) to keep the overspray from getting everywhere.

6. Once your first layer is dry, take off another round of triangle stickers and spray your second color. On the back of your glass the spray paint will overlap, but on the front your triangles will stay crisp! And remember if you have a little mess up- paint thinner will clear things up in a jiffy! 🙂
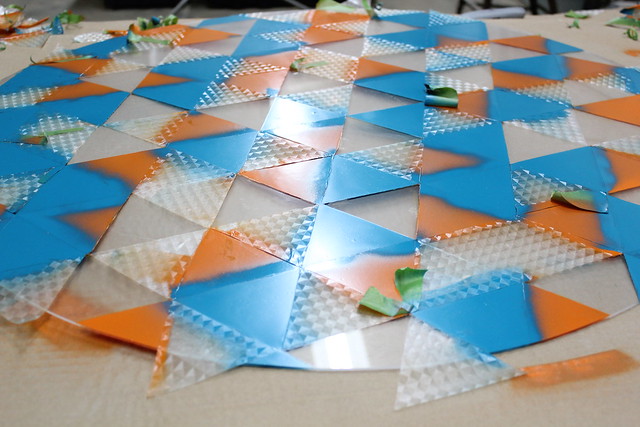
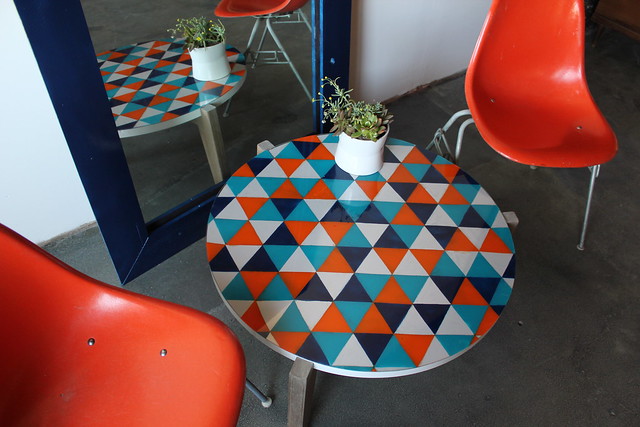
7. Repeat steps five and six with how ever many colors you desire. I left some triangles unpainted to allow the white of the table to show through.
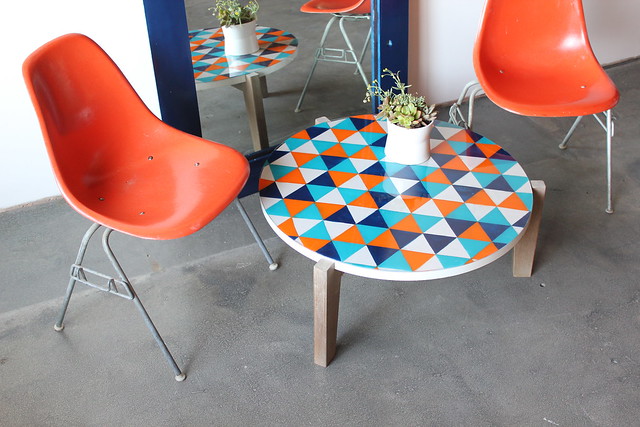
Soon, you will have this. . .
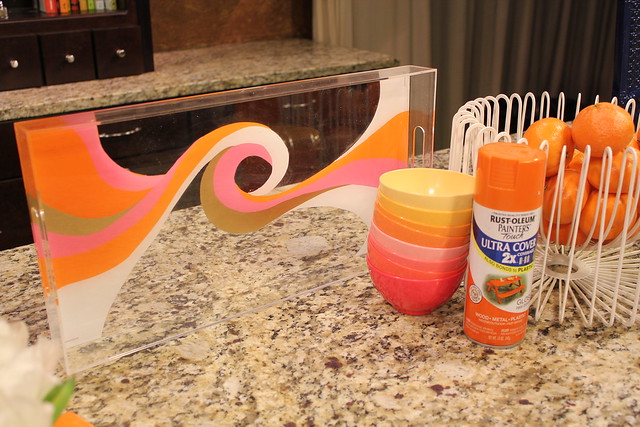
Easy right!? I actually applied this same idea to a plexiglass tray (which you saw in our Channel 2 segment).
So, what do you think?! Isn’t this a great way to keep grandma’s antique in the house, but still make sure it has a little bit of your style as well!? Is this something you would take on yourself? I’d love to see all your creations!
PS- Remember to allow your paint to dry completely before putting the painted glass top on your table! You can also add Rubber or felt grippers to the underside of the glass to create some separation from the paint and piece of furniture. Of course, these grippers will also help keep the glass in place! 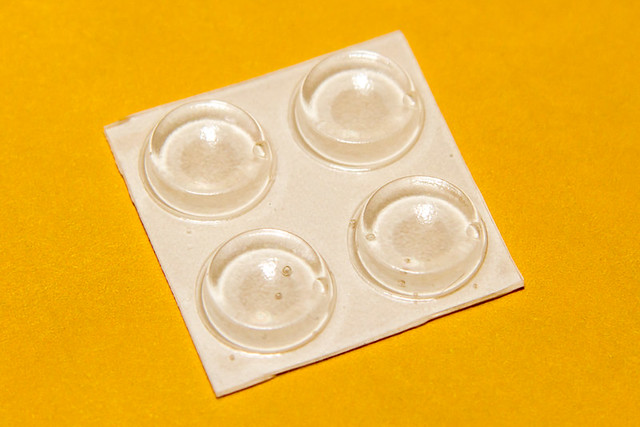
‘Til tomorrow friends!
You gave chance to me making my own. I can follow these instruction carefully.
love this so much!
WOW.
Love this so much! Easy, beautiful and affordable. My only question is where did you get the table?
Great idea! This is neat!!
Pingback: Painted Glass Table Top DIY Tutorial | Hip Home Making