
Are you the type of person that buys a good deal when you see it even if you’re not sure where to put it? I definitely am, as was the case with these 2 matching side tables I bought about a year ago. I liked their shape and material, but I really wasn’t a fan of the cherry finish on the wood.

Since I am redoing my reading room for the DIY shoot, I decided to add a new nightstand/side table to the space. Of course I didn’t want to spend a bunch of extra money if I didn’t have to, so I looked around my home for different options. And after some thought, I decided this was a great time to refinish my side table that was dressed a little too old for its age.
My awesome mom came in town to help me complete the multitude of projects that I wanted to finish in time for our DIY shoot and this was one of them! Mom did a quick sanding of the piece taking it down to the bare wood.

Next, she taped off the top part of the table so she could spray paint the base (gold of course, cause it’s my favorite!).

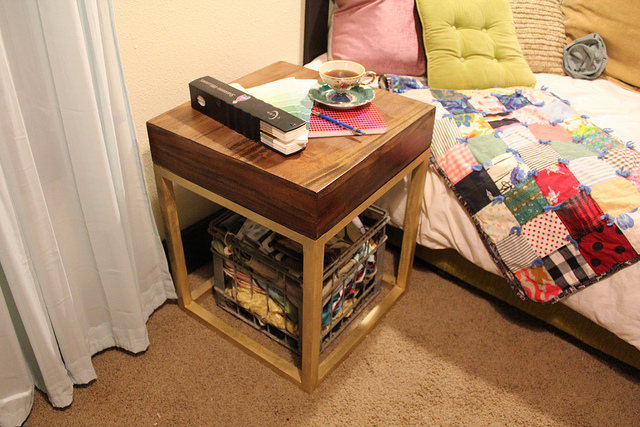
Then mom stained the top part of the table with Minwax’s Provincial colored stain. As soon as she did this, I fell in love with the table!

All the variations in the wood that were previously covered by the dark stain were highlighted with the new lighter finish! And I lurve it!!! (If you don’t get the “lurve” reference, rent any one of Tyler Perry’s “Madea” movies- they are totally hilarious and always have a great message!!!).
So, let’s see a final before and after!
Before

After


Hallelujer! Yay for easy and cheap makeovers! If you have a makeover or DIY you would like to share, I am looking for guest bloggers in October! E-mail me if you’re interested!
Thank God for wonderful Moms!
Yours is a blessing!!!!
♥’s
Sherry
it looks fab, sooo much better xxx