
Well there’s no better way to start off the week than with a DIY project, right?!
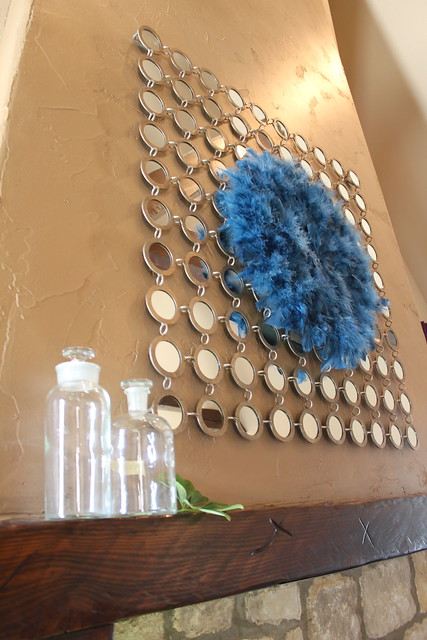
Since posting a few photos of this Juju (below), I’ve had a number of people ask where I bought the cool, cultural piece.
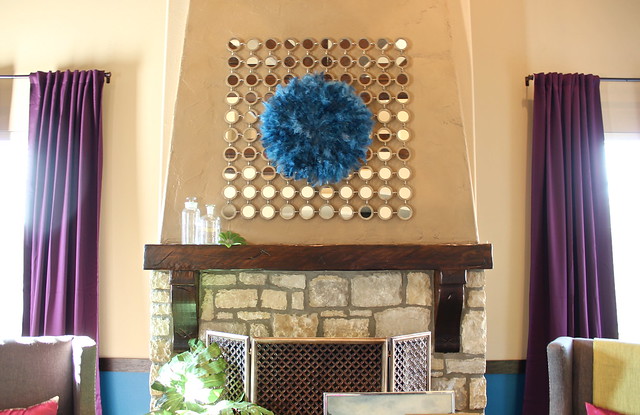
The bad news is this is not an authentic juju brought back from an African village. The good news is you can create this look even if you never get to visit Africa, plus you don’t have to pay $300-$600 (which is the going rate for an authentic juju on the internet).
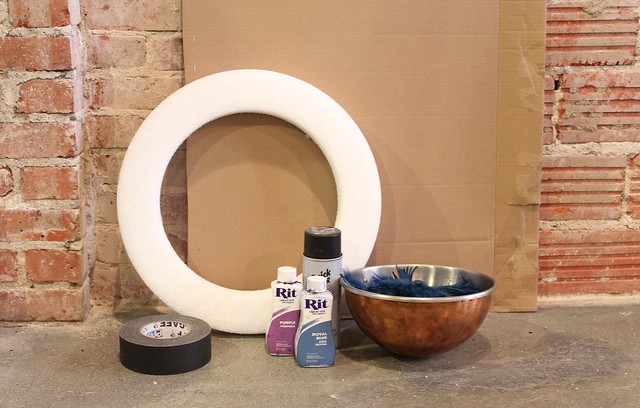
Ready to get the how-to details? Let’s start with the materials list. You will need:
– Large piece of cardbaord
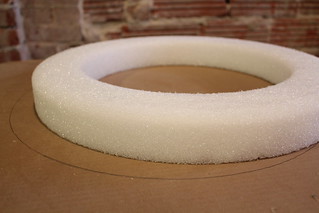
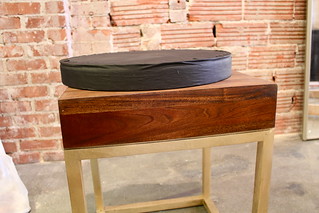
– Styrofoam wreath form
– Black spray paint
– Black gaff tape or black duck tape
– Feathers
– Rit dye
Step 1- The first step is to dye your feathers. Most craft stores sell white feathers which can be turned whatever color you like.
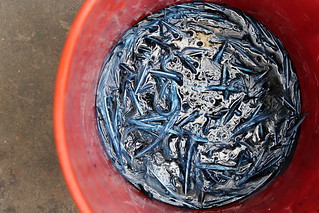
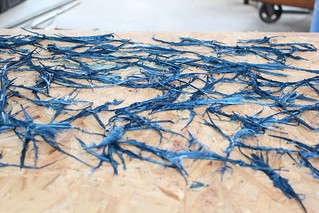
Step 2- Once the feathers are your desired shade, take them out and let them dry. Once the feathers are dry you will have to use your fingers to fluff the feather back out to normal.
Some craft stores stock lots of colored feathers. If they have a hue you like, you can skip step 1 & 2 and move onto step 3.
Step 3- Trace around your wreath form on your piece of cardboard and cut the circle out.
Step 4- Spray paint the circle cut out a flat black (if you have a light colored feather, I would opt to paint the cardboard circle a similar color).
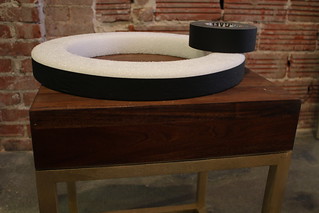
Step 5- Take your black gaff or duct tape and wrap it around the outside of your wreath form.
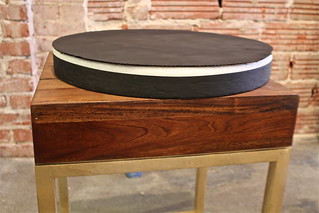
Step 6- Place the spray painted cardboard circle on top of the wreath form and use more gaff or duct tape to secure it in place.
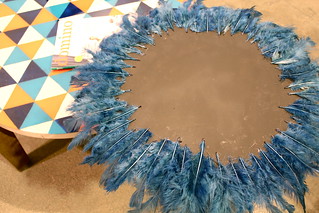
Step 7- Now it’s time to add feathers! Start on the outer edge and use hot glue to attach the feathers to the cardboard. Only use hot glue on the stem or base of the feather. Make sure to use lots of feathers to make the piece feel full. Keep working your way around the circle until you get to the center and the entire piece is completely covered.
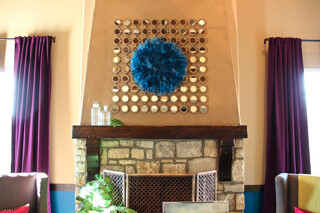
Step 8- Use the void created by the wreath form to hang your hand made juju on the wall!
Such an easy process for such a lovely end product! I love the texture, color, and culture this DIY juju brings to B’s space! More coming tomorrow!
Is that B’s house! You are so talented, Kara! I am very jealous of B’s house. We’ve been working on ours, but it’s not even close to what you can do.
WOW! It’s beautiful! And just when I was thinking about shelling out $400 for an authentic juju, you post this! Thank you for keeping my wallet (and me!) happy 🙂
That is a really fun project, it turned out great!
Ever since you mentioned you were using one in your client’s space I was hoping you’d do a tutorial! Thank you! About how many feathers do you think it took? A few hundred?
I love the sneak peek at all the details! I can’t wait to see it all finished. Love the mirrors behind the ju-ju
Awesome! I was one of the readers who asked 🙂 Yea they are expensive but this is a great how to! I’ll be pinning it.
You are so stinking smart! Looks awesome 🙂
Ahh, thank you Allison! I am sure you are doing a great job on your house! Hope we can get together soon! 🙂
Yay Caitlin! So glad I could save you some mulah! Now you can take extra cash and it toward some other design element! 🙂
Thanks Jen! I’ve loved Juju’s ever since I saw them! I think I’ll put one in my house too! 🙂
Hey Jenna! I’m not sure on the number of feathers, but it took me about two small packages to complete the look. I think a few hundred would be enough. 🙂 Have a great day!
So glad you’re enjoying these posts Kat! I do think the mirror(s) really set off the juju too! 🙂 More coming soon!
Awesome Jessica! I was very pleased with the total cost (less than $20!) too! Thanks for pinning! 🙂
Well thanks Shelley! Tim’s the smart one, but every once in a while I have a smart idea too. haha 🙂
Hi Kara, I love your blog and have been trying some of your ideas… But I am having a problem with this Juju. I died my feathers and let them dry but then I couldnt fluff them 🙁 Did you do anything special? Thanks
How about using a Feathered Boa and gluing it down? It might be quicker?