
Hey Friends! Today I am revealing a bar area that I recently completed for a client. I have already told you about the DIY fish scale tile in this post, but today you get to see the entire transformation! So, let’s take a look!

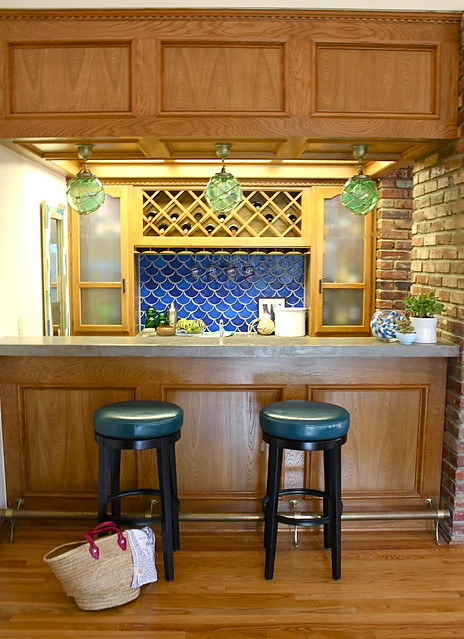
We did a bunch of small(ish) projects in this space that made a big difference! The area had a whole lot of wood tones and not much else. Heather (the home owner) wanted this space to be fun and colorful. Although it is a bar (mainly an adult space) she wanted it to feel kid friendly and not be so focused on alcohol.
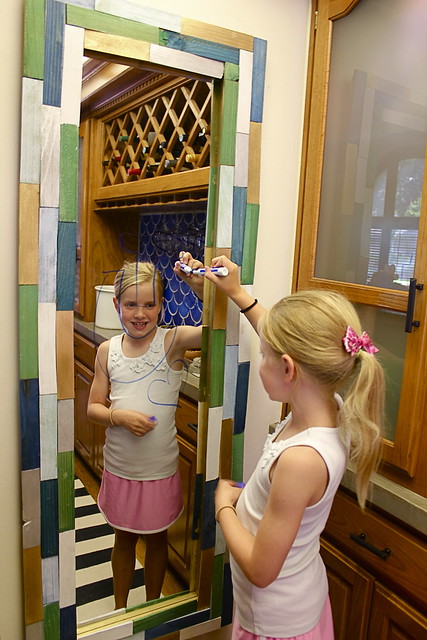
We were able to bring in a number of kid friendly features (bright bold colors, stripes, and a place for the kids to draw) while also keeping the space looking high end and custom.
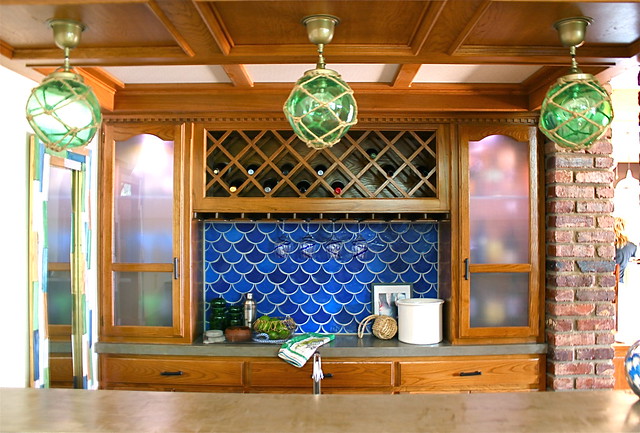
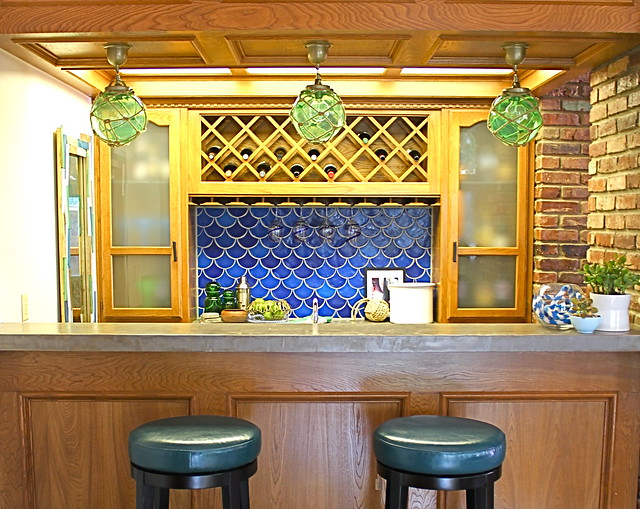
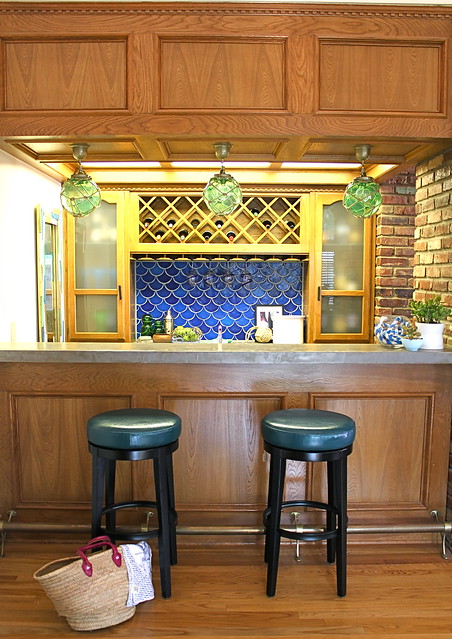
In these two photos (above and below) you can see that we added lighting inside the cabinets. The soft glow looks really nice and I love the way it shows off the outline of the bottles inside. More about this project in the next few days!
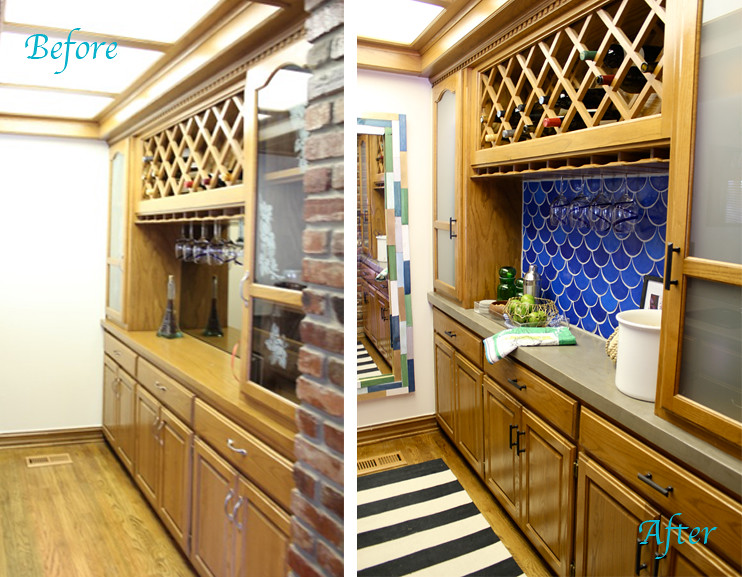
Because I love the fish scale tile so much, let’s look at the before and after one more time!
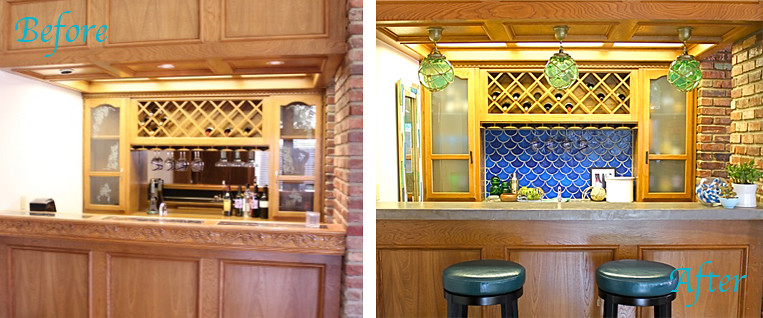
BEFORE. . .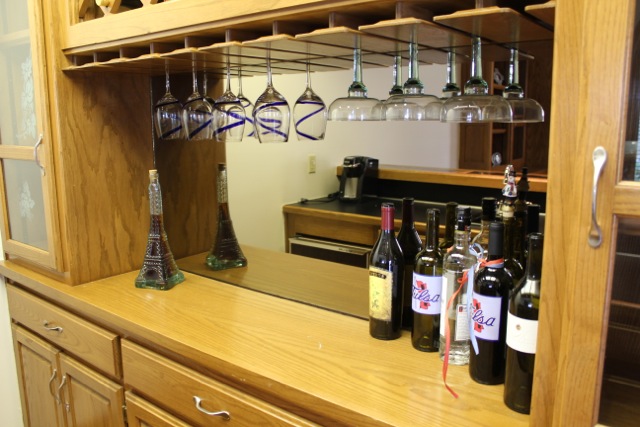
AFTER. . .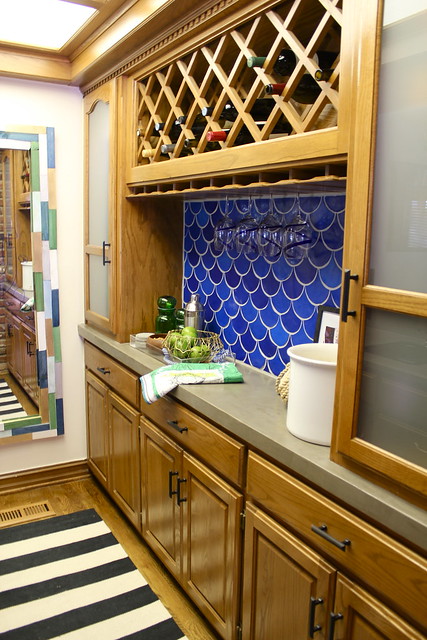
You may have wondered what I was referring to when I said we added a place for the kids to draw. Well, I wanted to add a mirror to the space to help bounce light around, but I also wanted to use it to as a drawing board for the kids! Simply grab some dry erase markers and let them go nuts! I little water or windex takes the writing right off!

Probably one of the biggest and most impactful changes we made were the countertops. Each surface (the bar, the prep area, and the inset between the cabinets) all had different finishes. I wanted to make sure they all matched each other and I wanted to choose something that would break up all the wood. Have you noticed what we chose?
Here’s the BEFORE. . .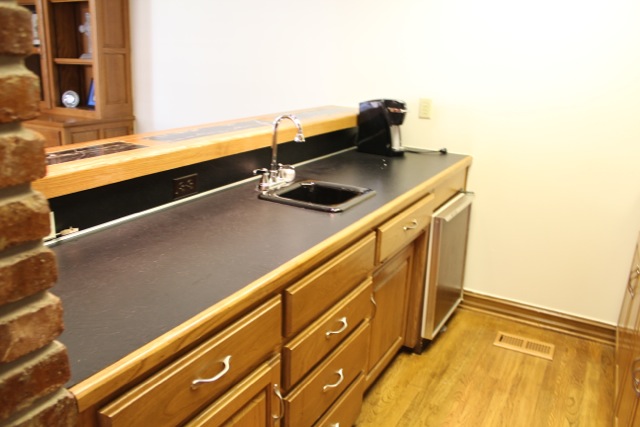
and the AFTERS. . .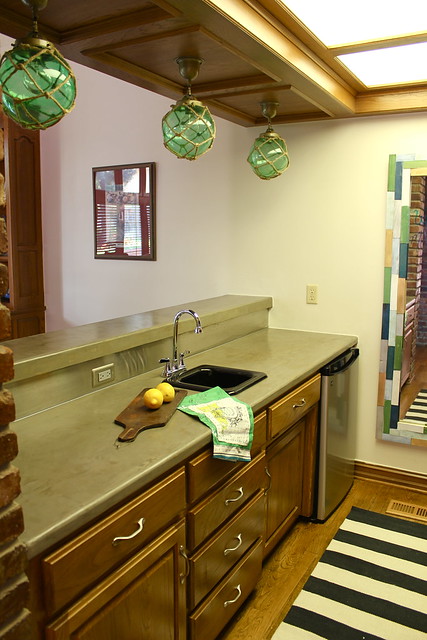

We chose to go with concrete of course!!! 🙂 Not only because we love the look of concrete, but also because the gray color contrasts with the wood beautifully and we could do it with almost no demo! We used our favorite concrete product, Ardex. I’ll be touching more on this process Friday! PS- If you sign up for our DIY Concrete Class on August 11th, we do a hands on lesson teaching you how to use Ardex!

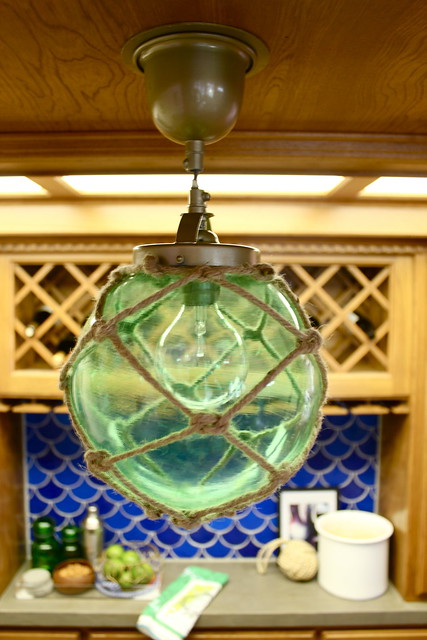
The new pendant lights were another fun addition to the space. Inspired by japanese floats, these lights are a project you could also take on yourself! We’ll show you how very soon!
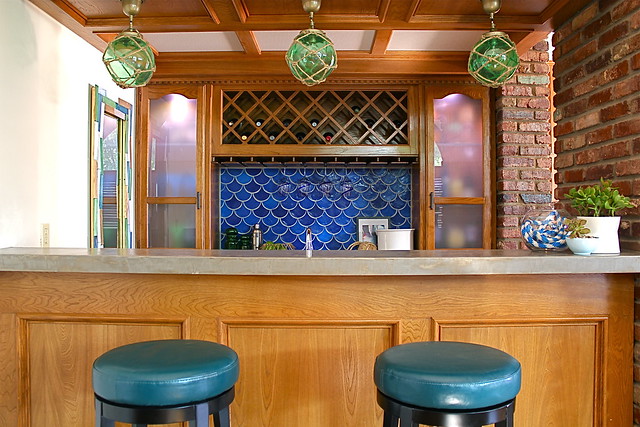
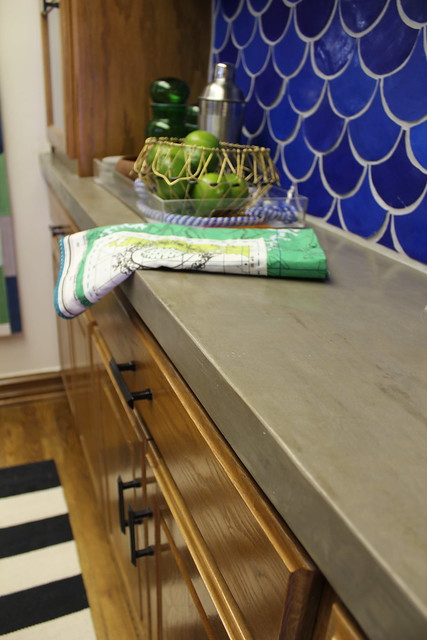
A few final photos. . .
So, what do you think of the final look!? Heather is happy and so am I! As you can tell, we have lots of DIY projects coming at ya, so stay tuned!!
I love the lights! And I don’t need to tell you how in love I am with the tile….but I will anyways! It looks amazing!
the lights are amazing. love the rope. the tile too. seriously, awesome work!
Pingback: DIY Float Chandelier | Kara Paslay Design