
Here is the “oh so easy” how-to for all of you interested in creating a book wreath for yourself!
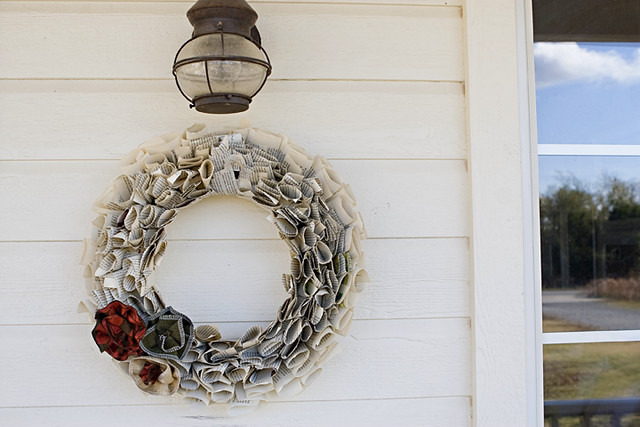
This photo does picture the wreath hanging outside, but that was only for lighting purposes! Remember to use your book wreath for inside decorating only! 🙂
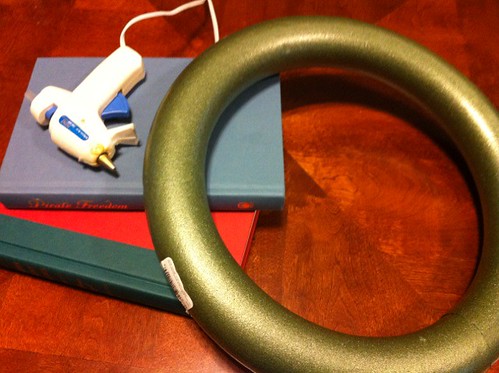
1. Gather your supplies: one book, hot glue gun and glue sticks, and one foam wreath.
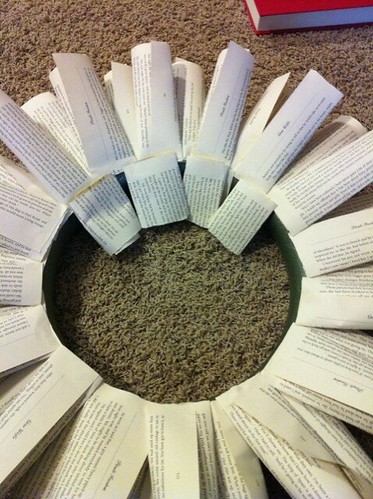
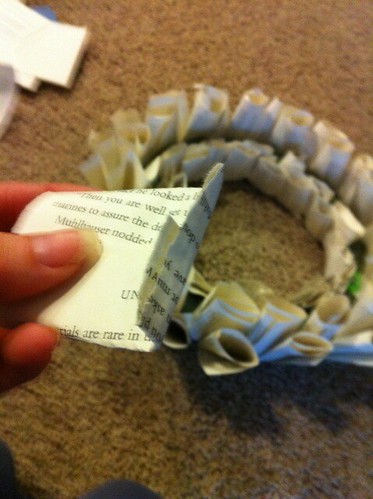
2. Tear out book pages, role them up, and glue them around the outside of your foam wreath so it starts to look like a sun.
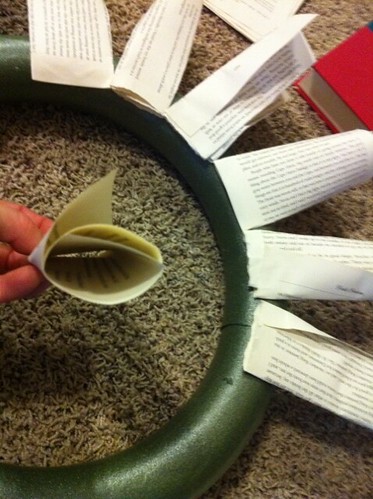

3. Once you have gone around the wreath once with rolled book pages, go around again filling in the blank spots.
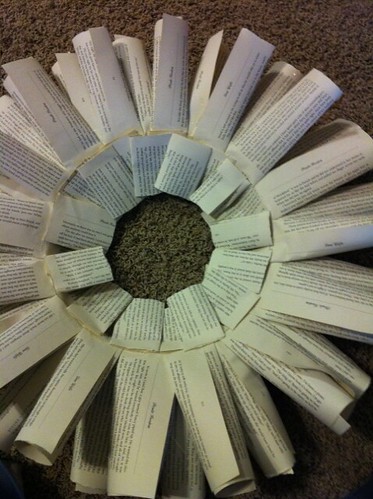
4. Then begin the do the same thing on the inside of the wreath (but tear the book pages in half). This will look funny for a bit, but trust me it will get better!
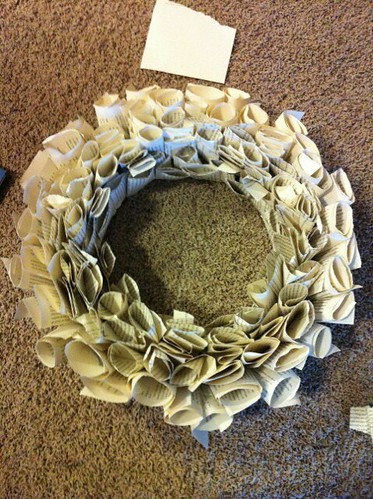
5. Once you have the inside ring filled in really well, flip the whole wreath over.
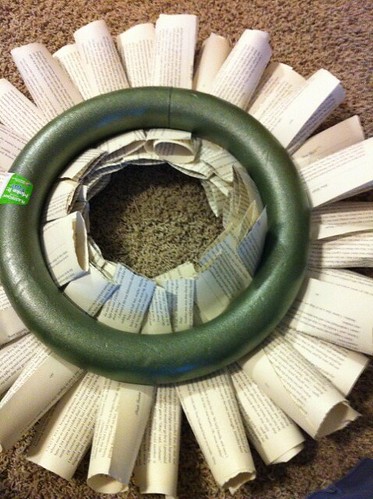
6. Now use your hands and hot glue to fold the book pages up around the foam wreath.
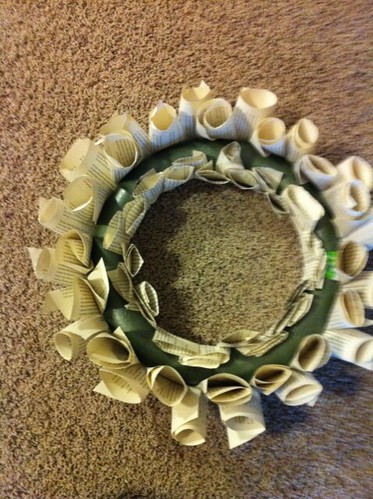
7. Next, you want to fill in all the empty green spots with folded and rolled book pages. Continue to tear the pages in half so your wreath isn’t too fluffy. I simply rolled the half book page, bent one end up creating a flap, put the hot glue on that flap, and stuck it in place! Do this until your wreath is nice and full.
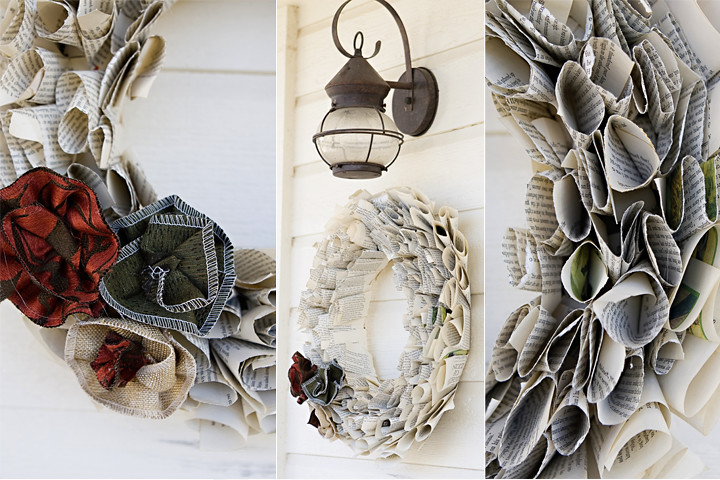
Last you can add any sort of embellishments you want to really personalize your creation!
That’s it!!! Easy, inexpensive, and perfect for the holidays (or any time of year)!!!!! Monday, I will show you how to create pop-up book art in minutes!
Ok Kara, you must explain the cute little red and green flowers also because in my opinion that makes the wreath. This is a great tutorial, I like that you break everything down in dumb terms so even I can understand them and follow. I LOVE THE IDEA! They are beautiful!
love it! i did a lot of book paper decor this year too…
Love the popup book!