
Hey, hey friends! Today I am going to revisit the brushed metallic wall that I mentioned back about a month ago. Before I posted a quick video that gave an overview of the process….
but I thought I would go back and do a written post for all of you who aren’t able to watch the videos.
Here’s how the room started….a blank slate…
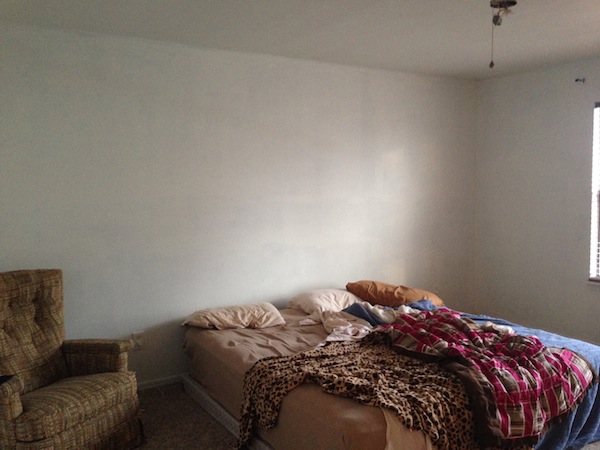
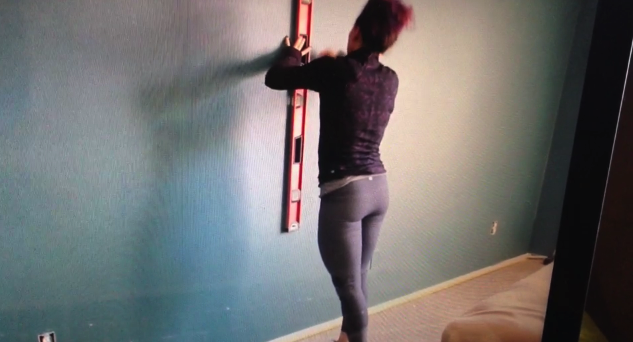
The homeowners went ahead and painted the room in a deep blue color that I suggested. Then, I came over to spice things up a bit.
First, I drew a straight line down the center of the wall and applied painter’s tape to break the surface up into manageable work areas.
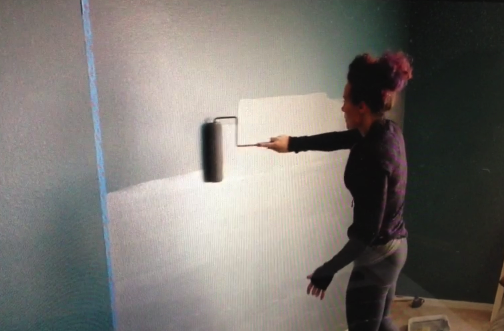
Then I got out my Modern Masters Paint in Snowflake….
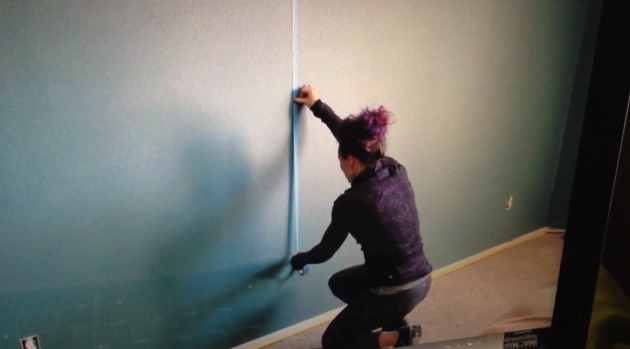
I quickly rolled it on, only doing small 3 foot high sections at a time …
Then immediately, I took a broom and starting in the corner I dragged the broom towards the tape…
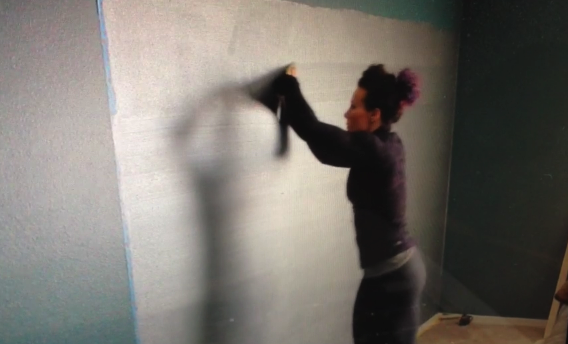
This created striations in the finish (as you can see below)…
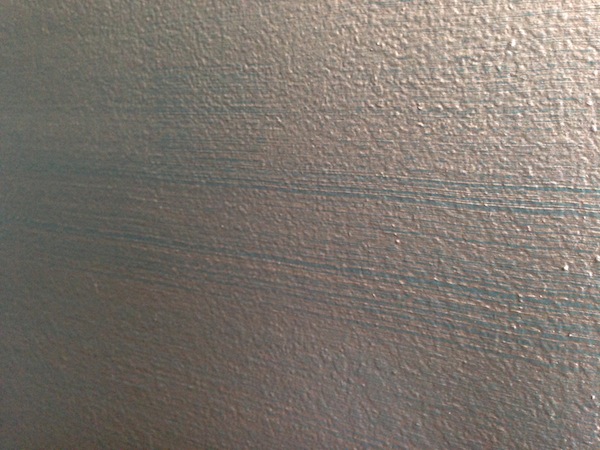
I finished the whole wall using this technique. As you can see, when you step back the effect is really quite striking…
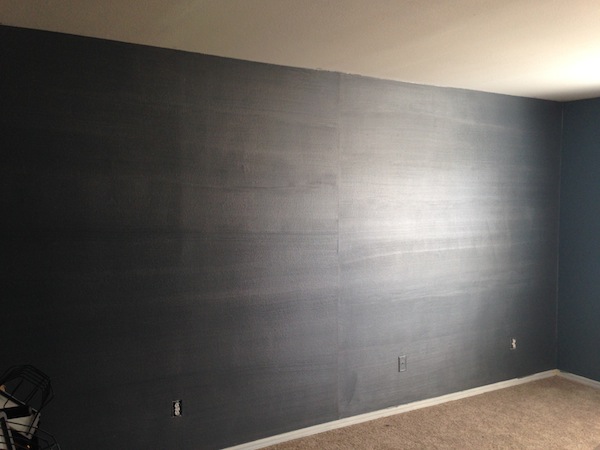
After the wall was finished, it was time to start putting all the other pieces in place! Here’s a little sneak peak of the space in it’s semi put together condition.
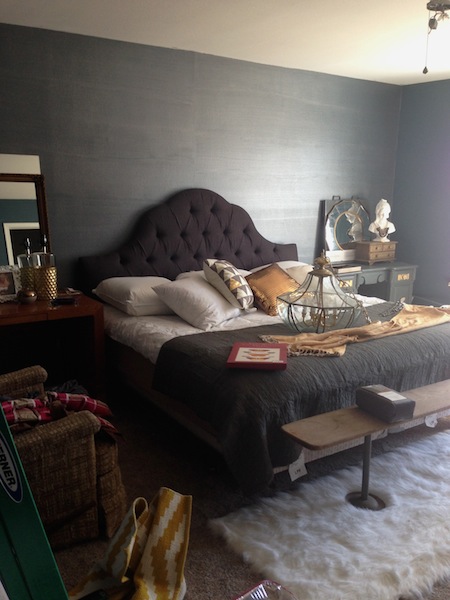
I think it’s going to turn out beautifully! With any luck, I’ll have finished photos to share within the next week! 🙂
Modern Masters has all sorts of fun paints to try out. You can buy the brand at your local Spectrum Paint or find another provider here! Happy weekend friends!
Very cool! I know it will look great once it’s all finished too.
Pingback: Beautifully Moody and Romantic Master Bedroom | Kara Paslay Design