
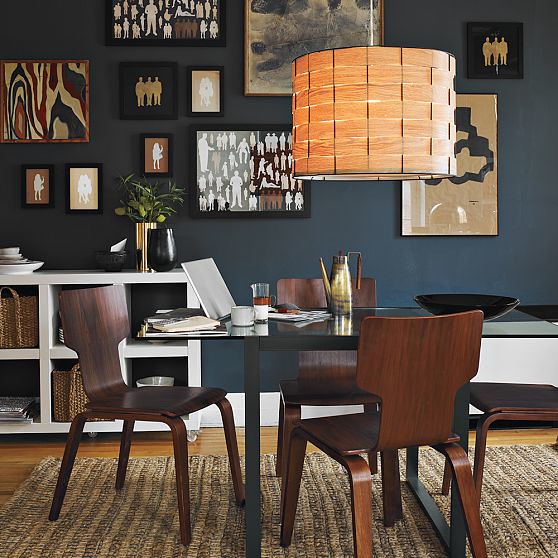
Do you remember a while ago when I proposed the idea that readers could send in items they were wanting to buy, but couldn’t afford? And then, the plan was that I would try to figure out a cheaper way to achieve the look. We’ll the fixture below (from West Elm) caught my eye a while ago and I thought I would try making my own.
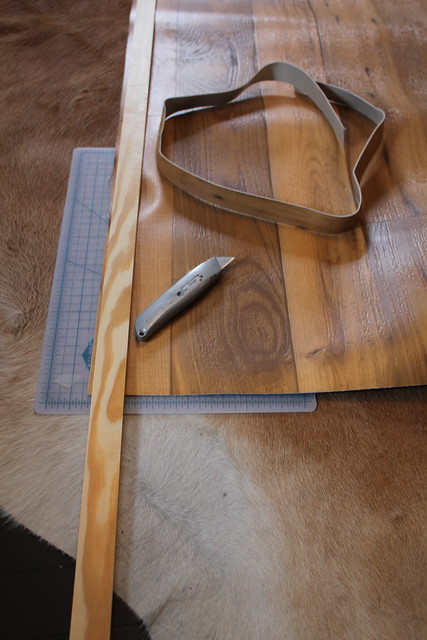
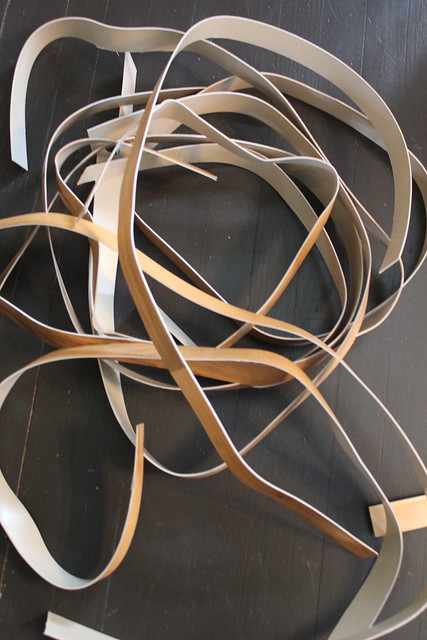
1. First, I cut strips of faux wood linoleum flooring that I had left over from a few other projects (You can find them here and here).
2. Then I found a lampshade that I already had but wasn’t too fond of. I removed the fabric part which left me with two metal rings.
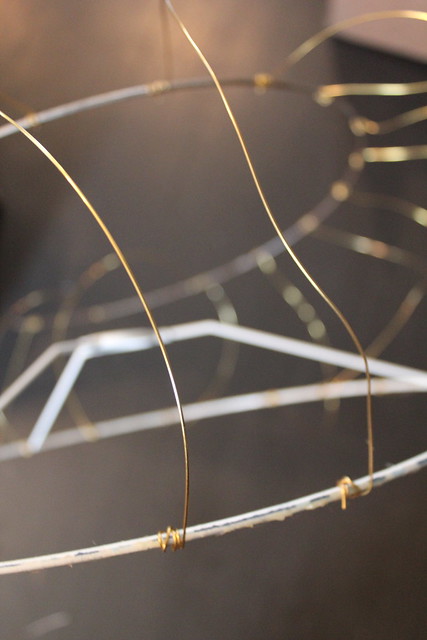
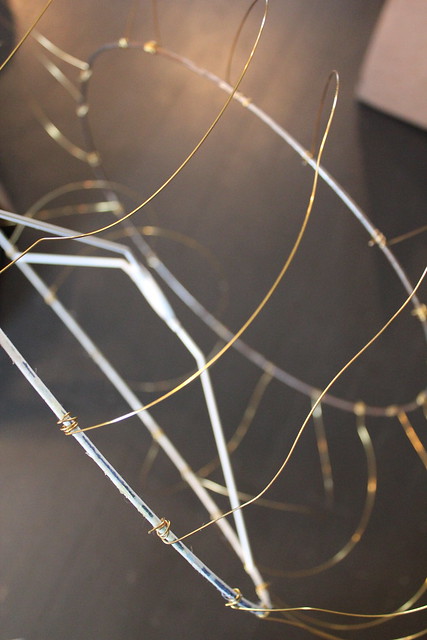
3. Then I cut a bunch of 14 inch lengths of wire.
You should cut the wire based on the height you want your shade to be. You should take into account the width of your wood strips when cutting your wire. For example- my wood strips were 1 1/2 inches wide. I wanted to use 8 of them which meant my the total height of my shade would be 12 in. I then cut the wire into 14 inch lengths to make sure that I had plenty of extra to wrap and secure the wire around the metal lamp shade rings.
Tip- Use a heavy gauge wire- in retrospect my wire was a little too flimsy. The thin wire was what I had on hand and it worked but if I were to do it over, I would use a thicker wire.
4. Wrap the wire around the lamp rings making sure to keep all the wires the same lengths. You can use a dab of hot glue to keep them in place.
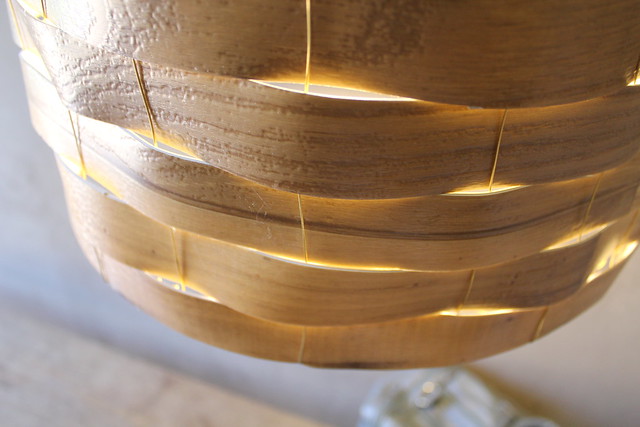
5. Now it’s time to start weaving the wood strips through the metal wire. As you get closer to the top, your shade will start to take shape.
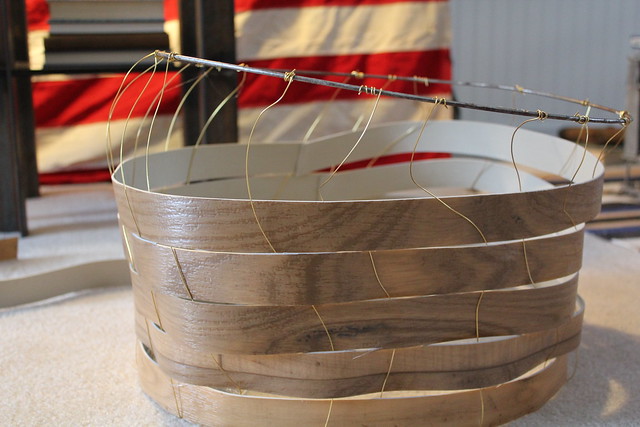
6. Once I wrapped the strips around the shade, I overlapped them slightly, trimmed off the access, and secured the ends with construction adhesive.
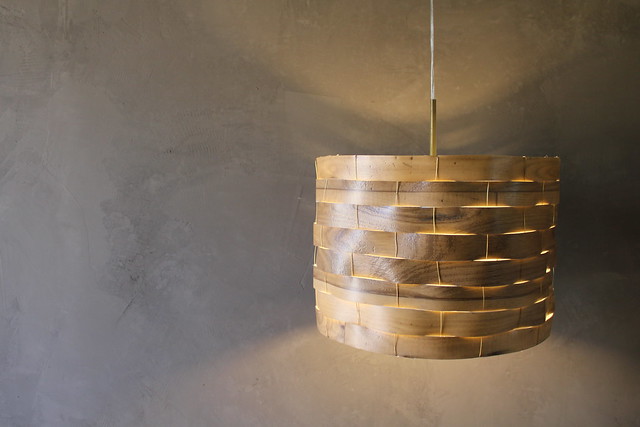
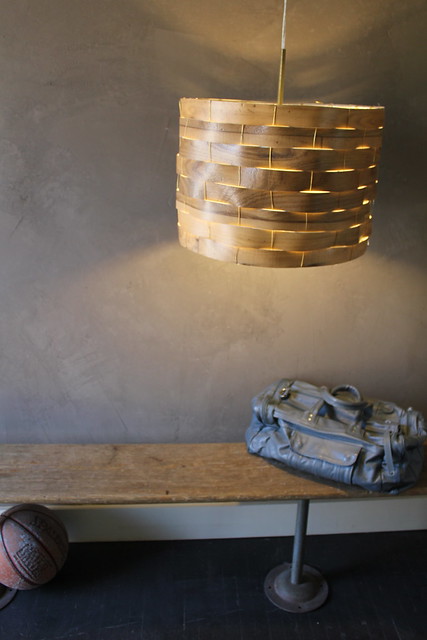
7. All that was left was to hang the pendant.
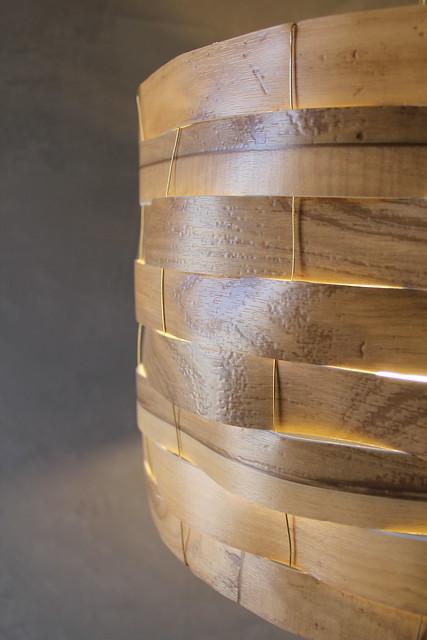
Here’s my version. . .
and here’s the original version. . .
I am pretty pleased with how it turned out! And I am happy to report that because I used things I already had on hand and left overs from previous undertakings, this project cost me $0. That’s right, it was absolutely FREE!!!
What do you think? Does this tickle your fancy or is this project just not for you?
If you use this tutorial to create your own light fixture, I would LOVE to see it! Send me pics!!!
Wow, this is super amazing! Great idea!
Great job! I can see how thicked gauge wire might be better, but it looks great!
Very impressive! Such a close match to the West Elm version, and with a much more attractive price tag! 🙂
Mandy @ This Girl’s Life
Wow, amazing… I might just tackle this for my bedroom or guest room!
Great idea! And your right about the sturdy-er wire. If you used a thicker one, it would look even more like the original.
Very impressive. Love that you used materials you already had.
Thanks ladies! I can’t wait to do more “Copy Cats!” So send in things you would like to see a DIY on!
That’s such a great idea! Iron on wood veneer would also work wonderfully! It comes in a roll, so it’s already cut to a certain width. I wonder if wooden skewers could be used for the verticals. Perhaps an epoxy could hold them in place? Maybe glue the skewers to the inside rings of an embroidery hoop? That’s something that I might attempt…
I have some iron on wood veneer left over from a light I just made. You can see part of it here:
http://ourhumbleabowed.wordpress.com/2011/03/24/chunky-wood-moooi-random/
This is why I love you! More, more, MORE!
Would it be easier with the galvanized steel wire fencing? I am thinking to use the one with with a big grid or skip some vertical ‘lines” on the smaller grid. And to use veneer strips that are used for the edges and you glue it with ironing. What do you think? Thank you!
P.S.Sorry for my English
Just found you on Pinterest. This is SO amazing! And less expensive than the original versions I see everywhere. Great outcome!
I think that would work out great. Kara used this setup, because it was laying around the house and she tends to get impatient with things. I would love to see a real wood veneer DIY. Send us pics when you do it!