
Happy Wednesday Friends!
Have you been feeling neglected lately? Tim and I have been so, so busy with a bunch of different projects, so I haven’t been able to spend much time responding to your comments or making conversation. Please know that although I’m not able to respond all the time, I read and appreciate each and every one of your comments. Knowing that people are out there reading and enjoying the content makes blogging worth it!
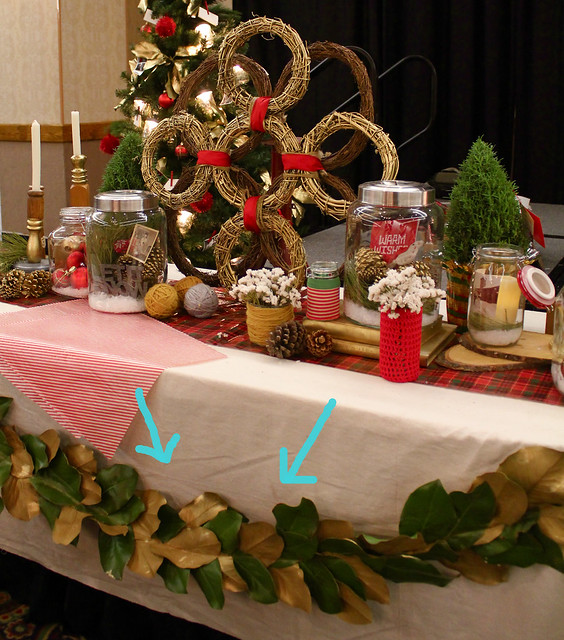
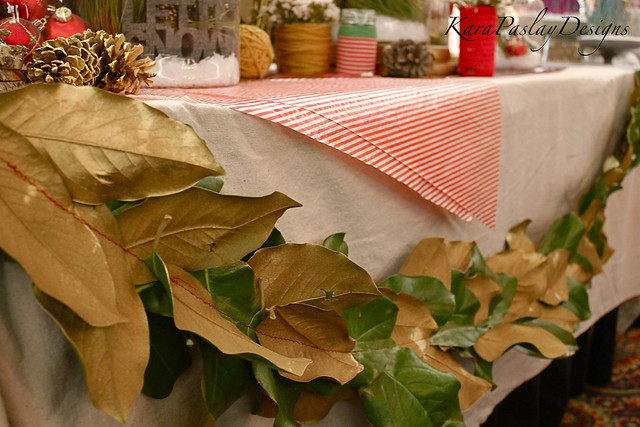
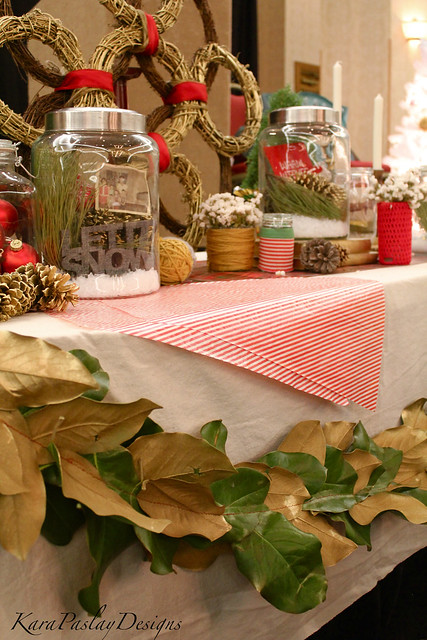
Today, I am giving the details on the magnolia leaf garland that you have seen in some of the pictures I’ve posted lately.
PS- If the farmhouse Christmas Decor is not quite up your ally, hold tight. I’ll have a ton of more modern Christmas projects coming your way soon! 🙂
I think I’ve mentioned before that I love using nature as decor for a number of reasons:
1. It’s easy to find.
2. You don’t have to store it for next year unless you want to.
3. It brings energy to a space.
4. Oh yeah, and it’s FREE! 🙂
I chose to make my garland out of magnolia leaves. I love their look, plus they remind me of the movie “Steel Magnolias” (which stars Dolly Parton- so you know I love it!).
The process is super easy.
1. Pick your leaves.
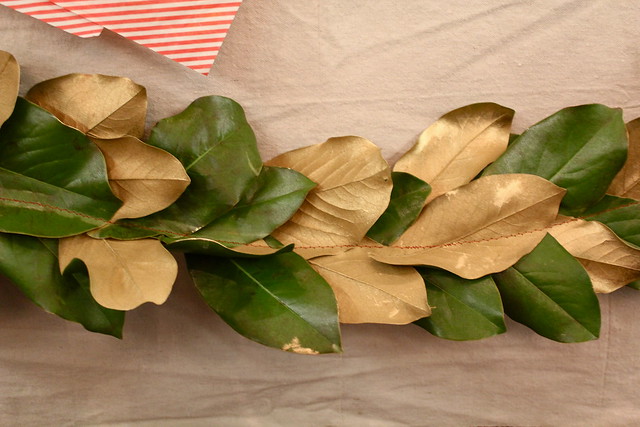
2. Spray paint the back of your leaves gold.
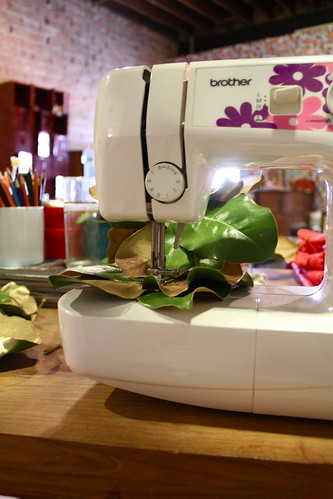
3. Cut off the thick stem of the magnolia leaf (they won’t go through your sewing machine).
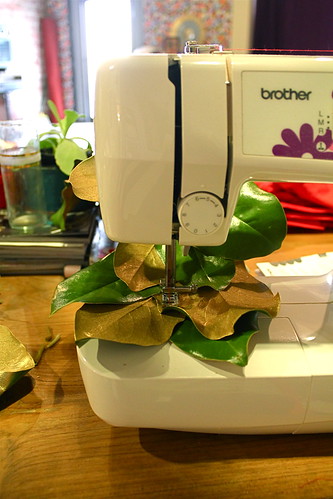
4. Get out your sewing machine and start pushing leaves through it, making sure to overlap the leaves to create a full look.
5. Use hot glue to fill in any areas of your garland that look a little sparse.
Ok, now that you’ve got the overview, let me give a little more instruction on the sewing part.
I started with three leaves clamped into the machine. I put my needle down and began to sew. I would only sew for a few inches before I would add in more leaves. I chose to sew a more organic shape, but you could absolutely sew the leaves end to end for a cleaner look. When I finished the garland and took it off the machine, I was able to see if there more spots that needed to look a little more full. It was easy to fix these problem areas with a little hot glue and extra leaves.
When my magnolia leaves turn brown, I plan to spray paint the whole thing gold. As long as I store the piece properly, I can use it for years to come. However, since it was free and so easy to make, I could toss the garland and make another one next year.
I am not a seamstress by any means. Generally, I avoid the sewing machine at all cost. In fact, it took me 7 times to actually thread my machine to begin this project! But, once my machine was threaded this project took me 10 minutes. So, if I can do it- you can totally do it!! 🙂
Hi Kara,
Love your Magnolia leaf design but I’m interested in the bound wreath display on top of the table. I am looking to create something new and different for my front door, and this looks like it might be just perfect. Love your blog. I am always looking for new ideas to decorate my B&B Studio Apartment.
Thanks and keep it coming
Julia
The Loft at 12 Clara