
This Christmas season, I was inspired to take on some more modern pieces. You’ve seen the DIY crystals, the mini crystal ornaments, and an edgy wreath tutorial is coming soon! But today I and covering the simple steps you can follow to make your own starbursts!
These pieces have a very 50’s or 60’s feel to them. As a matter of fact, when we presented the idea at a few of the shows we did, the ladies who grew up during those years really took a liking to the starbursts.
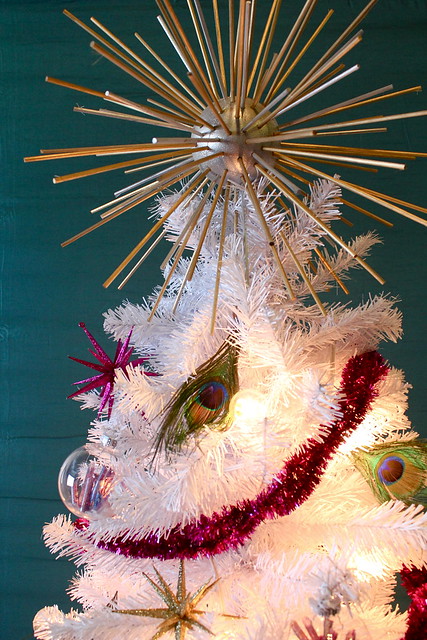
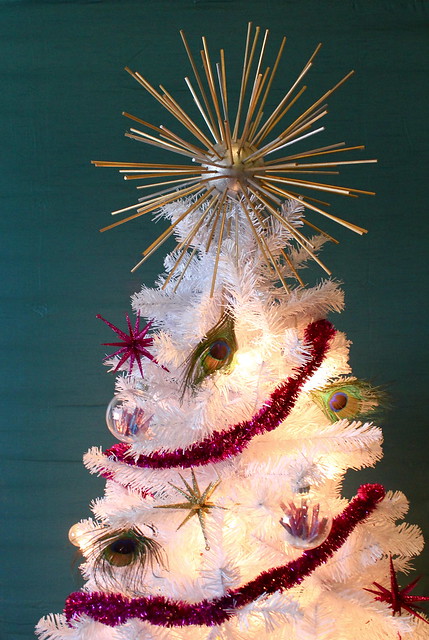
You could use these pieces as table decor, tree toppers, ornaments (for the smaller size), or even hang a cluster of them from the ceiling for a dramatic effect!
So, are you ready for the tutorial? Here are the materials you will need and the 3 simple steps.
Materials:
-Styrofoam balls (whatever size you prefer)
-Grilling Skewers
– Paint
– Hand saw or chop saw (optional)
Steps:
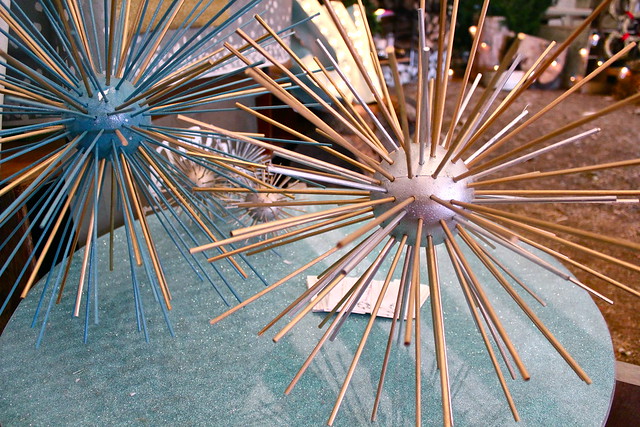
1. CUT– If you want a smaller starburst, you may need to cut down the skewers just a bit. You can gather them together with a rubber band and then use a chop saw or hand saw. (Tip- use two different lengths to create a fuller looking starburst.)
2. PAINT– Next you need to paint both the styrofoam balls and the skewers. Use a water based paint on the styrofoam and any paint you like on the skewers.
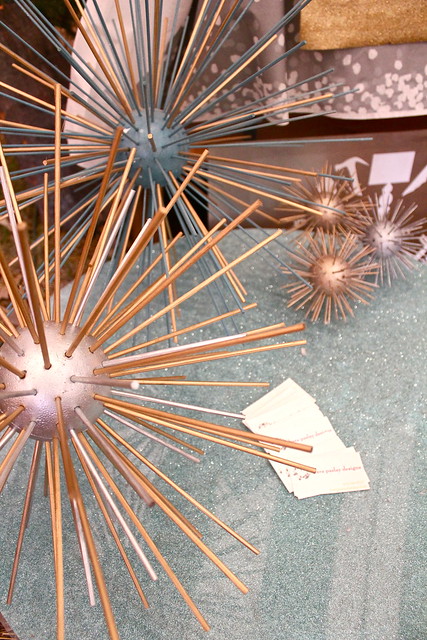
3. PLACE– Last, simply start pushing the skewers into the ball. Work your way around the piece until you feel the starburst is full enough for your taste.
An easy project for a big effect! Plus, I think these pieces could actually be used year round to bring in or add to the modern feel of your home!