
Hey guys and gals. Kara finally got me to post a tutorial on those steel cable and turnbuckle shelves I made a for our living room. When Kara gave me the task of coming up with some sort of shelving for that area, I immediately knew I wanted to try out an idea that I had thought of months ago.
Usually Kara is really open to my ideas but for some reason when I described these shelves to her, she was a bit hesitant. But because she trusts me she agreed to let me go for it, even though she couldn’t “envision” what I was explaining to her.
So now I’m going to try to explain to you what I tried to explain to Kara , but lucky for you I now have pictures to help me describe the process. 🙂
Here are the supplies you’ll need:
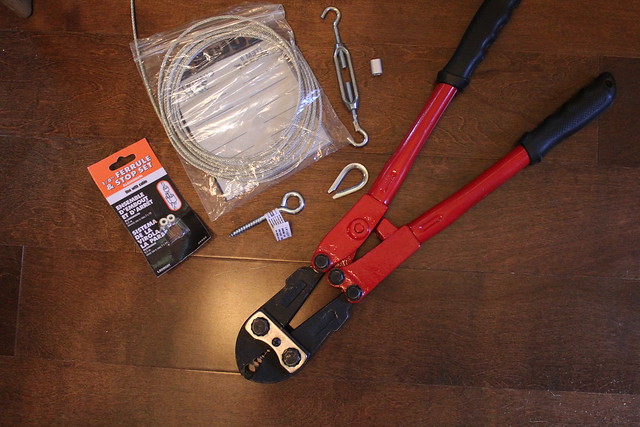
-2X10 wood boards
-turnbuckles (the number depends on how many shelves you want). You’ll need 2 for every shelf
– steel cable
– ferrules and stops (the pieces you crip on the cable)
-a swaging tool (the tool that crimps the ferrules and stops)
– thimbles (the metal loop things)
-(2) 1 1/2 eye hooks
You’ll also need a drill and possibly some wall anchors.
First, I started off with some 2X10 Douglas fir boards. I cut them down to our desired length, which happened to be 30 inches in our case.
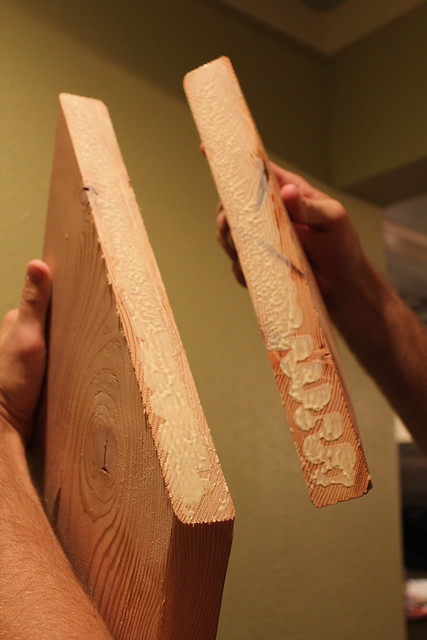
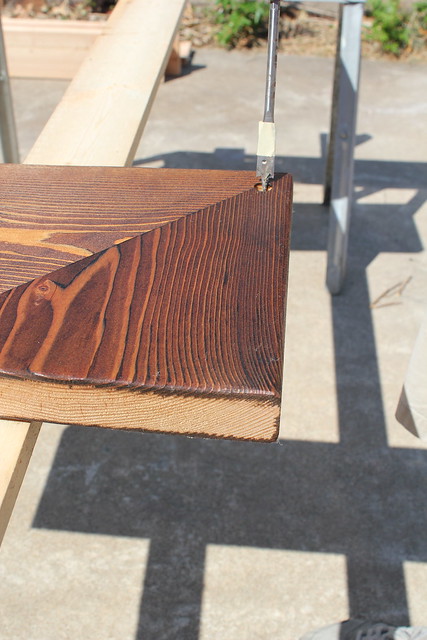
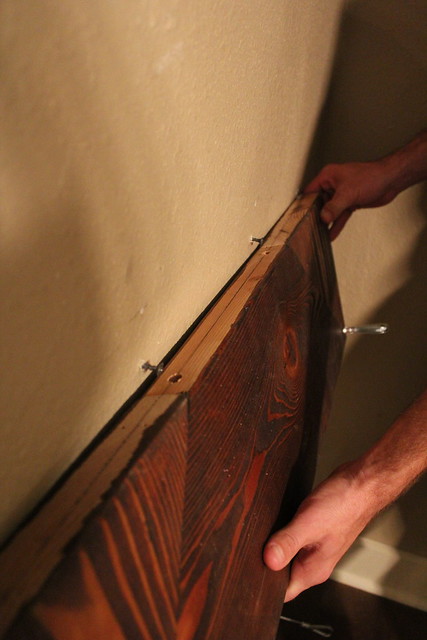
Second, I didn’t want the end grain to show, so I returned the ends to the wall. This is the same technique you will see carpenters use when they want/need to stop moulding in the middle of a wall. To me it is these details that make the difference in a project, but is certainly not a necessity if you don’t have the tools (a large miter saw and nail guns) or time to worry about it.
I cut the very ends of my board at a 45 degree angle.

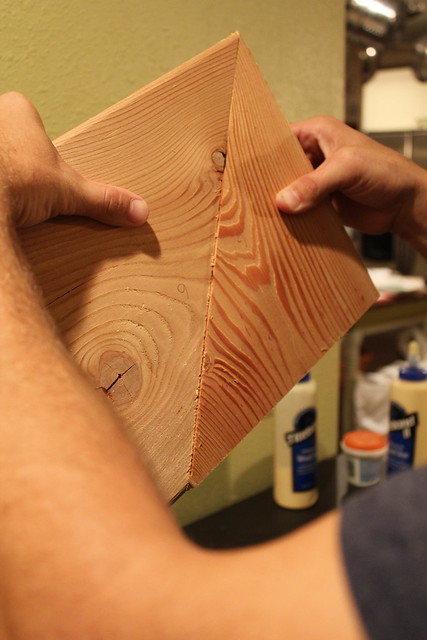
Then I flipped the triangles I created so the end grain would now face the back of my shelf.
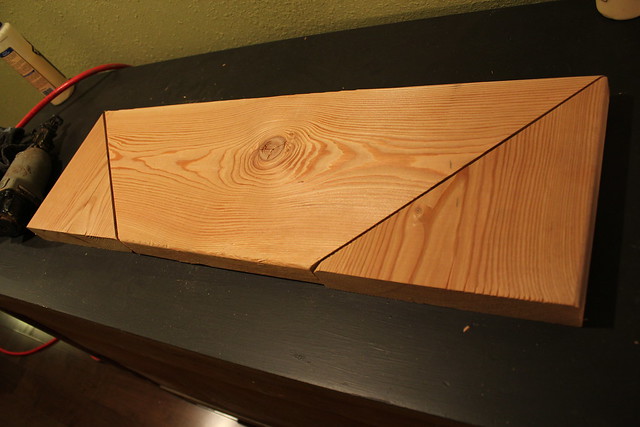
I glued the joint.

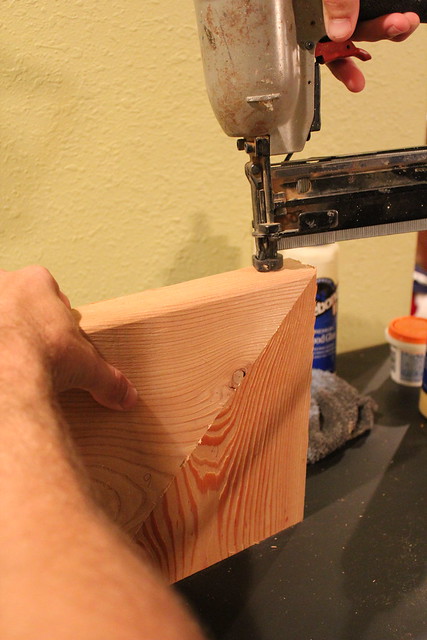
Then shot them together with 16 gauge 2 1/2″ nails.

Then I stained and sealed my shelves. We use Minwax’s provincial color a lot. It looks alright on this Douglas fir, but I like it even more on Pine.
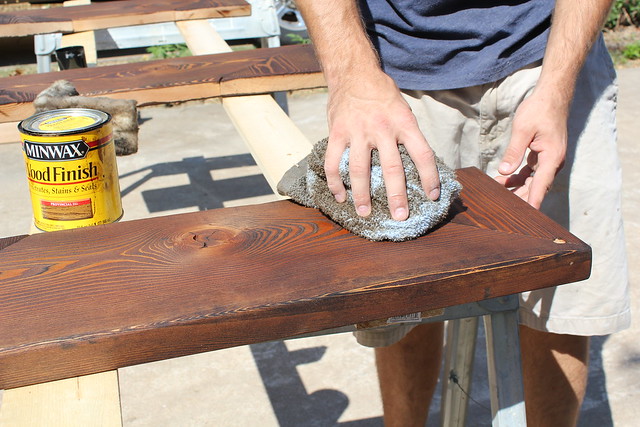
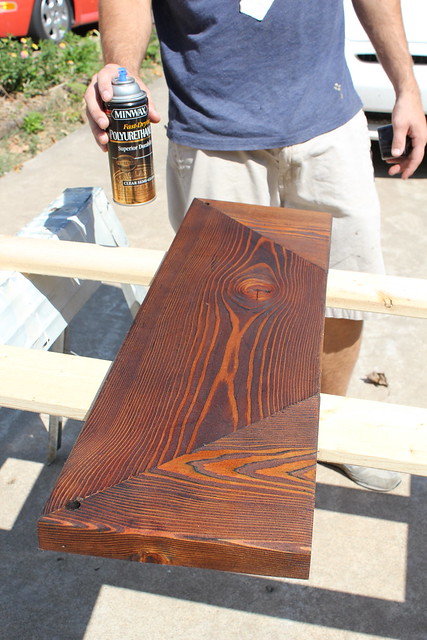
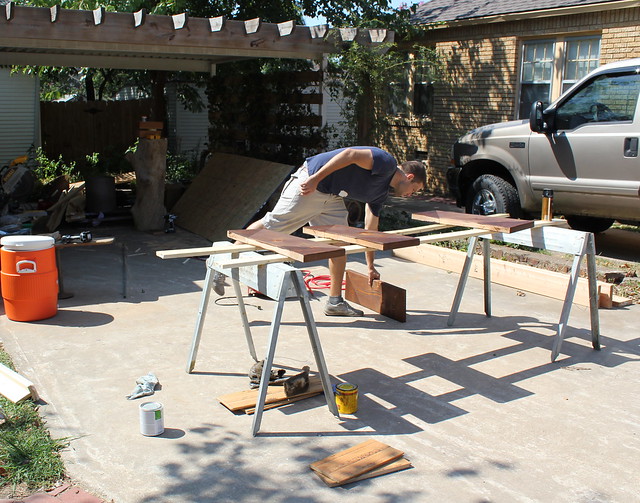
Of course all the cutting, staining, ect went on outside in our driveway. You can see from this picture why we need a shop space so badly. Our poor neighbors always have to see our projects sitting half done, junking up our carport. Sorry, we’re working on that neighbor friends.
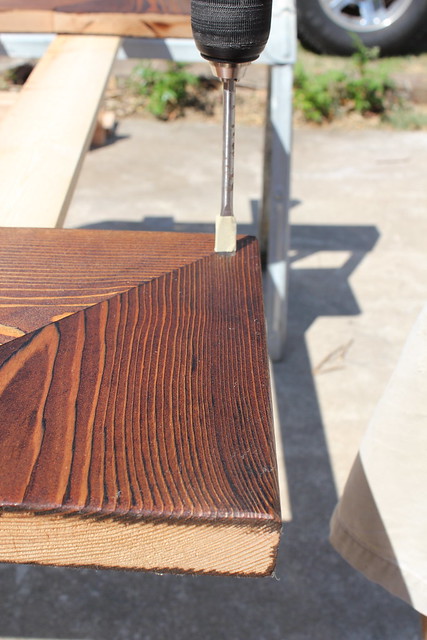
Anyway, after staining and sealing the shelves, I then needed to drill the spots that the cable would run through. So I chose a drill bit that was just a tad bit larger than the cable, marked my spots on each shelf and drilled through the wood.
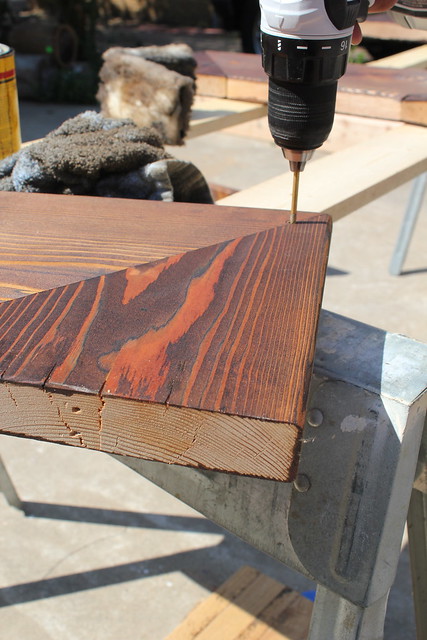
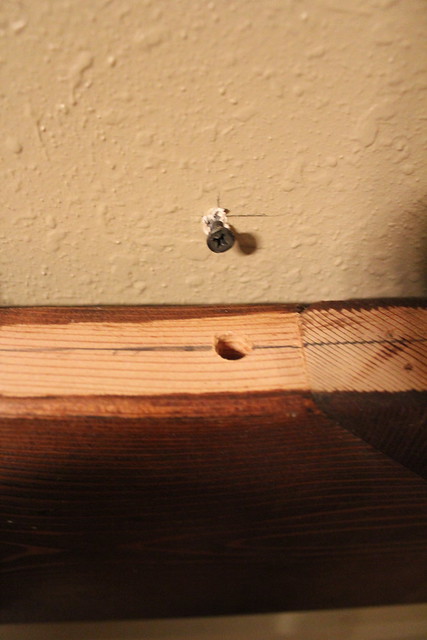
Now, in order to prevent the shelves from sliding up and down the cable I used a metal stop (more on that later). I didn’t want these stops to be visible when looking at the piece, so I used a spade bit to drill a slightly larger hole on the bottom side of each shelf. This way the stop would sit up inside the wood and be concealed.
Of course you want to be careful that you don’t drill too far and you want both sides to be drilled evenly. To do this, simply place a piece of tape on your spade bit and when the tape nears the top of the wood, you know to stop.
So, this means go. . .
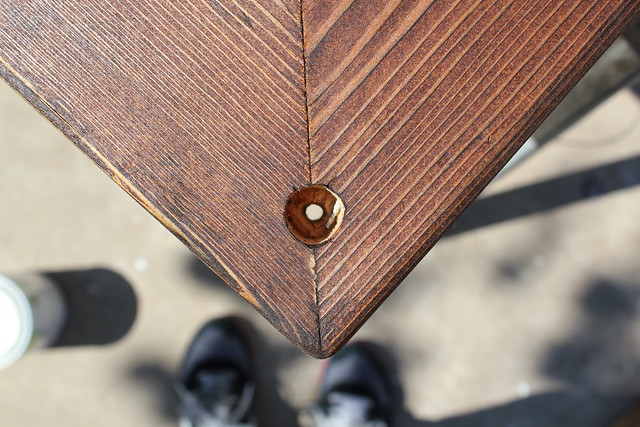
and this means stop. . .
And here’s what it should look like when you’re finished.
Now, it’s time to cover the meat of this tutorial.
Measuring is very important in this DIY because you want to make sure your shelves don’t hang crooked. Luckily, the turnbuckles give a little bit of play and should cover most minor discrepancies.
You will need two pieces of cable for each shelf. The finished length of your cable plus the length of your turnbuckle will equal the space between your shelves, so figure out your spacing before you start cutting your cable.

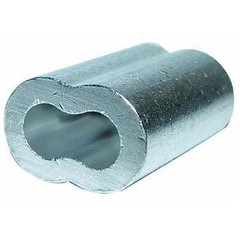
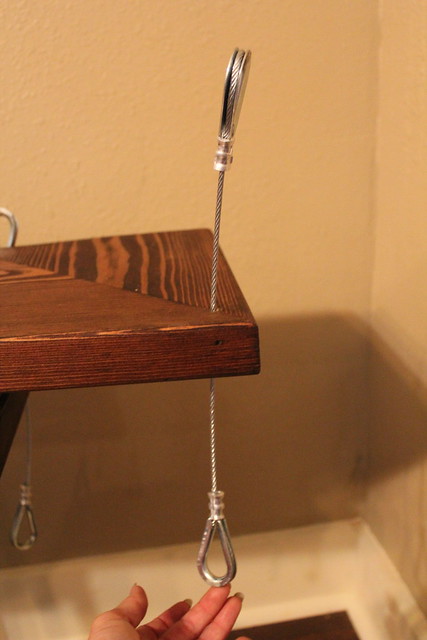
You can go ahead and make the loop on one end of each cable. I decided to use a thimble to give the loops some shape, but for most units they probably aren’t necessary. You will need to use a ferrule to create your loops. You will slide the ferrule on the cable and loop the end around the thimble and place the end back in the other side of the ferrule. Once everything is in place you will use the swaging tool to crimp the ferrule in two places.
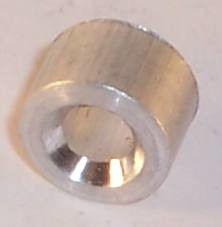
Below is a close-up of a ferrule.
So now that you have a cable with a loop on one end and nothing on the other, you need to add your stop. You will want it roughly in the middle of you piece. The stop will only need to be crimped once.
Next you will need to slide the cable into place in the shelf. Be sure to put it with the stop on the bottom of the shelf so it is concealed. Now you can crimp the other end just like the first loop.
You will follow these steps for all of your shelves except the bottom one. It will just need one loop and a stop. (You won’t need a loop on the bottom since you won’t be hanging another shelf underneath it.)
With all your pieces assembled, you are ready to start hanging the shelves. The cables will support the front side of each shelf, but you will need to support the side against the wall. I will show you what I did, but feel free to come up with your own ideas. I drilled two holes in the back of each the shelves that was large enough to accommodate the head of a drywall screw. Once I laid out where I wanted the shelves on the wall I screwed corresponding screws in the wall. I made sure there was enough screw in the wall to support the weight, but left about a 1/2″ of the screw sticking out so there was plenty for the shelf to rest on.
**We are lucky enough to have 1×6’s behind all of our drywall so I didn’t have to worry about hitting a stud or adding anchors, but most likely you will, so think about this before you start drilling the holes in the back of each shelf and plan accordingly**
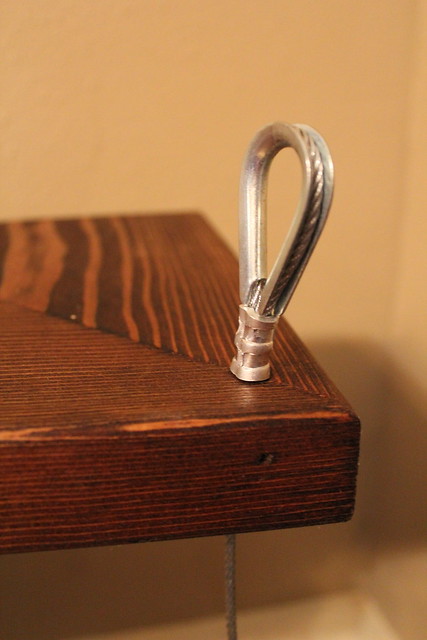
At the very top of the shelves I attached the large eye bolts to carry most of the weight of the shelves. Please make sure you find a secure spot to place these.
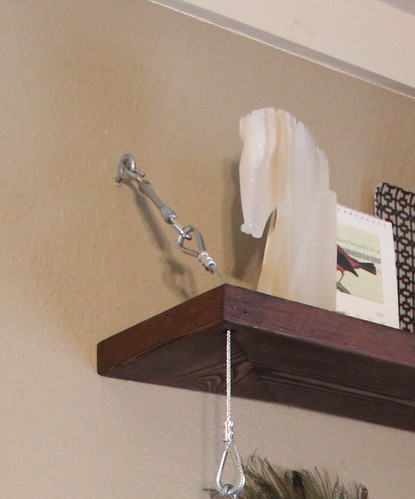
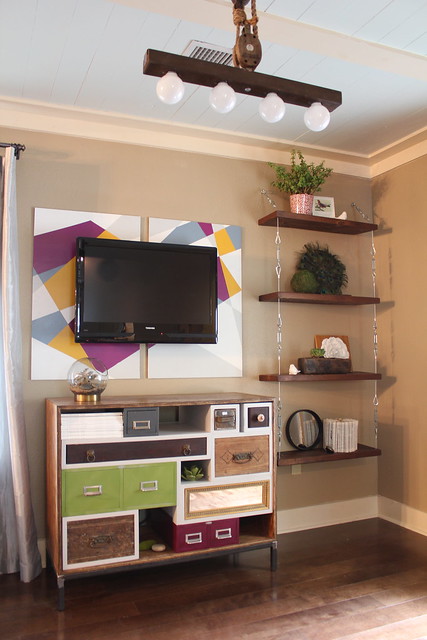
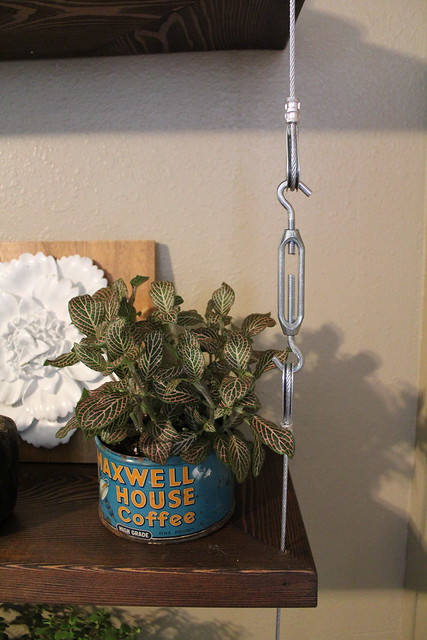
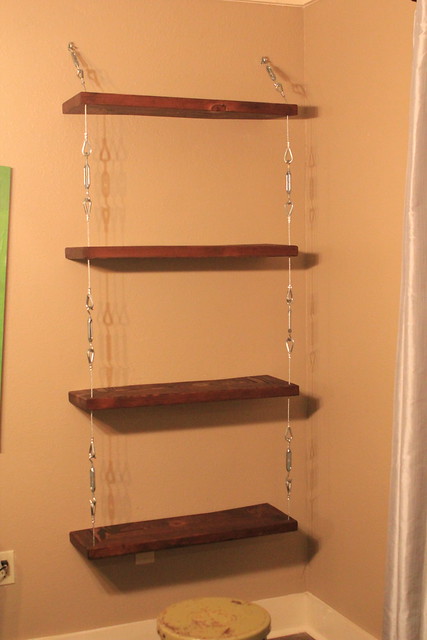
Finally, Kara got to work her magic and accessorized these shelves to a “T.” She made sure not to stuff them full so that the shelves themselves could be appreciated.
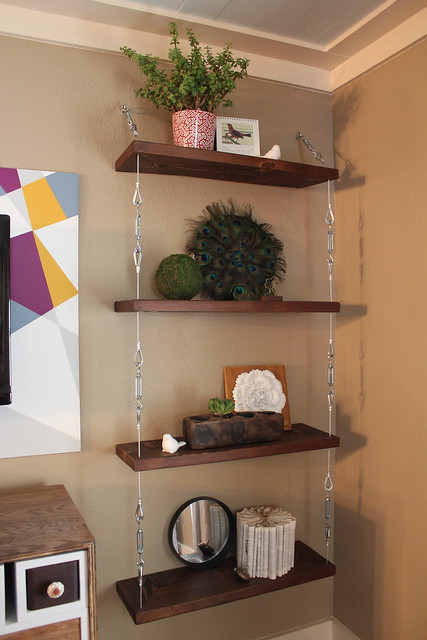
There’s also a lot going on in this corner of the room with our media console, so keeping things minimal was the best choice.
There it is. I know the instructions might be a bit hard to follow, but I have faith with a little tinkering you will be able to create something similar yourself. Sorry I was gone for so long, hopefully it won’t be this long till the next time.
You should patent this idea and sell it to restoration hardware or pottery barn.
Gorgeous! Do you mind if I steal the idea for my living room? All credit to you of course!
Those are awesome!
Yes!!!!!!!!! i’ve been waiting for this tutorial:):):):)
super cool!
Very cool idea, my husband would love it.
Beautiful work! Just came across your blog, I’m a follower now! I LOVE these shelves, and that media cabinet too. Excellent!
Thanks Jesse! We’re so glad you decided to stick around! Have a great day!
So I am not the most competent person in with world, especially with handy things, and most DIY tutorials make about as much sense to me as reading the ingredients in my shampoo. But this was so clear and useful! I feel like I could actually do this! It looks great and you are very good at explaining things. Thanks!
Thanks, I really appreciate that.
thanks so much. we were going to put up the industrial metal shelving from ikea in our living room (literally, this past week) and ran into a major snafu in that they have to be anchored in the ceiling and the roof came together right where we needed to get into the attic. sigh. and then randomly stumbled over to your blog and scrolled down and saw your shelves – they are the exact shelf style we were trying to do, but with wood (which i like more, warmer) and can be anchored into the walls. THANK YOU SO MUCH. every other option for those walls was feeling contrived and awkward (it’s an awkward room)…so this was a lifesaver and you got back to us so quickly. i’ll link a post over to you guys when we get the job done – send everyone your way (not that you need the extra promotion). have a happy new year!!!! (can you tell i’m excited to tackled these?!)