
Well, as you are reading this I am at my first day of work for Anthropologie. I will be updating Facebook and Twitter with some initial thoughts, feelings, and happenings- so check it out if you want.
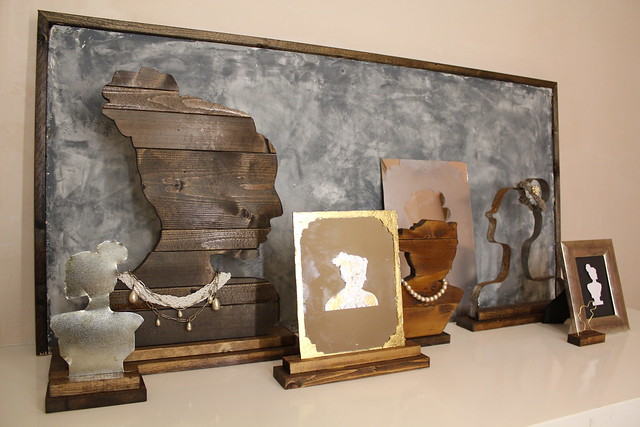
Today I am posting the DIY details of how I made the wooden busts from the grouping I showed you last week.
So let’s get started!
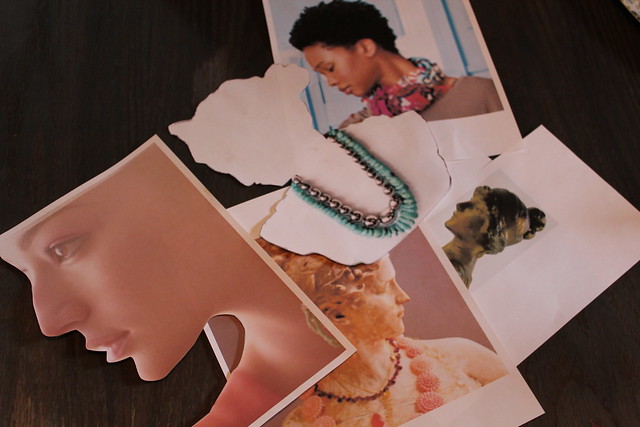
Step 1– I printed out a bunch of pictures of women’s profiles. If you are an artist, you can just draw your own.
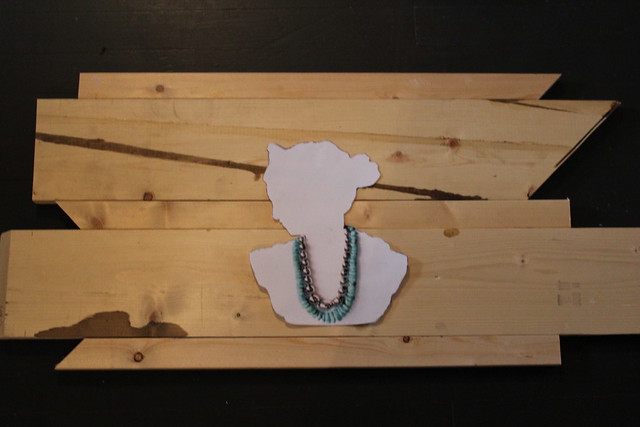
Step 2– Gather a bunch of scrap wood and lay it on the ground making sure it is pushed together tightly.
Step 3– Trace a profile picture of your choice onto the wood (or draw your own).
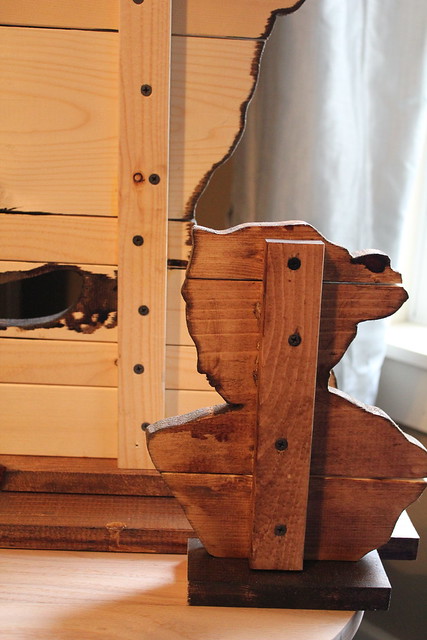
Step 4– Cut the wood with a jigsaw. This would be much easier with a scroll saw, but I didn’t own one of those at the time.
Step 5– Attach the wood together with screws and a 1×2 in the back.
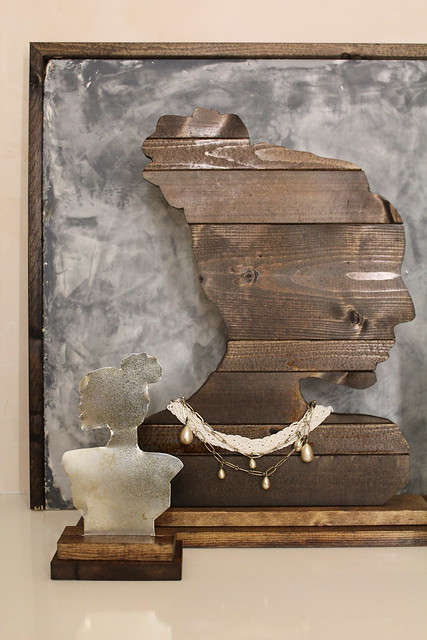
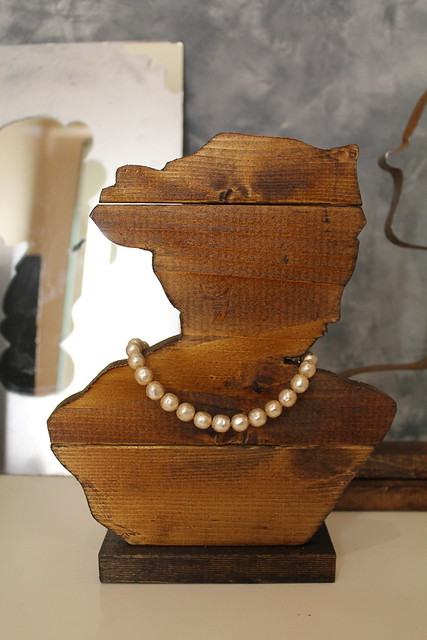
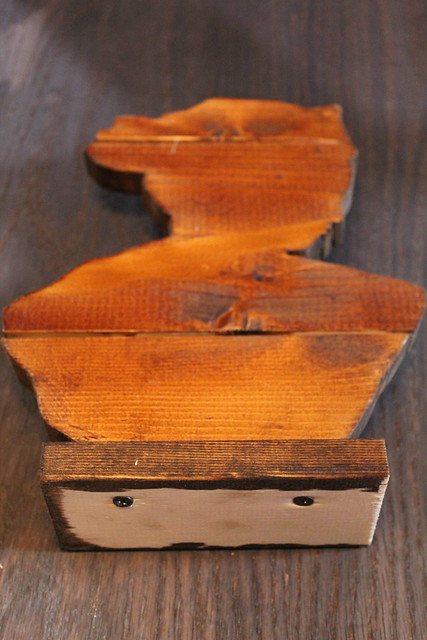
Step 6– Cut a piece of wood to be your base. Make sure it is wide enough to provide good stability. With the larger bust, I used 2 boards for the base (a piece of 1X6 and a scrap of 1X3 on top of that). For the small wood bust I used a piece of 1X3.
Step 7– Stain the wood. I recommend staining the bust and the base before you attach them together.
Step 8– Poly the wood if you like.
Step 9– Attach the base to the bust by driving screws through the bottom of the wood and up into the bust. Pre-drilling may be necessary to prevent any splitting.
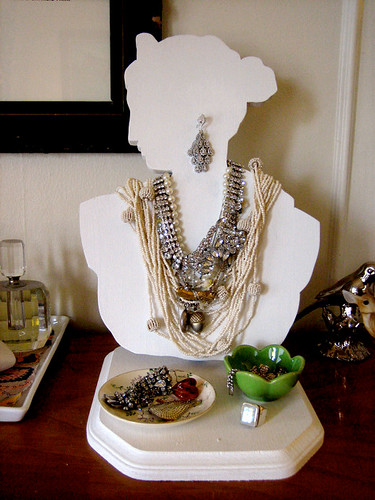
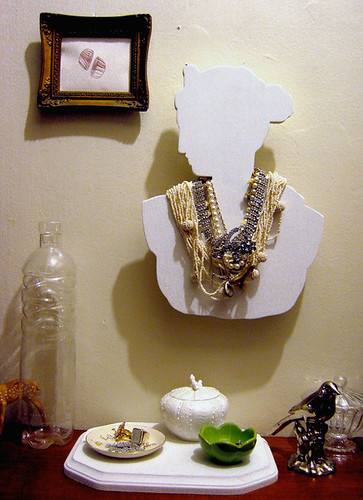
Step 10– Add some adorable jewelry to really set off your piece.
And that’s it! I love that this project is full of both form and function, don’t you? Later this week, I’ll show you how I created the rest of the bust/silhouettes. If you love this project, but just don’t see yourself wielding power tools, I have seen busts created out of foam core. It’s the same basic idea, but you trace your profile onto foam core, cut it out with a razor blade, then use an “L” bracket and tiny screws to attach it to a wood base. Or you could place a small piece of wood in between the bust and the wall (the wood keeps it a few inches away from the wall so you can store necklaces on it), drill through the front of the bust, through the wood, and into the wall for a floating piece of functional art! See below!
Foam core idea and photos from Design Sponge.
‘Til tomorrow!
Awesome — thanks for sharing the how-to! And Happy First Day of Work at Anthropologie! I bet you’re having a blast! They’re so lucky to have you! Can’t wait to hear about it!
this is such a great idea. Fabulous execution, too!
Oh wow, these are gorgeous! I just clicked over from Brooklyn Limestone and I’m so glad I did. I would love to link to your tutorial if you didn’t mind!
Of course Rachel! I’d love for you to share the project with your readers! Thanks for clicking over!
I LOVE this project because I am a huge collector of silhouettes & cameos. Great project idea.
These look great. I love all the variations you’ve made