
Happy Friday!! We have another weekend of projects planned around here and we are excited to get started! Since we’ve been posting a lot of sneak peeks and unfinished projects lately, we decided it was high time to cross an item off the list and finally post a finished product. So, yesterday I completed this super cute vanity.
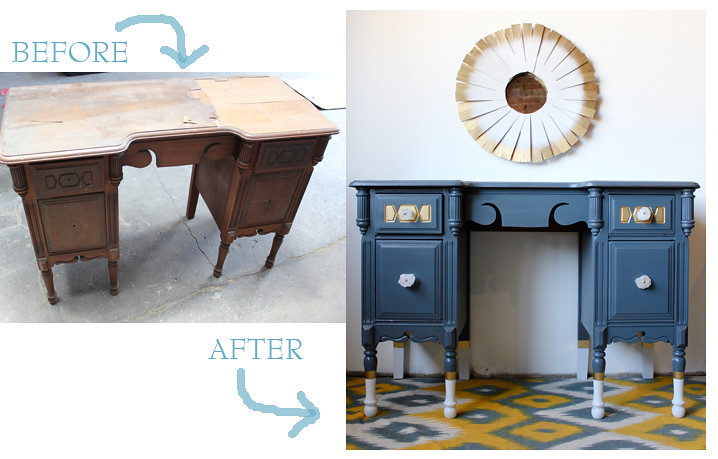
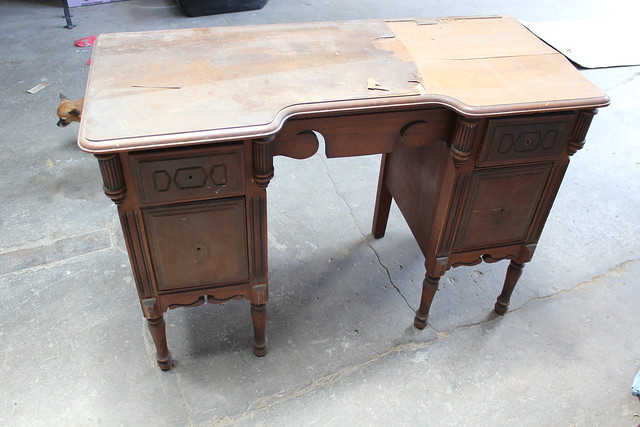
This piece was a curbside pick up and was in really great shape besides the peeling top- which was in really bad shape. But I knew immediately it was a fixable problem and we snatched this vanity up before anyone else could see the potential too! 🙂
First, we had to remove the rest of the peeling veneer top.

This could have been time consuming and frustrating. . . but we have a little tip for you. Veneer is attached to furniture pieces with an adhesive. This glue holds really well. . . unless you heat it up. When heat is applied, the adhesive melts and the veneer is fairly easy to peel off. Now we could have done this with a heat gun, but we are all about saving time around here. . . so we used a torch.
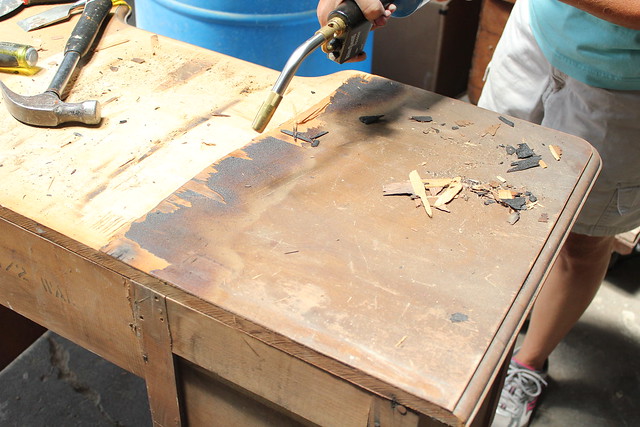
And the top was off in no time! 🙂 There is something about using a torch that just makes you feel hard core! My mom, who was helping me with this piece, is so hard core! 🙂 We still had to do a quick and very light sanding after the veneer was off in order to smooth out the surface. Now as you may have noticed, this piece also had a fairly large crack in the top. In order to remedy this we simply: filled the crack with wood filler, let the filler dry, and then sanded the area smooth.

This was a great solution since I knew I wanted to paint the piece. There is still a hump in an area, but those are the types of character marks that I can embrace. 🙂

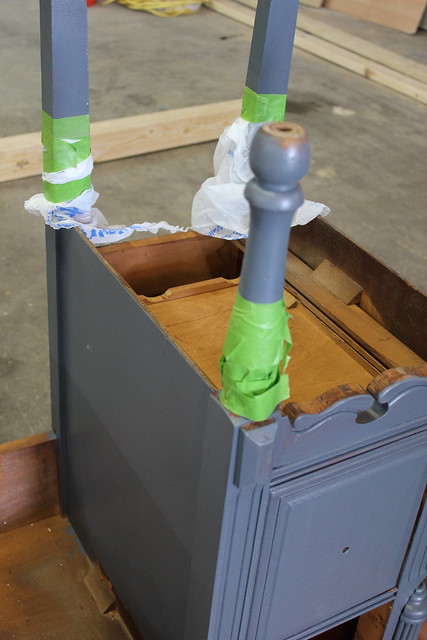
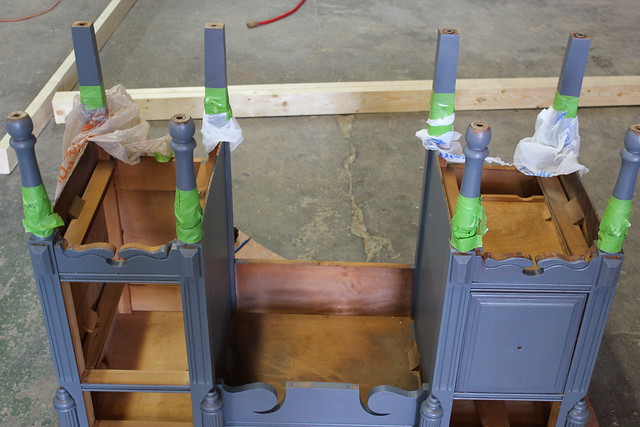
Once we corrected the top, it was time to start painting. We didn’t have to sand the rest of the piece because it was worn enough to take the paint already.
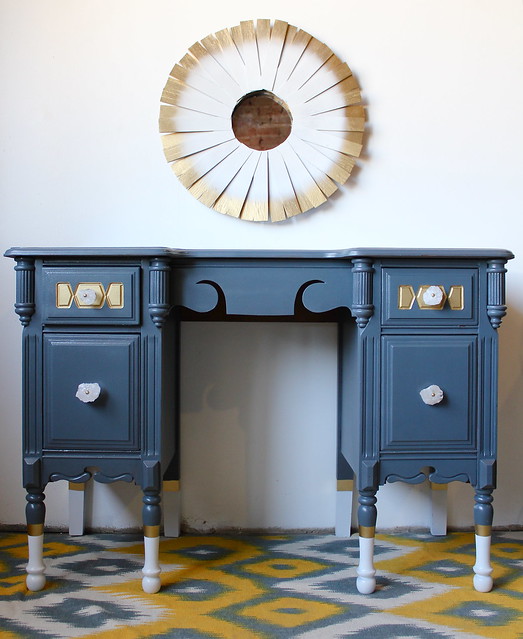
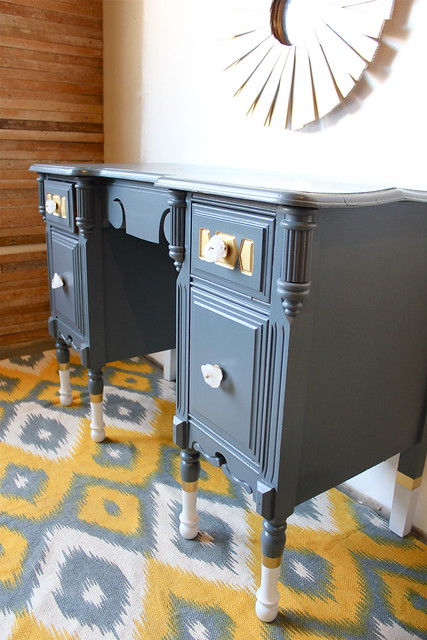
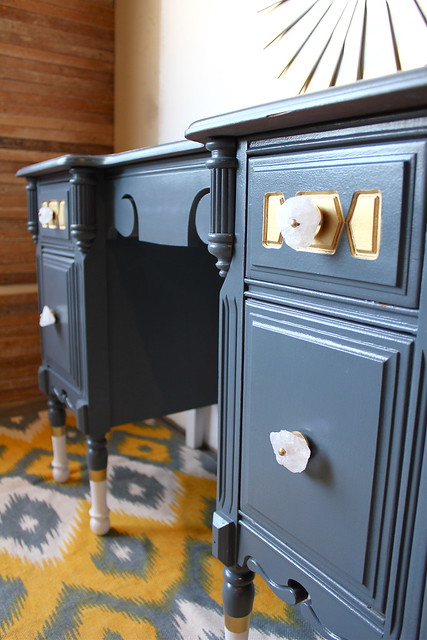
I decided I wanted the piece to feel sophisticated and therefore chose a dark gray, gold, and white color palette. I love those colors together. I think stripes have the capacity to feel both sophisticated and causal depending on how they are finished and what they are paired with. With this color palette, I thought the stripes would definitely add to the elegant feel. I decided to do this effect around the bottom of the legs.
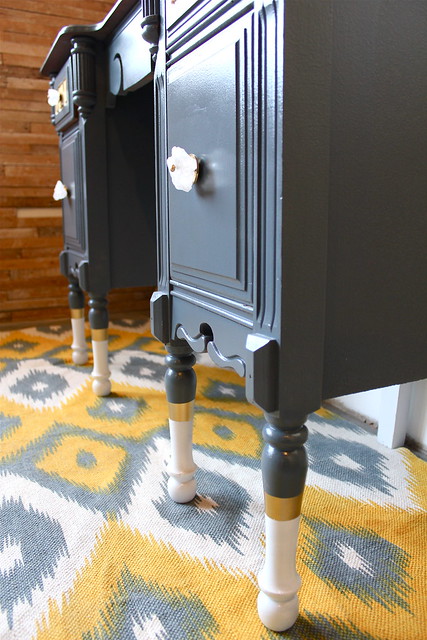
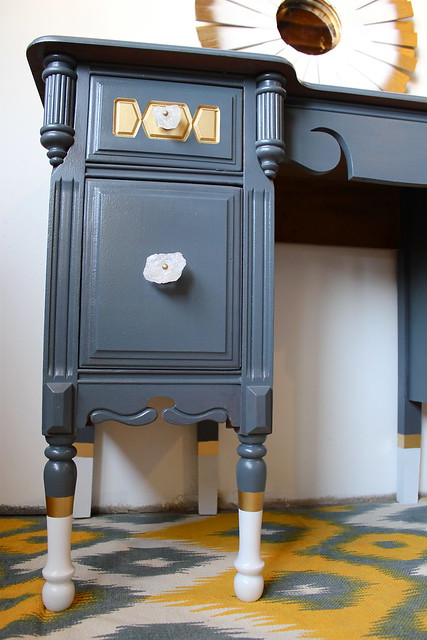
It’s like this desk put on some fabulous high heels! 🙂 After the striping was complete, I still wanted to bring the gold and white up the piece a bit. So, I painted the routed out detailing on the drawers gold and added some really awesome crystal knobs.
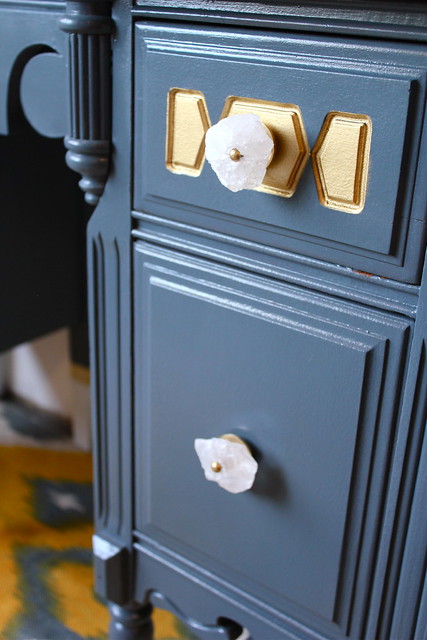
More about the knobs next week! 🙂

So, what do you think? Are you a fan of this mini makeover?!
More fun and finished projects coming at you next week! 🙂
Pretty! Are you selling any chalkboards?
Thank god you’re sharing more about those knobs! Once I saw those knobs I felt a little bit o crazy bubbling up within, but I’ll just have to be patient and wait til next week….
Nikki Kelly @ the ambitious procrastinator
I love this! I am trying to do a similar gray/blue and gold effect on a dresser of mine, but can’t seem to find the RIGHT gold! The Martha Stewart craft paint is too “cool.” I want a brassy warm gold! What kind did you use?
That is cute Kara! You did a great job – as always:) I love the fabric? rug? it is sitting on too – goes very well with it.
This vanity is gorgeous! I love the gold touches and those knobs….such a killer idea!