

Don’t forget to sign up for the $100 giveaway to the Lonesome Whistler! A winner will be chosen at the end of the week!
Do you guys remember almost 2 months ago when I showed you my new studio space? It was sorely lacking in the style department and needed a little love (ok maybe a lot of love)! I knew that if I was going to spend 40 hours a week in this space, it was going to have to be much more inspiring! Over the past couple of months, I’ve managed to make some time and turn this neglected space into a place that I love to hang out in! Let’s see the Before and After!
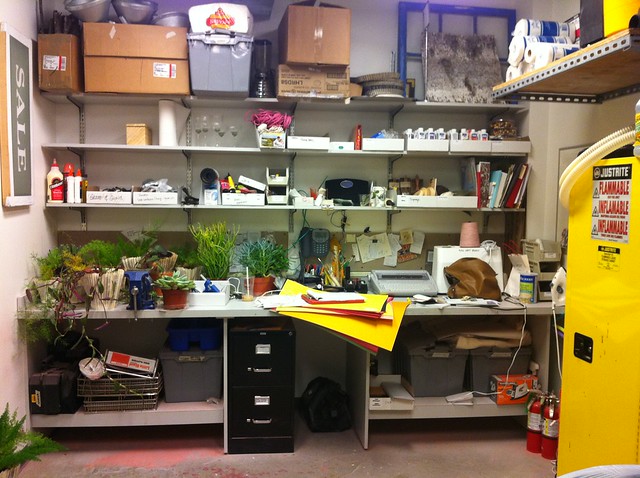
BEFORE
AFTER

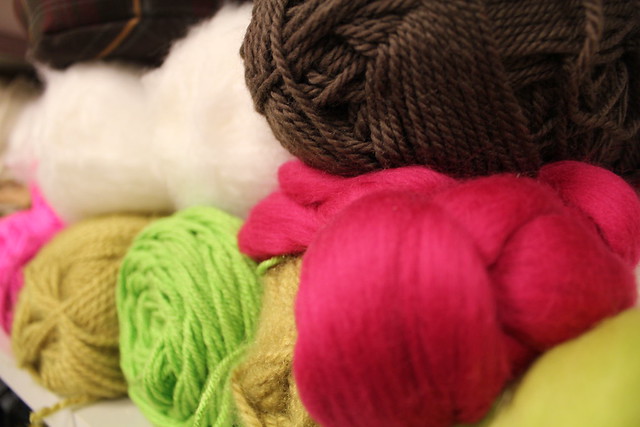
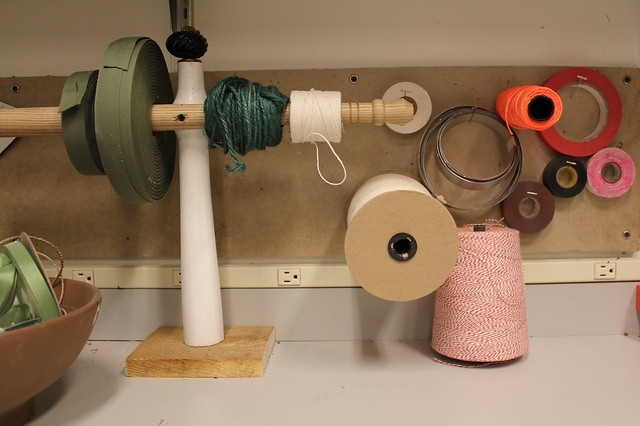
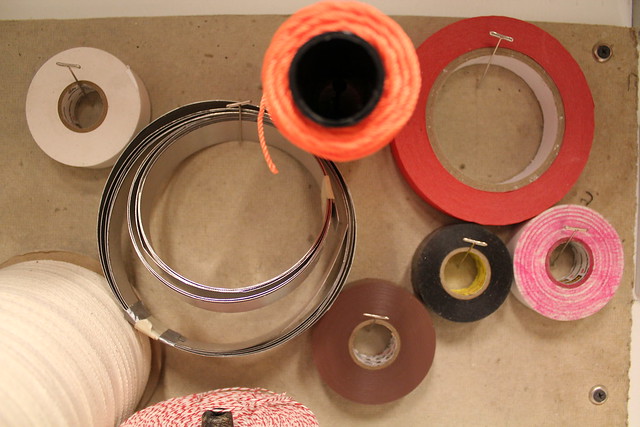
Because this is where I come up with and create one-of-a-kind ideas, I needed there to be a balance of concealed clutter and organized chaos. I could have put everything in cute baskets and boxes, but it really helps me to see all the different materials I have to work with.
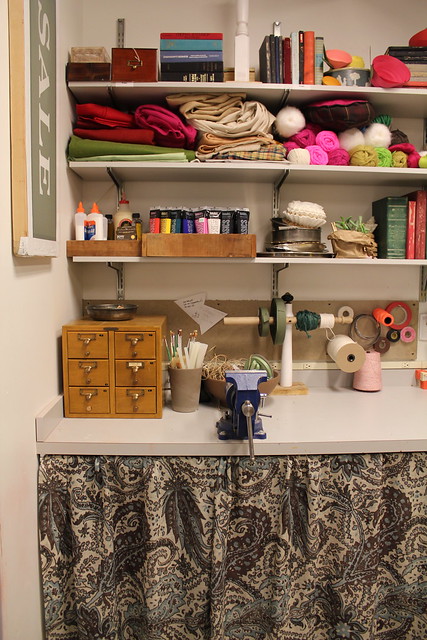
I covered the not so pretty things up with a curtain hung underneath the counter and then artfully organized the pretty stuff to make it pleasing to look at.
I had fun with the composition of all these circular shapes!
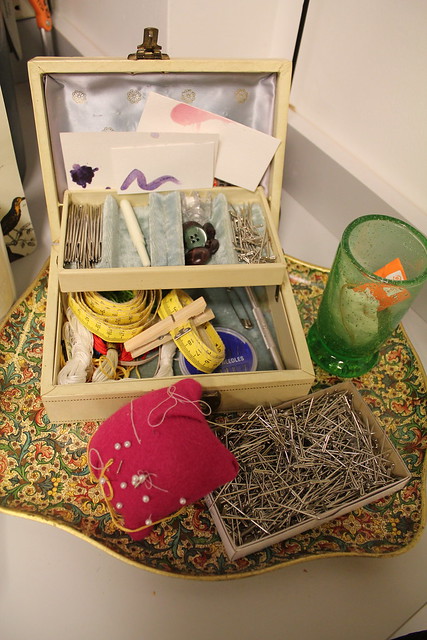
To hold most of my sewing supplies, I use vintage jewelry boxes! They are charming and all their little compartments are perfect for pins, needles, buttons, and more.
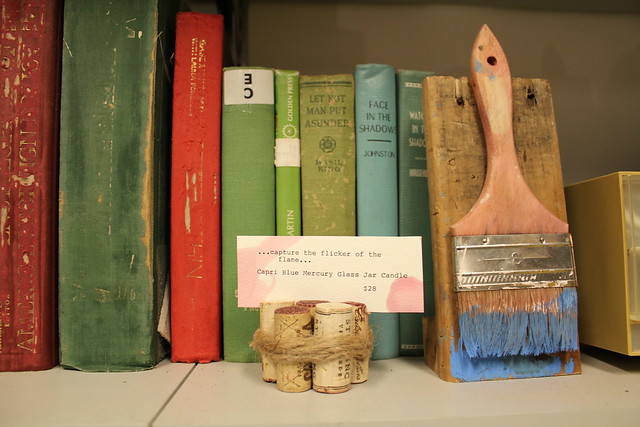
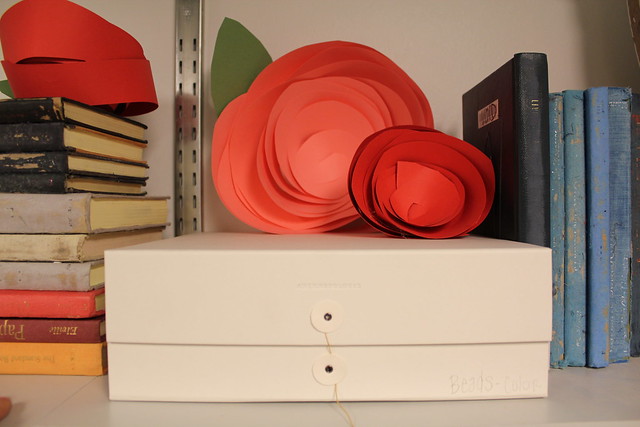
Sometimes I make too many pieces for a display or the time comes to change them out. Instead of trashing the extras, I keep a few around to decorate and inspire future ideas!
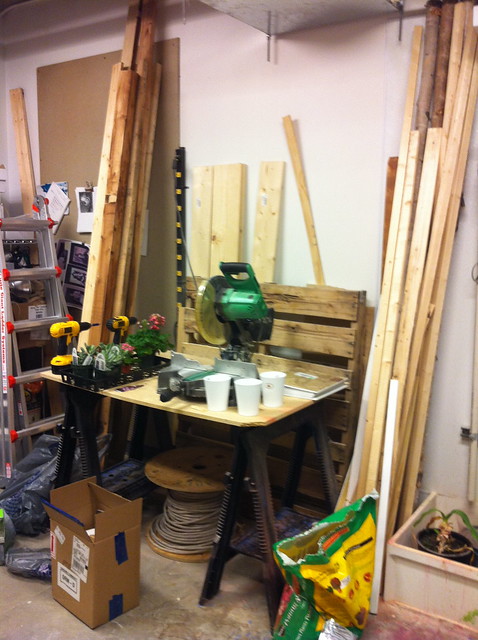
So, that’s one side of my studio, now let’s look at my favorite little nook in the space! Before it was a hot mess!
BEFORE
But not any more!
AFTER
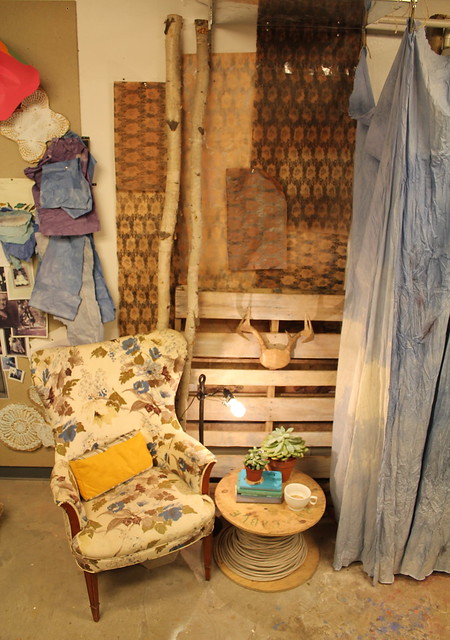
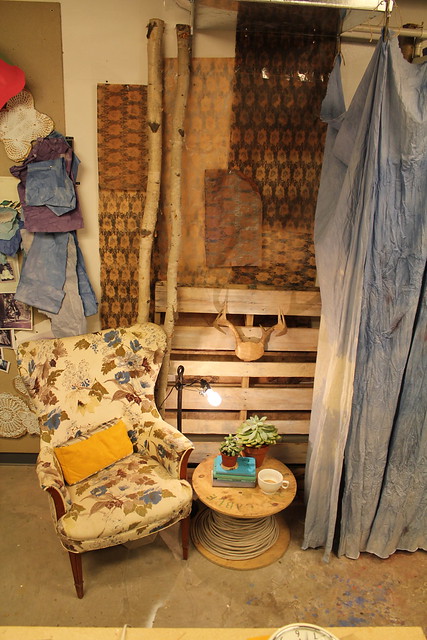
I covered the ugly mop sink area with some dip dyed fabric. That alone made the view ten times better! And of course the area is still accessible when needed.
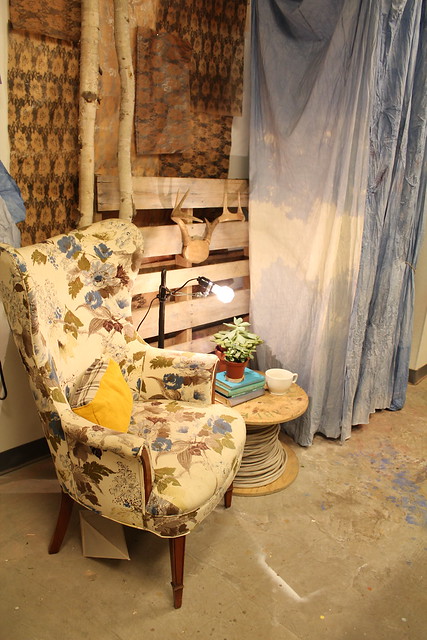
The only piece of furniture I brought in was this stinkin’ cool chair I found on craigslist for $60!! Every studio space needs a comfortable spot to sit and brainstorm! I also created some homemade lacy wallpaper to add interest behind and above the wood pallet.
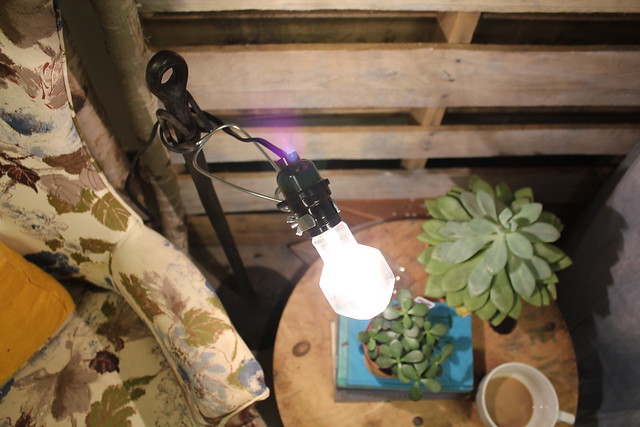
The rest of the space is filled with repurposed pieces I found already living in the room. There’s the wood pallet, the electrical spool that stands in as a table, and an iron fixture that I turned into a floor lamp!

I love the faceted lightbulb in particular. So cool! If you’re looking to purchase one of these sculptural bulbs for yourself, click here!
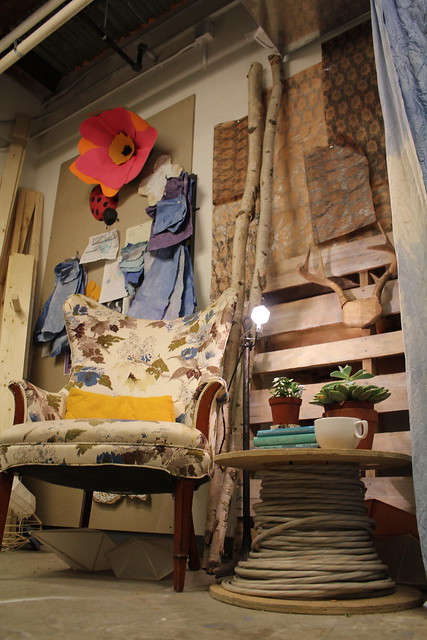
Here’s a photo to show you where the sitting area is in relation to the shelving/storage/desk area.

In this photo you get a glimpse of my inspiration board off to the left and you can barely see the work table that sits in the center of the space like an island of sorts. It’s not quite ready for it’s close-up yet. 🙂
So that’s my studio! Where do you work? Have you made sure that it is a place that you love to be in? If so, I’d love to feature it! Send me an e-mail!
wow kara, that looks amazing! you have done a great job of the behind the scenes area – i can imagine lots of brainstorming going on here. well done!
ingrid 🙂
Ok. I will never look at vintage jewelry boxes the same again.
Great space! I wish my cube at work looked that good!
Just one request…can you turn the vintage green book behind the corks upright? Other than that, I could totally work in this space!
Just a note from your right-brained, creative friend. 😉
Kara great update on your space. Anthro got a decorating gem when they hired you:)
Love that chair! What an inspiring space