
Oh, hey friends! I have been keeping a certain makeover under wraps, but today I am super excited to share about the guest room redo I did for The Pioneer Woman’s best friend- House of Hyacinth!
If your coming over from The Pioneer Woman blog, I am going to give you a little behind the scenes look into the design process and how we got to the finished product. If your a regular reader, check out the back story and then head over to Ree’s blog to see the finished photos!
If you’re new to the blog, here’s what you should know about my design philosophy. The only style “rule” I stay true to is to keep each design unique, artistic, and authentically personal. The most important thing to me at the end of the day is that the design speaks to the story of the person I created it for. I want my design to honor my client’s background and inspire their future.
First off- Oh my goodness, can you believe how great of a writer Hy is?! After the first installment in this series, I seriously couldn’t wait to read the rest of her additions. Of course I already knew how the story ends, but even so, the way Hy composes her thoughts is just riveting!
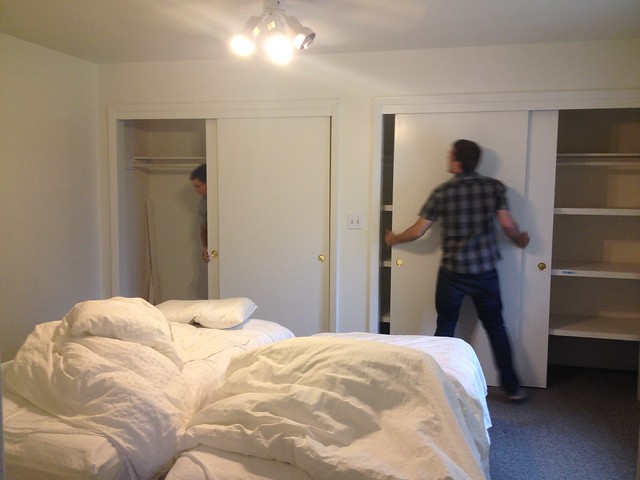
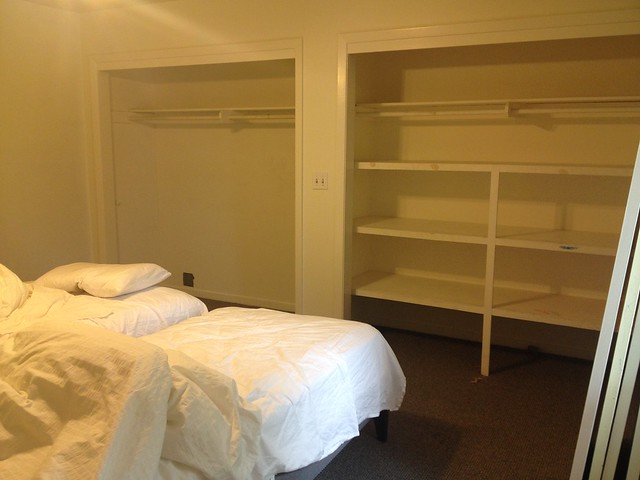
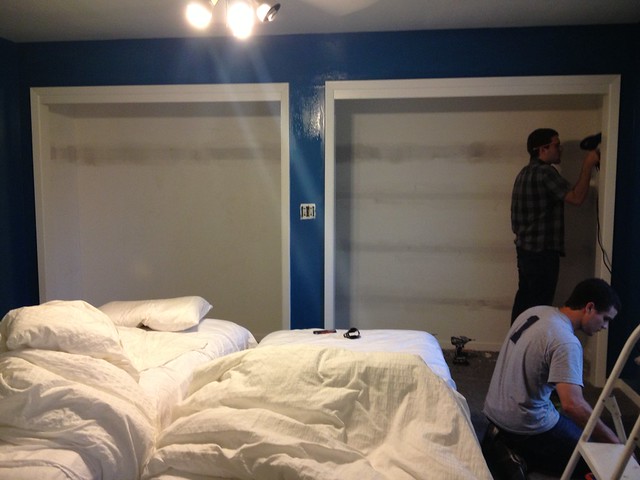
The room was really a blank space when we got there. Hy had painted the walls white and cleared everything out besides the beds and whatever was behind the closet doors.
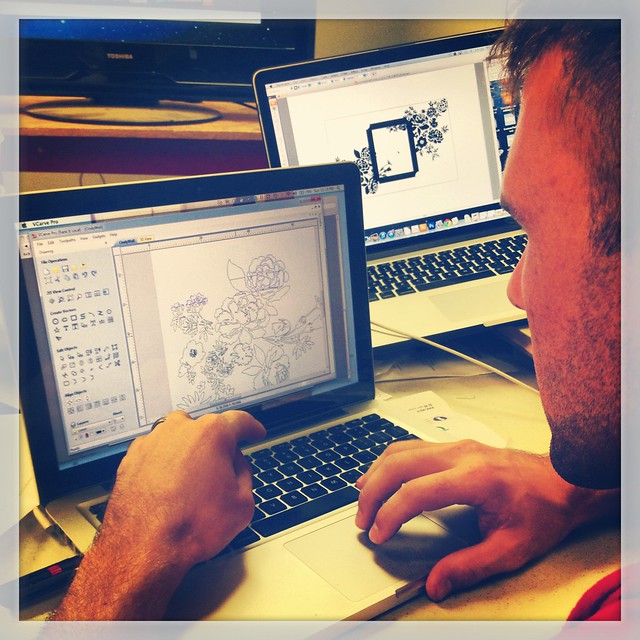
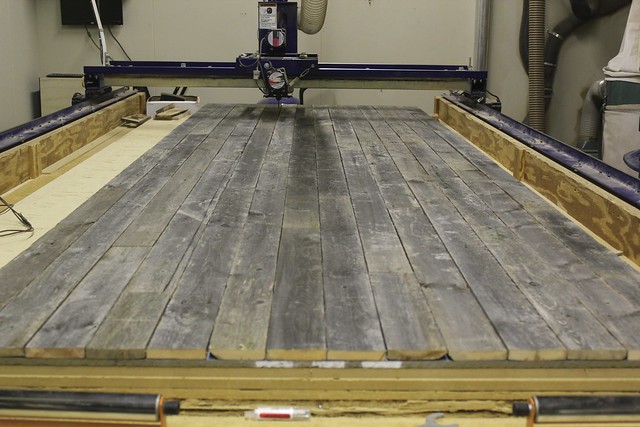
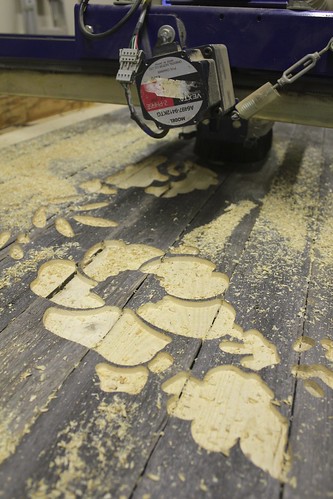
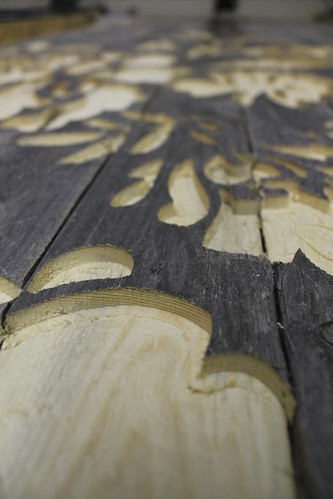
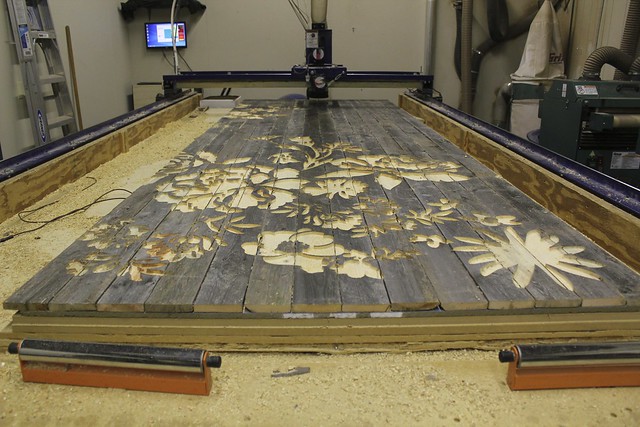
Back in the day, custom projects like this used to take craftsmen months to create and as a result were not practical or available to the masses. As digital fabrication continues to develop, this type of work will become more affordable and even possible for homeowner’s to take on themselves. It is Kara and I’s hope to showoff the capabilities of these awesome machines to design enthusiasts and aid in this “Maker Movement” revolution!
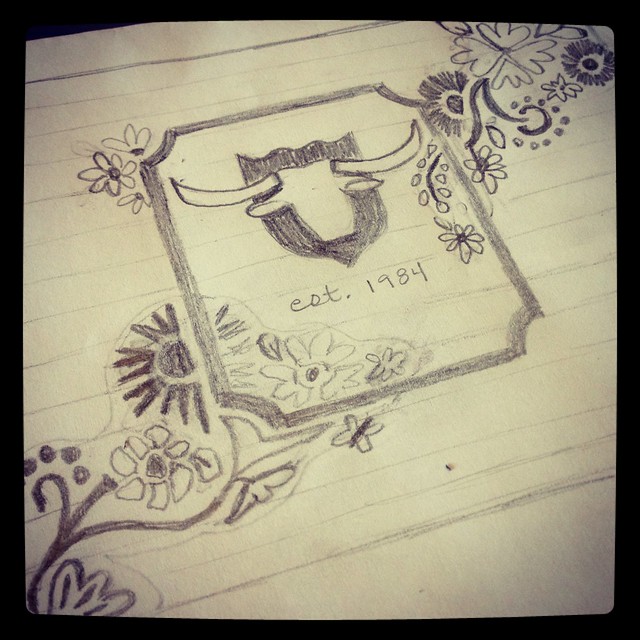
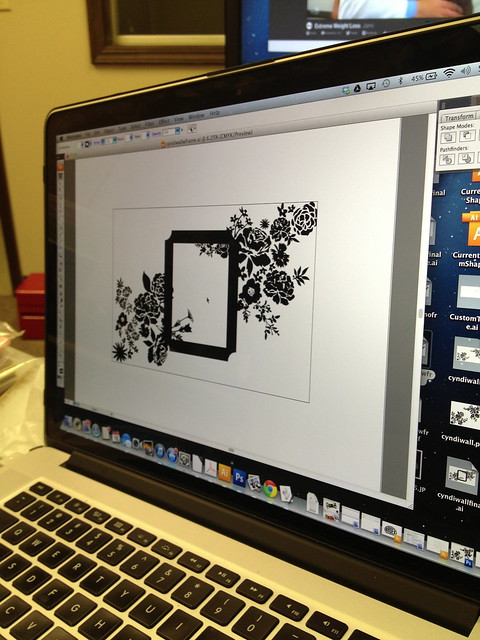
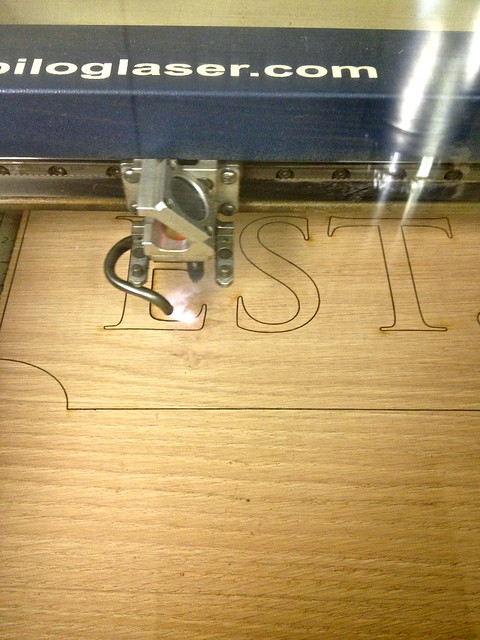
We loved the wall, but wanted to add even more layers to the decor and the story, so we made a custom plaque with the year the house was built. Since it was much smaller and more detailed I used a laser cutter to cut out the wood sign.
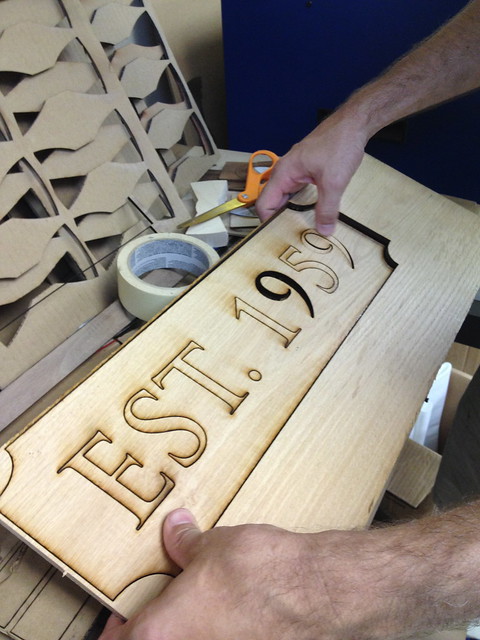
Click here to see why we love the “Maker Movement” and to see other examples of how we’re using high tech tools to create custom designs.
Ok, I (Kara) am cutting back in now! 😉
Of course the personalization of a space is only possible if you can come up with ideas to communicate the story you’re telling. There are always a million ways to do this but Tim and I prefer to use a combination of mostly abstract references and a few more obvious connections.
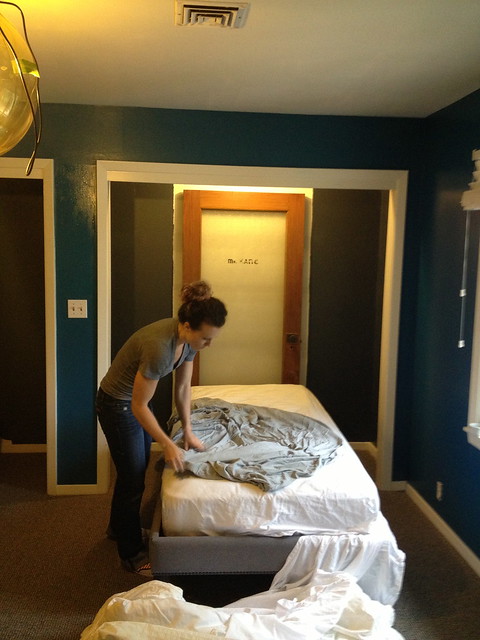
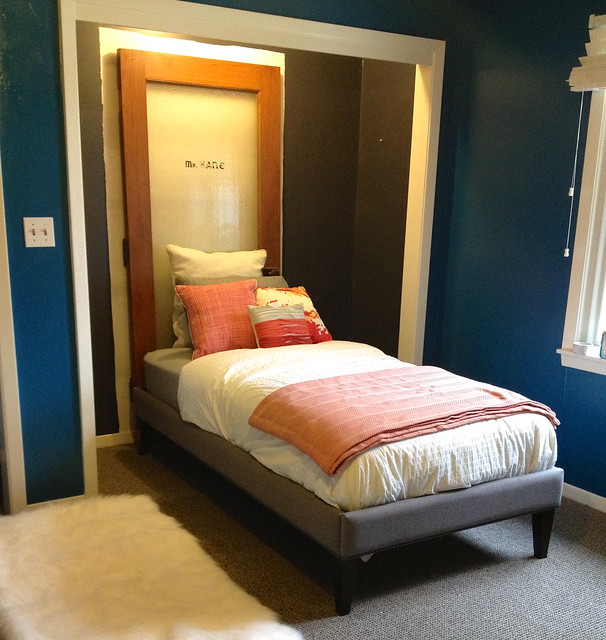
The straightforward connection we used in Hy’s room were the door headboards. These headboards were not just old, cool looking pieces that the family picked up at a flea market. These pieces were part of the family’s history! They came out of the family’s law practice. There was a genuine history there and that’s why we had to use them. Some lawyer bookcases were also an addition to the room that made sense from a meaningful and functional point of view!
Here’s a picture of the door headboards way before they were finished…
Knowing that the oldest boy would be crashing in this room when he comes home from college, we thought a large steer head would be a fun element that would remind him of his time spent as a cowboy on Ree’s ranch. We got our’s from Z Gallery, where they have an extensive collection of white ceramic animal heads.

Since this room would be used by both men and women, we wanted to make sure the decor had elements to please both sexes. That’s why we went with a mix of masculine wood textures & feminine floral patterns, antique brass & golds mixed with pops of coral and so on.
We didn’t want this to simply be a space people could lay their heads…we hoped to create a space that would inspire. A space that people felt excited to come and stay in. Head on over to The Pioneer Woman blog and see how things turned out! And come back here tomorrow for more details on the room, including a source list!
Thanks for stopping by to all the PW readers, and please feel free to check out the rest of the blog while your here! 🙂 You can find the Before and After Archives Here, the DIY Projects here, and my Portfolio here! Have a lovely day!!
Kara and Tim,
What a dynamic duo you are! You were a total joy to work with, and you were able to capture some of our history while working within my “must have” elements. The finished product probably isn’t quite captured by the photos, but my guests love staying there. One of my friends said, “It’s just so imaginative……everywhere you look!” Thanks for sharing your talents with us!
Saw this on Pioneer Woman’s website. The room is absolutely stunning!
Love how you are working with the owner’s things and expressing THEIR lifestyle, but putting a fresh “now” look on those things and lifestyle. Great Job!
Stunning! The barn wood wall is an absolute piece of art!
Beautiful results! The equipment is fantastic, gets my artsy blood moving.