A few months ago Amanda asked to redesign her new apartment. I’ve worked with Amanda often (giving her MUSIC STUDIO a complete overhaul and creating a ROCKIN’ GUITAR SPACE). From our former projects I knew Amanda is a gal who loves color, character, and unique ideas. So you can imagine how excited I was to get started. Let’s begin with the dining room/area.

Space was scarce and storage was non-existent, two major problems for a girl downsizing. So, what do you do when you have more stuff than storage. You go up, up the wall that is.
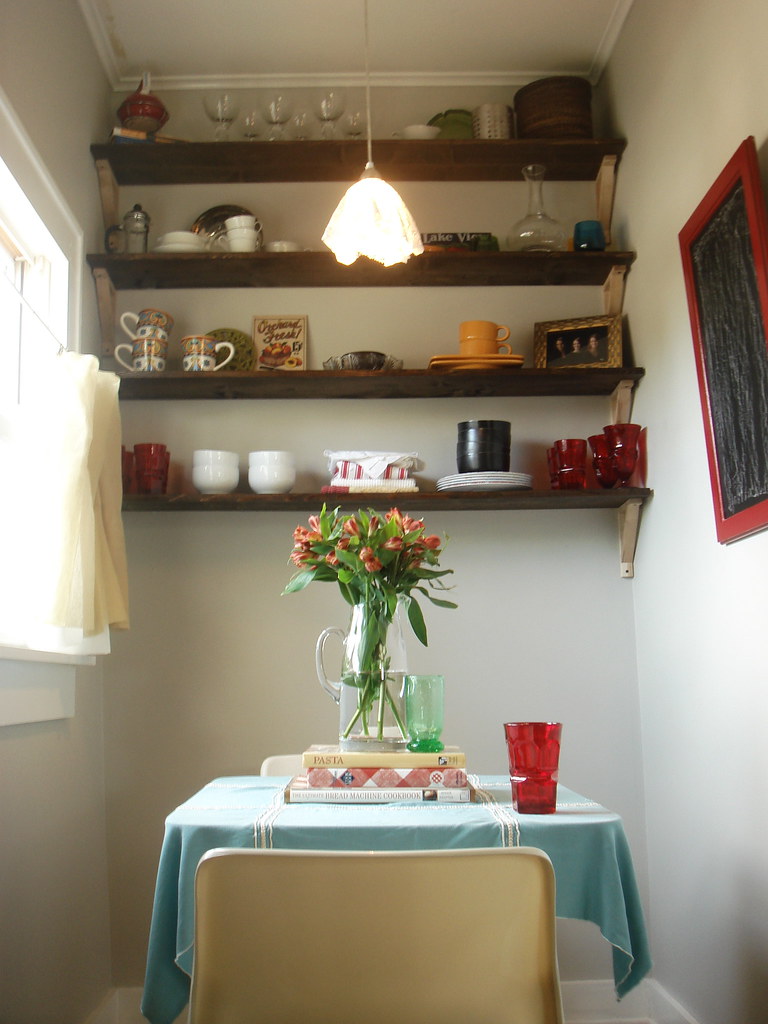
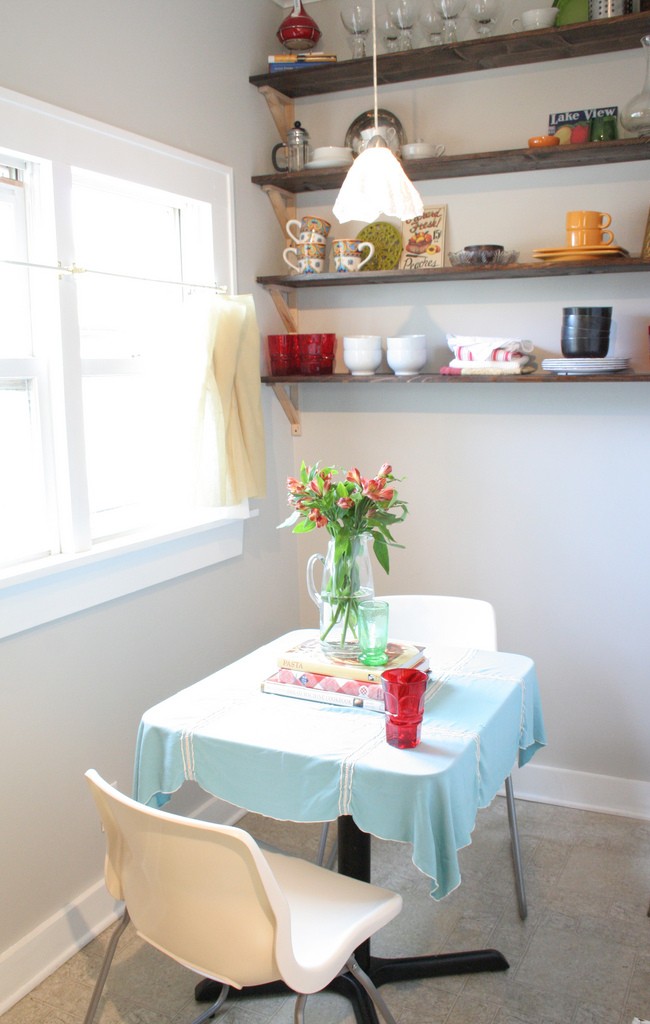
These shelves not only provide ample storage space for everything Amanda might need in her kitchen/dining area, they also create a colorful focal point which is right up Amanda’s ally.
We kept the old unattractive table which fit in the room perfectly. A cute little tablecloth is all it took to cover the ugly part of the piece.

Two modern white ikea chairs make this space perfect for a candlelight dinner or a friendly game of checkers!

The previous light would have worked just fine, but I didn’t feel like it had that charm factor that Amanda was after. So, I covered the glass shade with a croqueted piece of fabric that looks absolutely adorable, if I do say so myself.

When the light is on at night the fabric creates beautiful shadows on the ceiling! Sometimes, its the little things that really make a space special.

A chalkboard (made from an old cabinet door) and some linen curtains hung half way down the window complete the sweet little space.

Here’s the budget breakdown!
Brackets (IKEA) and Shelves (LOWES) – $50
Chalkboard (Old cabinet door and leftover chalkboard paint)- FREE
2 White Chairs (IKEA)- $40
Table cloth, curtain, and croqueted fabric (garage sale)- $4
Accessories/Items on shelves (all from Amanda’s stash)- FREE
TOTAL COST: $94!!!
Stay tuned- next week we’ll take a look at the rest of Amanda’s apartment!
What a difference! A fabulous solution to a tiny dining room. Great work!
I LOVE the shelves!
are you sure the fabric over the glass light won’t get too hot??
love your solution to go up!
Hey Christine! I am absolutely positive that the fabric won’t get too hot because I left the previous glass cover on the fixture and then just put the fabric on top of that. It should be perfectly fine. 🙂 Thanks for asking.
This is adorable! It almost makes me wish I had a tiny dining room 🙂 Those shelves are just awesome- I never would have thought to do two finishes on the brackets and shelves themselves.
Great makeover! Love the shelves, they have a very earthy/modern vibe and the cloth over the light brings a little vintage in!