
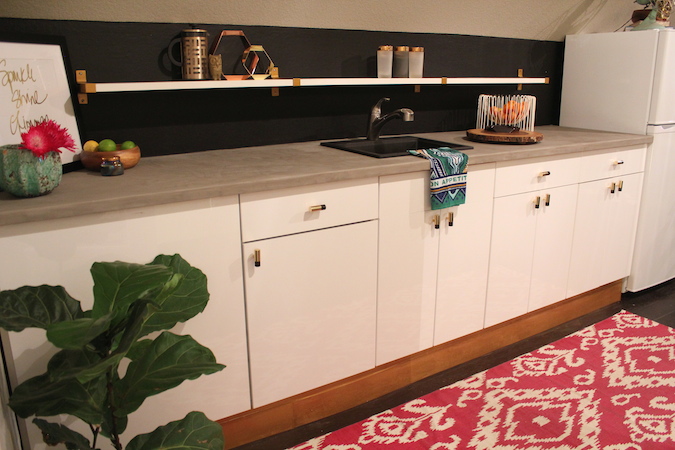
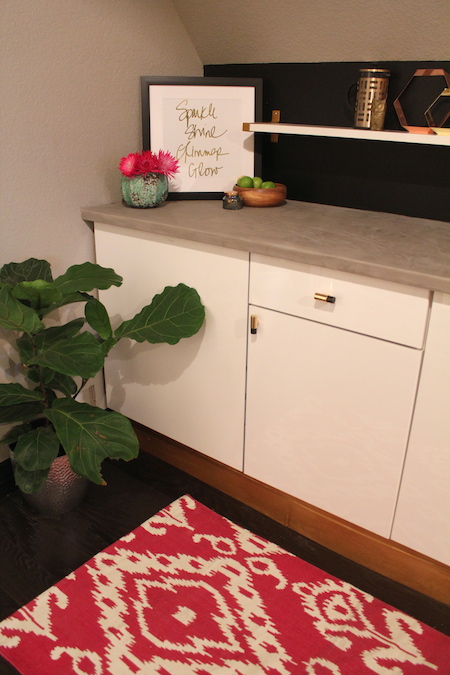
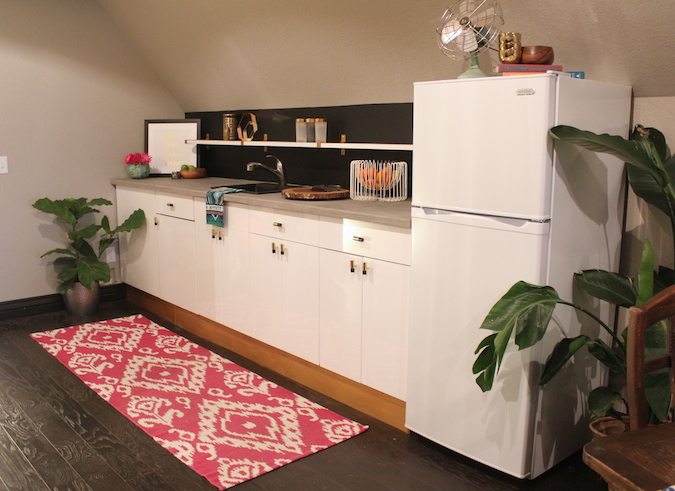
Hey Friends! It’s been a couple of years since I first posted about creating my very own concrete countertops with this amazing product call Feather Finish by Ardex Americas (find the product here). Since then we’ve done dozens of projects with this product and gotten great results! Ardex is all over our clients’ spaces as well as our own home! I feel like I’m pretty much a pro now, especially when I was able to build and cover this client’s countertop in one day!
Here are the materials I used…..
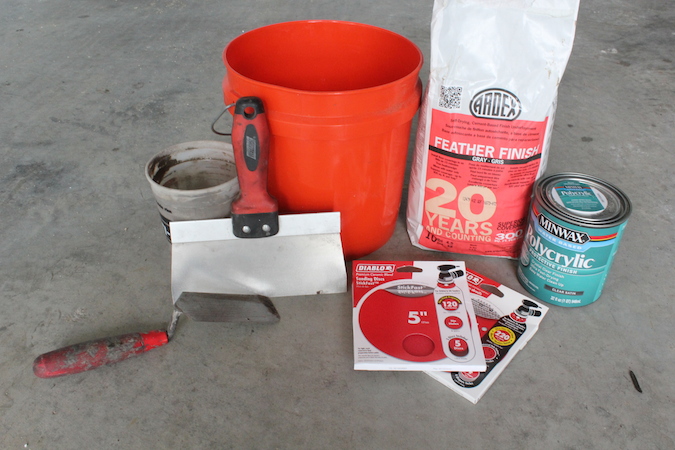
-Ardex Feather Finish
– Hand trowel, clean bucket, and water (for mixing)
– Large trowel for spreading the Ardex onto the countertop
– Sandpaper in 120 and 220 grit
– Water-based Polyurethane (for sealing)
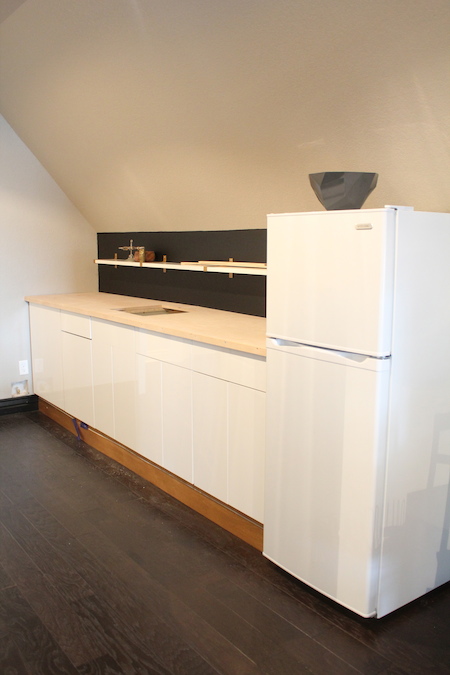
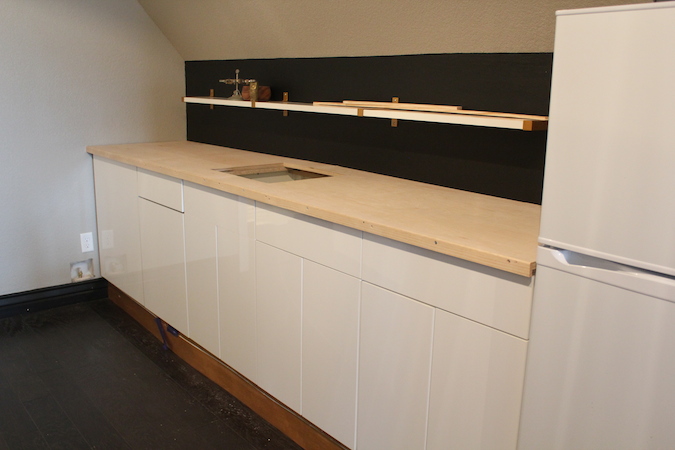
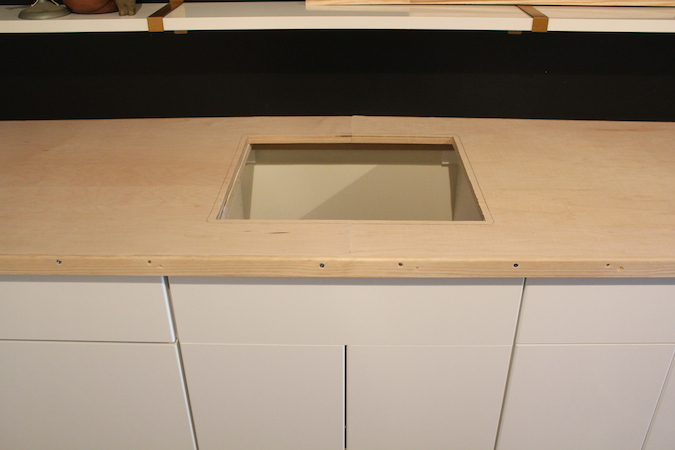
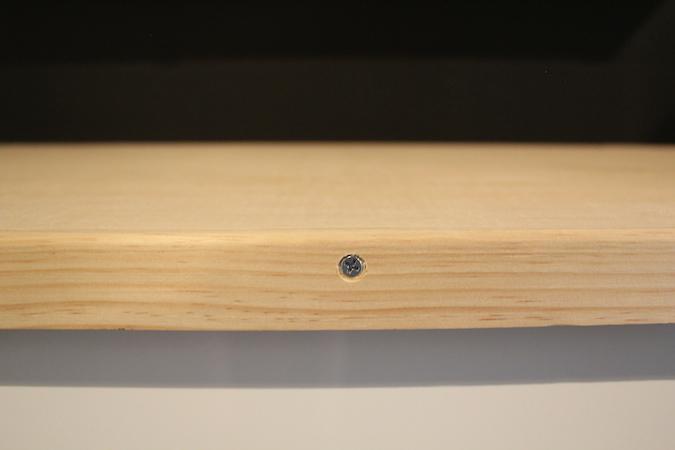
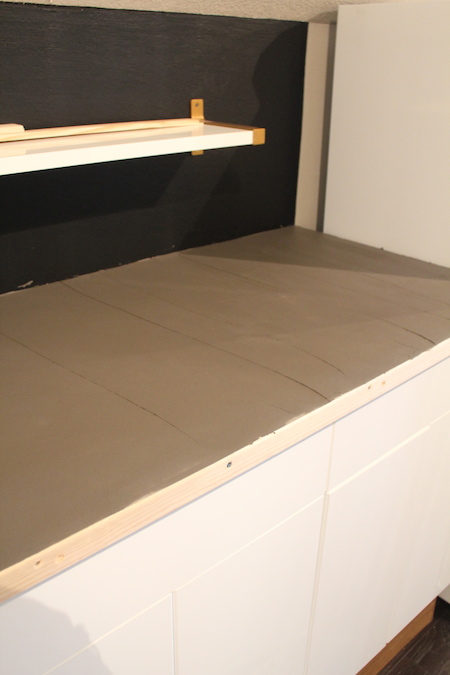
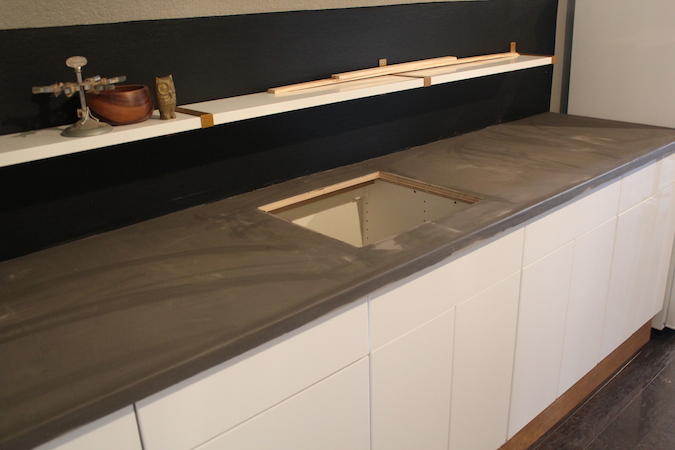
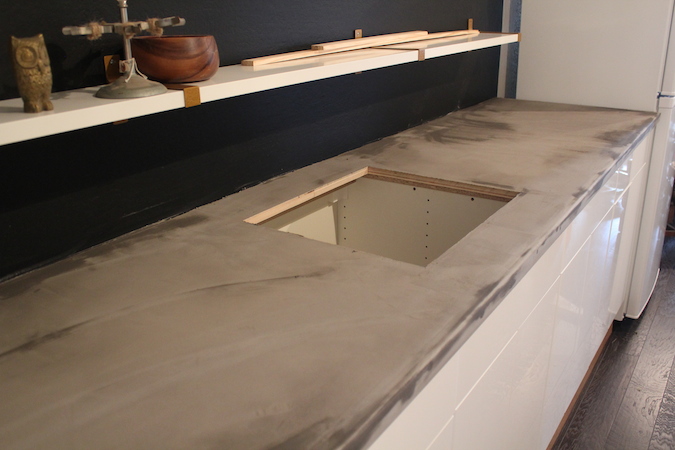
Step 1- I built my countertop out of 3/4 in plywood, cut out my sink hole, and attached a slightly rounded trim piece on the front edge.
*Tip #1- Make sure your plywood is very secure and does not move or bounce at all. A solid surface is essential to keep cracks from occurring.
*Tip #2- I really only recommend drop in sinks with this product.
*Tip #3- Make sure the front edge of your countertop is slightly rounded. This will make the application easier and keep chips from occurring. Make sure to countersink screws or nails to keep there from being bulges in your finished piece.

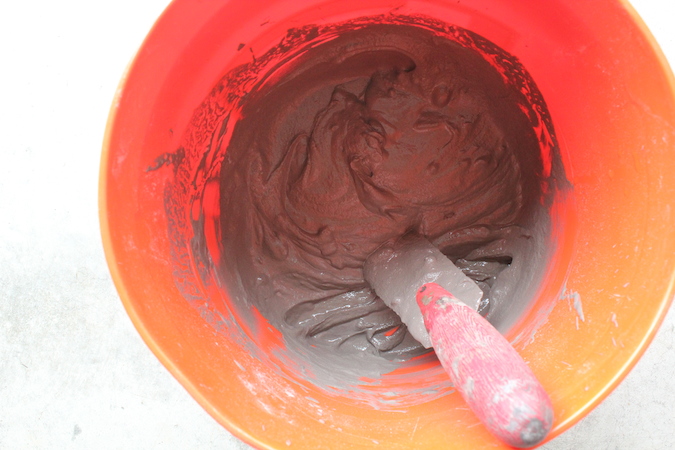
Step #2- I used my hand trowel to mix the Feather Finish according to the instructions on the bag-
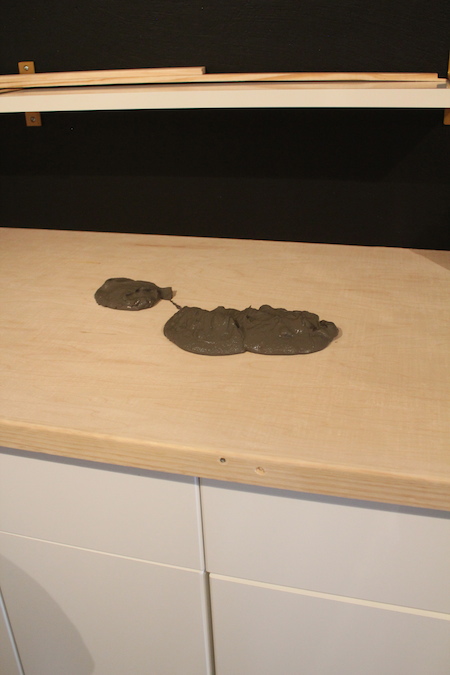
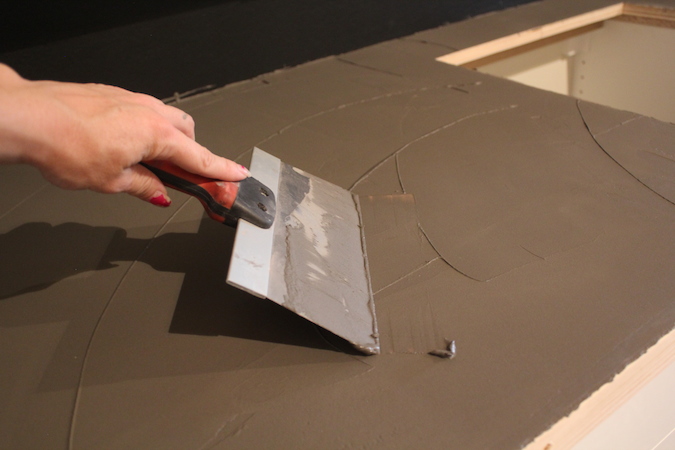
Step #3- Once mixed, I troweled the mixture onto my countertop surface and spread it out evenly. *Tip- try to cover the whole surface in one batch. You will need to work quickly. No matter how precise you are, batches are always slightly different in color.
Step #4- Once the top was done, it was time to do the front edge. I troweled the ardex on, not worrying about the access that piled up on top….
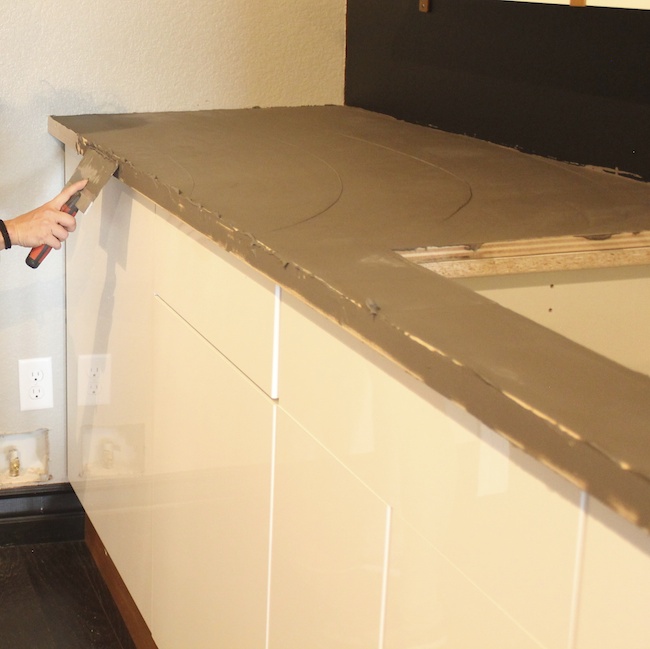
Step #5- I actually let the access dry a little bit and then used my finger to smooth it out over the rounded edge. This allowed for better coverage.
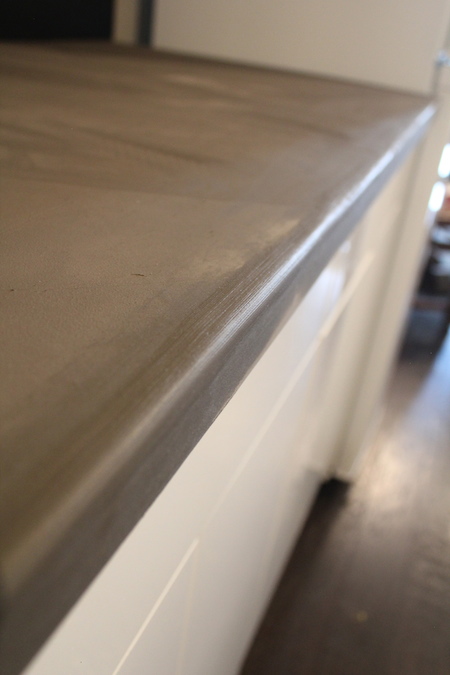
Step #6- Ardex dries very hard, so in order to make your job as easy as possible, try to get rid of any ridges before things dry completely. Use your hand or a slightly wet rag to knock down any raised edges and create a nice, smooth surface.
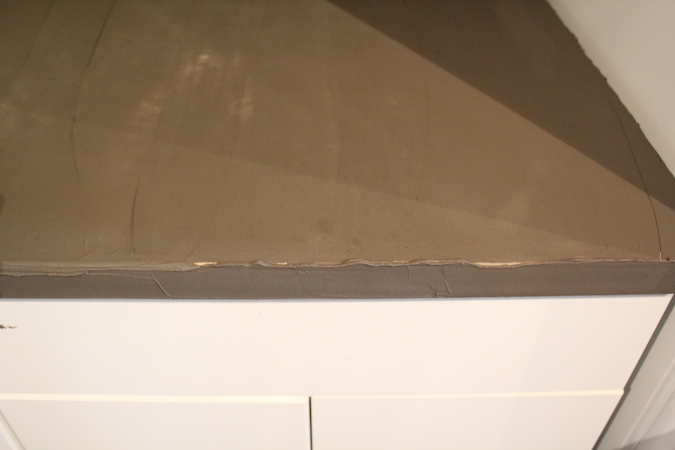
Step #7- Allow the Feather Finsh to dry completely.
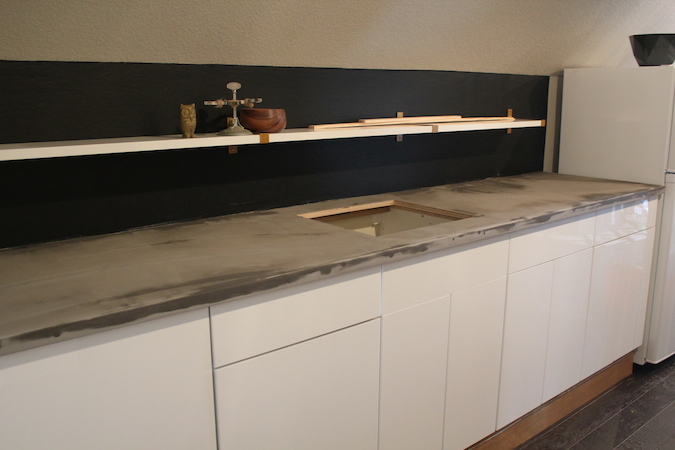
Step #8- Hopefully you knocked down all the major raised edges and will just need to do a light sanding (first with 120 grit, then with 220 grit) to get that super smooth surface.
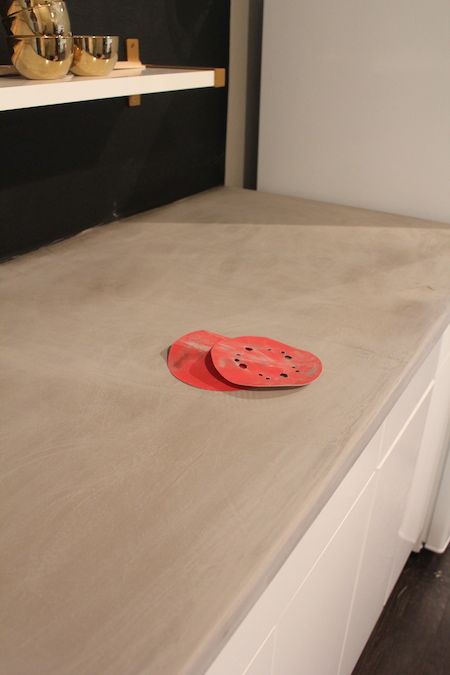
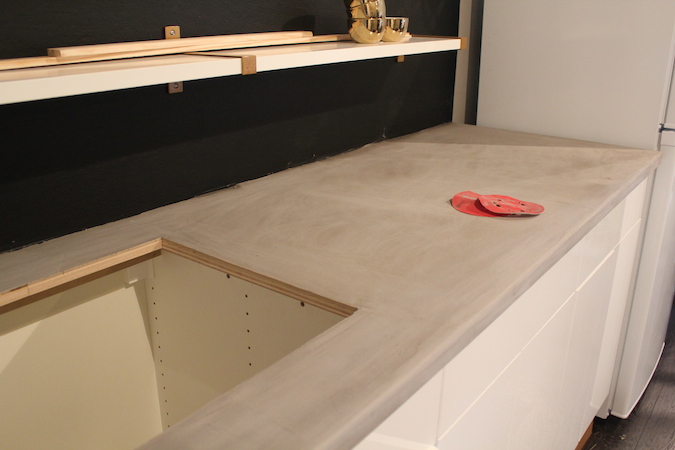
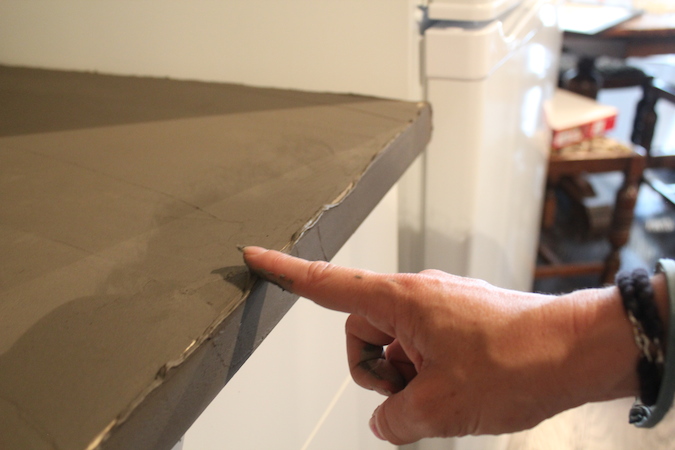
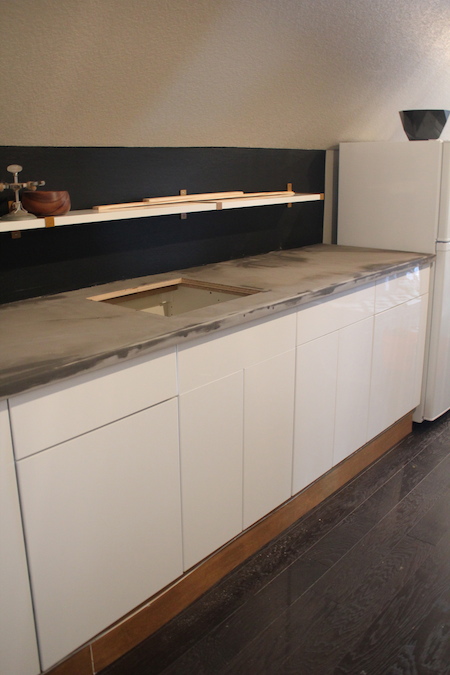
Step #9- Depending on your skills, you may have to do a couple of more coats. When you’ve feel like you’ve got everything covered sufficiently, it’s time to seal the countertops. Give the surface a wipe down with a damp rag to remove any dust.
Step #10- There are all sorts of sealers you can use. Ones made for stone or concrete specifically are of course good. Just make sure they are food safe (if you worry about that sort of thing). I’ve used water based polyurethane and found it to be a great option. 2-3 coats is a must.
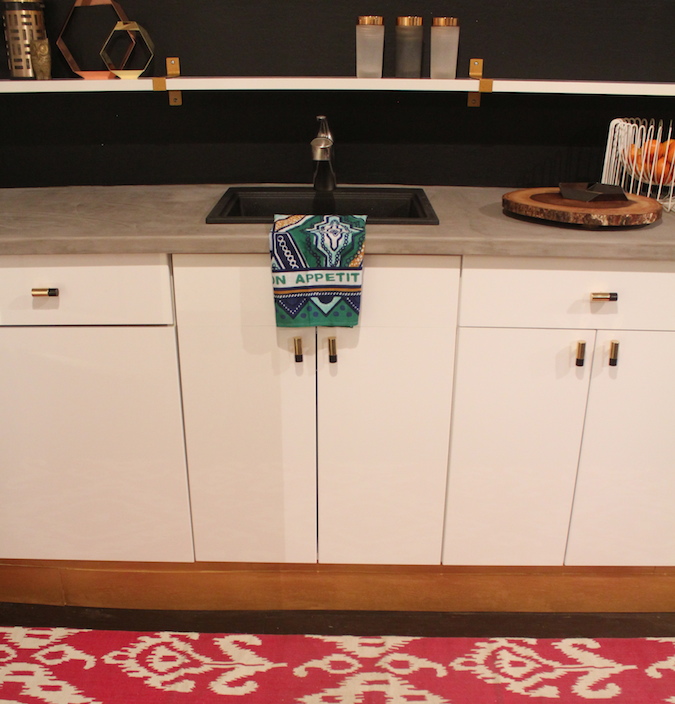
Step #11- Step back and admire the gorgeous countertops you just created all on your own…..not to mention all the money you saved!!!
How do the concrete countertops hold up over the years? I’m so excited to try. Thanks
is it possible to make this counter top a different color? Maybe adding color to the mix or color to the finish on top?
How is the poly holding up?
Most people are not doing polycrylic, but it works very well for me on wood, and I have yet to find a good concrete sealer that truly resists staining and water marks. How is polycrylic standing up for you? If you leave coffee or water on for hours do you have issues later? Thinking of trying it out! Thanks!