

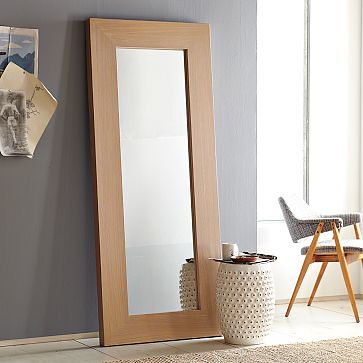
Hopefully yesterday’s post answered all the questions many of you had about how we hide our television cords and allow for a seamless look in our living room. Soon, I will also be posting clever ways to conceal your dvd players and other electronics! But today, I am going to give you some great tips for creating a leaning floor mirror (like this West Elm one below) for super cheap!
I have always loved large leaning mirrors and use them in all sorts of places. Here’s the one in my dining room.
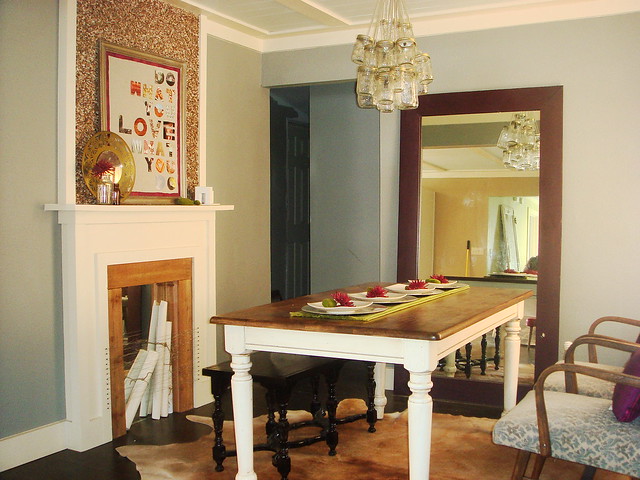
(PS- the dining room looks a little different than this now- updates coming soon! This picture is also for all of you who are curious what the mason jar chandelier looks like with the lights off.)
This is a little set-up I did for a christmas event at my church. Once again the leaning floor mirror made a great statement!

Ok, so are you ready to know how I created my leaning floor mirrors for hundreds of dollars less than West Elm’s version!?
Step 1- Find your mirror!
Here’s the big tip- I reuse old bathroom mirrors. You know the ones that are put in by almost every builder in America. You may have one yourself.

Of course the mirror should be about 6 feet wide or tall to actually work as a functional floor mirror, but you will find many of them are. And if you don’t have one in your own home, search craigslist and garage sales- there are always people getting rid of these things.
Step 2- Choose wood for the frame.
Now to the frame. First you need to pick the wood that you want to use. If you don’t have any salvaged wood you would like to use, head to your local hardware store and pick up some 1X6 planks (this size creates a nice thick frame). Next it’s time to cut your pieces.
Step 3- Cut your wood planks to size.
Decide the dimensions you want for your frame. Remember that the opening of your frame needs to be slightly smaller than the mirror you have.
Cut the wood using a chop saw. I think a mitered joint (this is when you cut two pieces of wood at a 45 degree angles and put them together to create a corner) looks best, but you could also go for a more simplified straight edge.


Step 4- Assemble your frame.
Once you have all the pieces cut for your frame, use “mending plates” to attach the pieces of wood together. If you have a finish nail gun, you could use that instead but I assume most people are more likely to have a drill.
(the back of my dining room mirror frame).

Step 5- Lean your mirror and frame against the wall or attach the mirror to the frame, then lean.
You can simply lean the mirror against the wall and then lean the frame against the mirror. However, if you have little ones running around you may want to use some mirror clips (like these below) to attach the mirror to the wood frame. The mirror should make the piece heavy enough to keep kids from getting into trouble.

So what do you think, is my less than $20 version just as good as the West Elm $200- $300 version!?
I love it!! i never thought to do that…I have thought about putting a frame on the basic mirror on the wall but its such a good idea to make it a standing mirror!!
This is BRILLIANT!!! So smart!
I’m so glad you posted this! I tried something similar about a month ago with gorilla glue- I glued my mirror to a piece of plywood backing and then glued my old barnwood to the mirror. Oh, I definitely didn’t think it through! As soon as I tried to lift it, the mirror cracked because there was too much weight on it. I was so bummed because it was a free mirror 🙁 I’ll be trying it your way when I get another one!
Love it!
I love the set up you did for the church. Your church is so lucky to have such talented ladies.
Yay, I’m glad you ladies found this how-to helpful! I just love big mirrors!
Eeek I missed this post somehow. But I love it! I need to make a mirror ASAP.
Nice! how do you keep the mirror from slipping on hardwood floor? As soon as I lean my on the wall it slides.
We haven’t had any issue with our mirror sliding. It sits pretty tight to the wall so it doesn’t lean that much. You could try a lit bit of tick tack or double stick tape on the bottom of the mirror. Just be careful that the tape won’t pull the finish off your floor. You could use a couple of small nails/tacks and then putty the holes if you ever more it.