
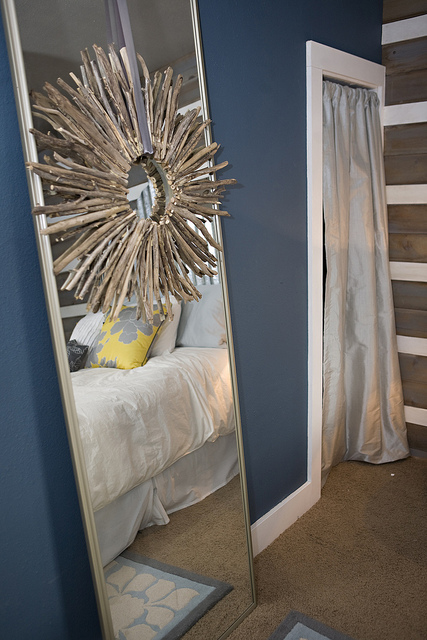
Back before I started blogging, I didn’t really take pictures of my projects. I realized the other day that my driftwood frame in the guest bedroom was one of those projects that I never documented. Well today I’m going to give you a very brief description of how I created it and how I recently made a fun change to it.
So here’s what the driftwood frame used to look like.

I made it by cutting out a plywood ring. I used a jigsaw to cut the plywood. The two top rings in the picture below are what the plywood ring should look like.

Once your plywood ring is cut, the hard part is finished. Next, I gathered and cut driftwood pieces to about 10 inches.
Last, use hot glue to affix the pieces to the plywood. Easy peasy!!
I then hung my frame over a larger mirror and it looked like this.


I liked the look, but the mirror wasn’t quite big enough. A couple of months later I found this amazing frame that I decided should replace the mirror frame in my dining room. (That purple one below).

This gave me the freedom to go ahead and use the old dining room mirror/frame into the guest bedroom. So, I painted the purple silver to fit the room and moved it in.

I also decided that I wanted to jazz up the driftwood frame itself. My way of doing that was to add a little ombre effect to the wood. I simply watered down some light gray paint and and used a chip brush to apply the paint. I didn’t want the circle of paint to be perfect, rather I wanted it to feel organic and natural and have more of a fading effect than a harsh line.


So here’s a side by side before and after-


These were somewhat small changes, but definitely changes for the better. . . don’t you think?
Your new to this room mirror and driftwood look fantastic. BUT I am over the moon with this headboard. Did you DIY it? If so how did you cut it out?