
Hello! My name is Bethany Hway, and I am a graphic designer, blogger and creative from Minneapolis, Minnesota. I live in a cozy Cape Cod cottage with my husband and my spunky yellow lab, Emmy. In my spare time, I love to travel, explore, photograph, design, create, cook, write, sew, think, plan, play and ponder. In 2008, I founded Emmy Lu Design Studio, a digital stationery shop. Today, when I’m not running Emmy Lu or authoring my blog, b*spoke, I can be found working as a creative freelancer under Bethany Hway Creative Co. I’d like to extend a big thank you to Kara for “having me over” today! I’m honored to be guest posting here on Kara Paslay Designs.
– – – – – – – – – – – – – – – – – – – – – – – –
Here at the cottage, I’m in the midst of redoing my master bedroom. Lately I have been on the lookout for interesting artwork and wall coverings. In early September, when I was at a festival in the quaint town of Excelsior, Minnesota, I happened to stumble across this gorgeous antique oval wood frame. It wasn’t in perfect shape, but it had plenty of potential. I scooped it up for a mere $10.
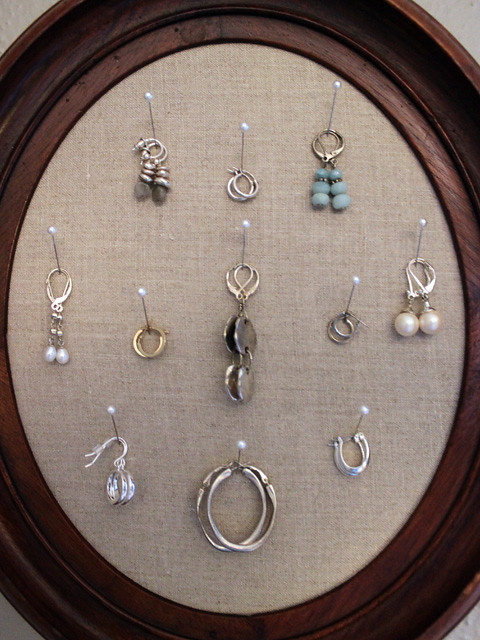
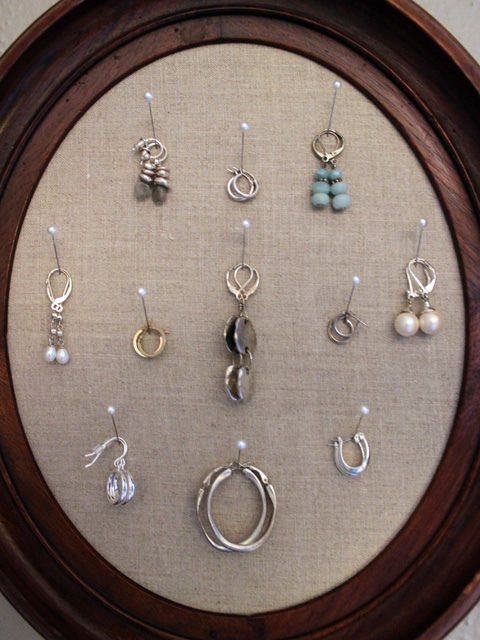
It sat in my office for a few weeks before I finally decided what I wanted to do with it. With supplies I already had on hand, and about fifteen minutes of time, I created this piece of stylish decor for my wall. The best part is that my earrings are now easy to see, close at hand, and doubling as some pretty spiffy artwork. Follow these simple steps to make your own framed jewelry pinboard!

STEP 1 :: Gather supplies. You will need a frame, fabric of your choice, a sheet of cork, and foam-core board.
STEP 2 :: Stretch the linen over and around the cork and the foam-core board (after cutting both items to fit within frame). Be sure to allow extra fabric along the edges.
STEP 3 :: Use a regular stapler (staple gun not necessary) to secure edges of fabric to back of foam-core board.
STEP 4 :: Trim excess fabric from around edges.

STEP 5 :: Add a piece of tagboard or cardstock to cover fabric and finish off the back. Staple in place.
STEP 6 :: Heat glue gun. Dot two ends of a small strip of foam core board with glue. Note: This step is not necessary if your frame has metal keepers. I have found many old frames do not include keepers, and so this is a quick way to secure the contents of your frame.
STEP 7 :: Place strip over frame and backer, pressing firmly to ensure glue sticks to both sides. Repeat with 3 – 4 other pieces around frame.
STEP 8 :: Place pins in linen surface, pushing into the cork and keeping them angled upward. Use pins with pearl heads for added interest. Hang earrings and/or necklaces, bracelets, and bangles for a unique display!

STEP 9 :: Stand back and admire, then find the perfect wall for hanging your framed jewelry pinboard!
I LOVE this!
This is so gorgeous I never would have thought about pins. I always think about the grids where you hang the ear hook through it. Its very classy! Great job!
I am popping over from CRAFT!
I made some of these, except I used some really fun scraps of fabric and covered the front. I made them as Christmas presents and they ended up only costing $10. Thanks for posting!!
Those earrings are amazing!! I really love pearls.
jewelers mn