
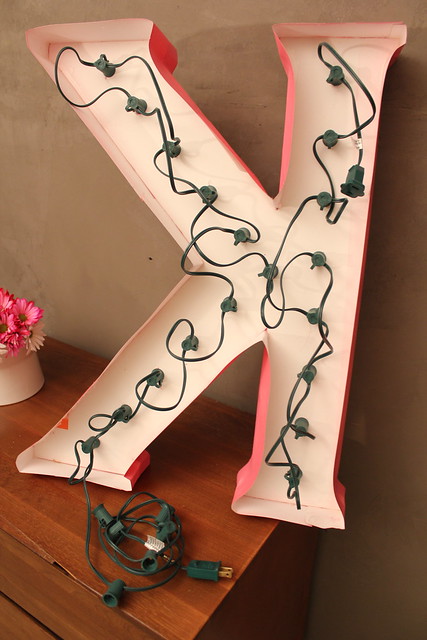
Hey Friends! Last week I mentioned the DIY “Lit Marquee Letter” I made for a client this summer. That little lady dreams of seeing her name in lights and of being a star on the big screen one day! But, you don’t have to dream of stardom to appreciate the project.
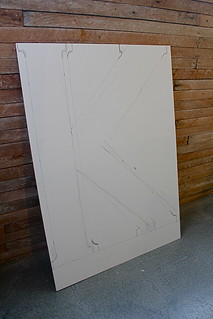
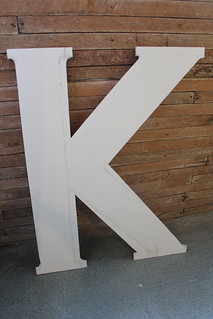
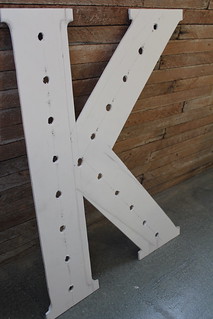
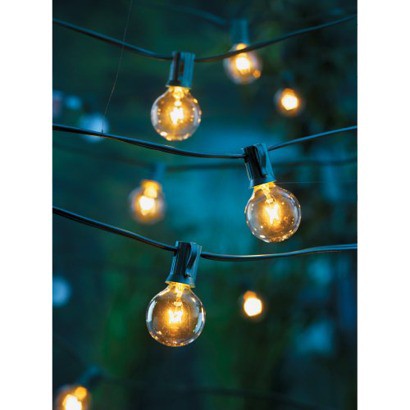
I love to use lighting to enhance the feel in a room. Weather your going for homey, romantic, or fun lighting can help you achieve the effect! There are all sorts of ways to bring in lighting, and today I am just showing another version of the lit marquee letter that I recently completed for my own home! 🙂 Instead of a “K,” this time around I decided to do a whole word.
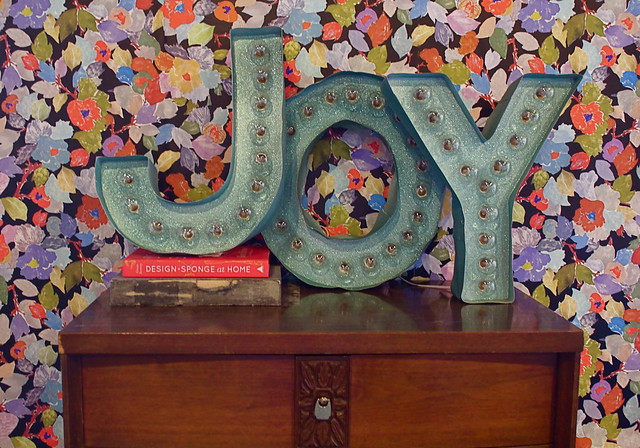
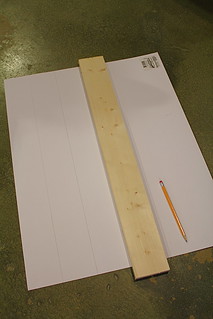
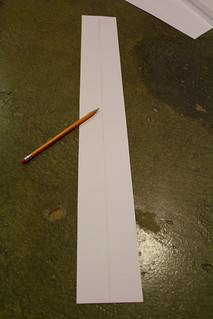
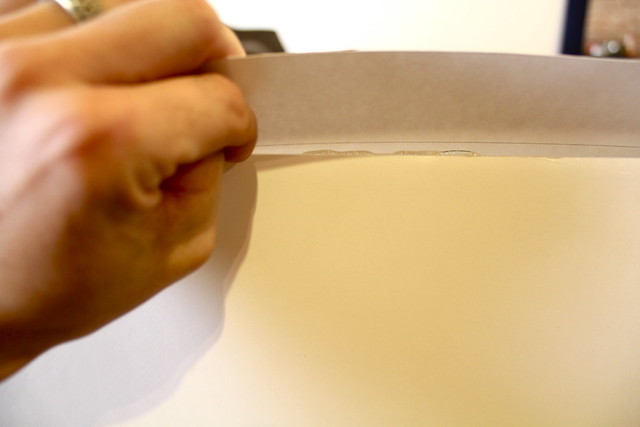
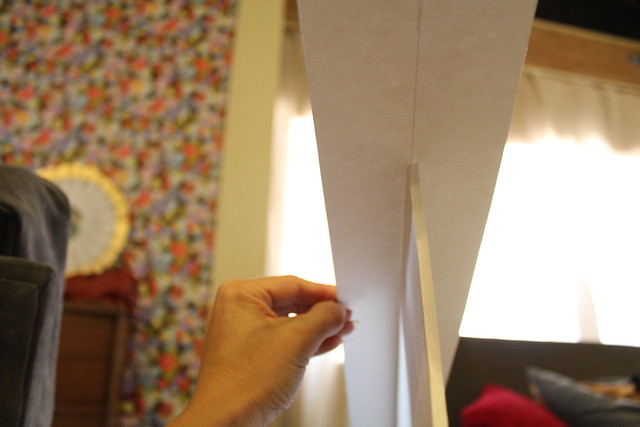
“JOY” seems to be a word I could afford to focus on year round, so I thought it was the perfect thing to highlight in our house. I used the exact same instructions as before. . . .
The only thing I changed this time around was the paint I chose to finish the piece with. . .
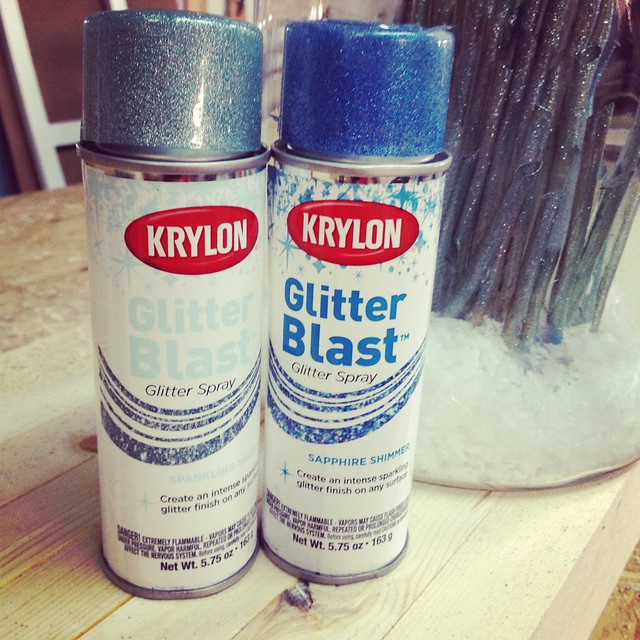
The “Glitter Blast” is quite beautiful in my opinion. However, be prepared to use the whole can at once. It tends to permanently clog after sitting for too long. I found my glitter spray at Michael’s but I’m sure most craft stores sell it.

Once again, I could not get a good photo with the lights on. But I do love that these letters look fab whether they are plugged in or not!

I am absolutely in love with this project!! I would probably do joy or home. Thanks for sharing!!
I think these are fabulous! I really need to try making this…I’ll probably just start with one letter. Math isn’t my thing 😉 The glitter adds some fun character…great choice. Thank you very much, Kara, for linking up to “It’s a DIY Christmas” at Putting Down Roots 🙂 Made my day!
Your welcome Candin! The project is so easy! I’m happy you’re going to take it on!
Absolutely Emily! There are a ton of great ideas over there!
Pingback: “Metal” Marquee Letters | Kara Paslay Design
Pingback: DIY Christmas Decor Round-Up | Kara Paslay Design